

Guides / Wheel and brushes
Brush Studio
Change everything about a brush on its three pages, Paint, Marks and Motion, watch it apply live, and keep, revert or reset it.
First, paint a stroke with the brush as it is, to compare. This is watercolor's Round.
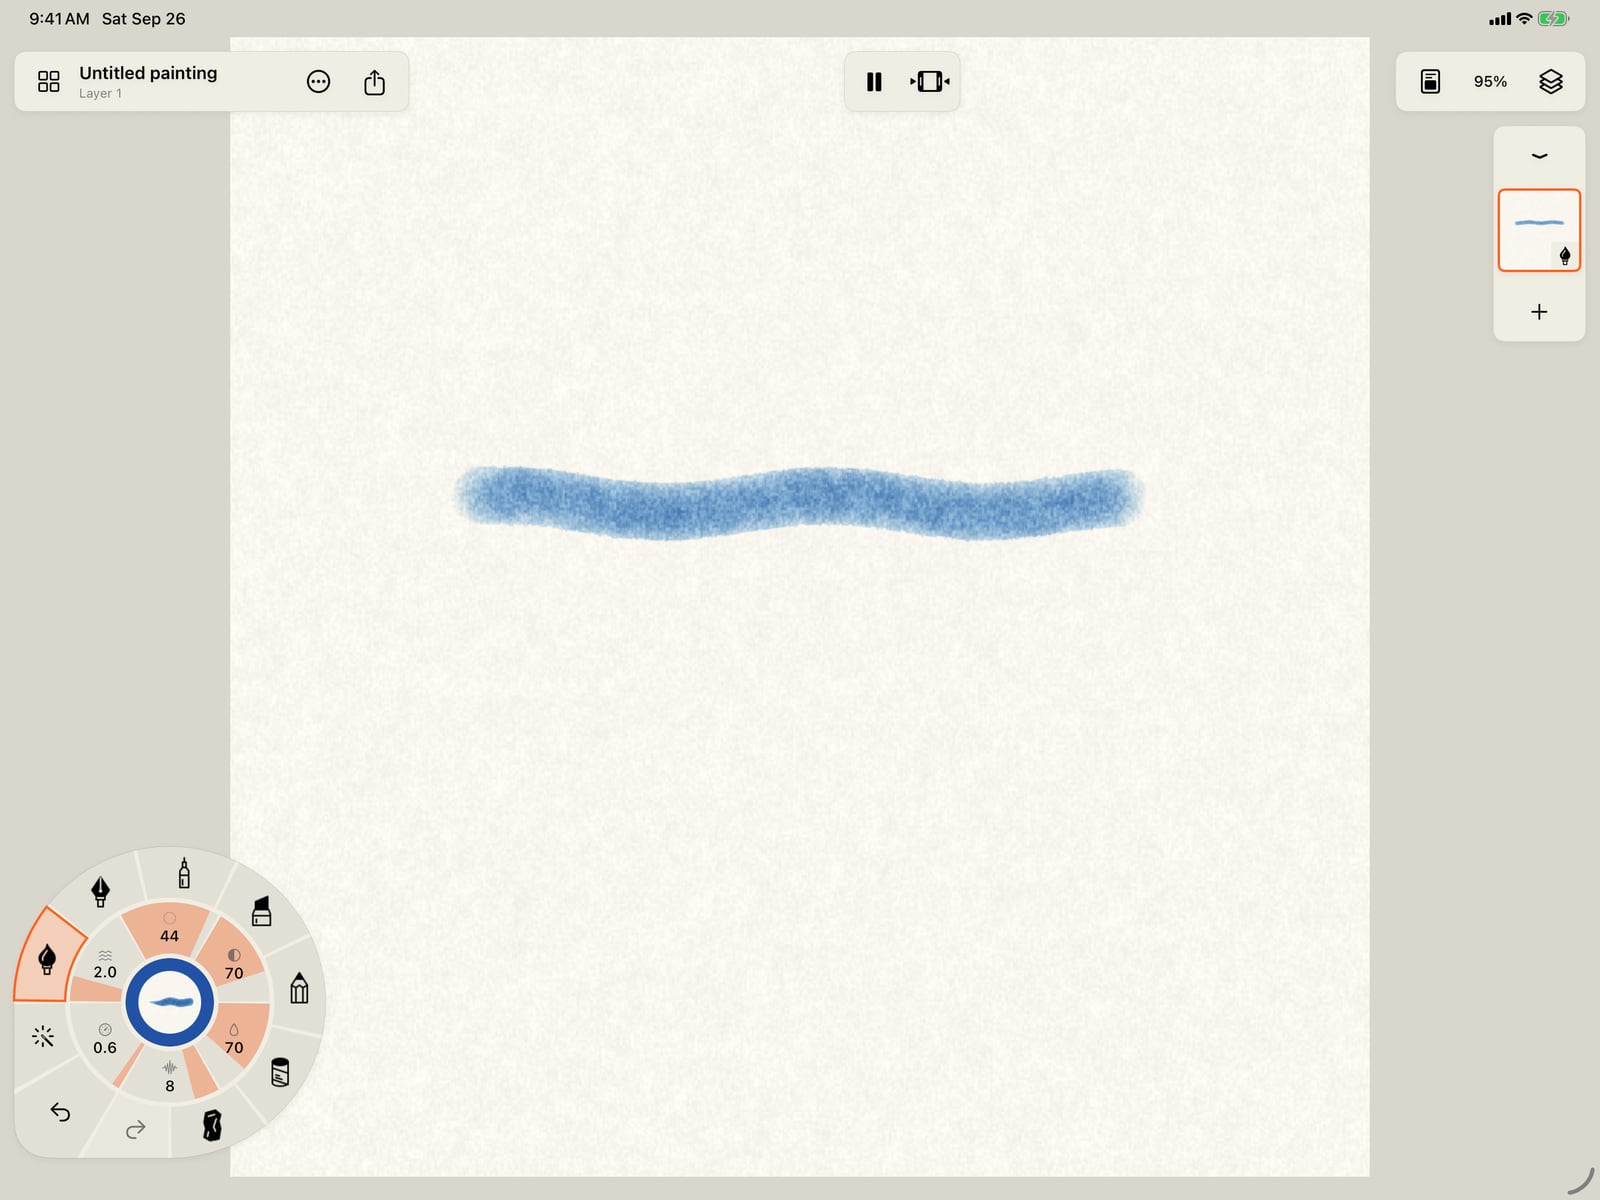
First, paint a stroke with the brush as it is, to compare. This is watercolor's Round.
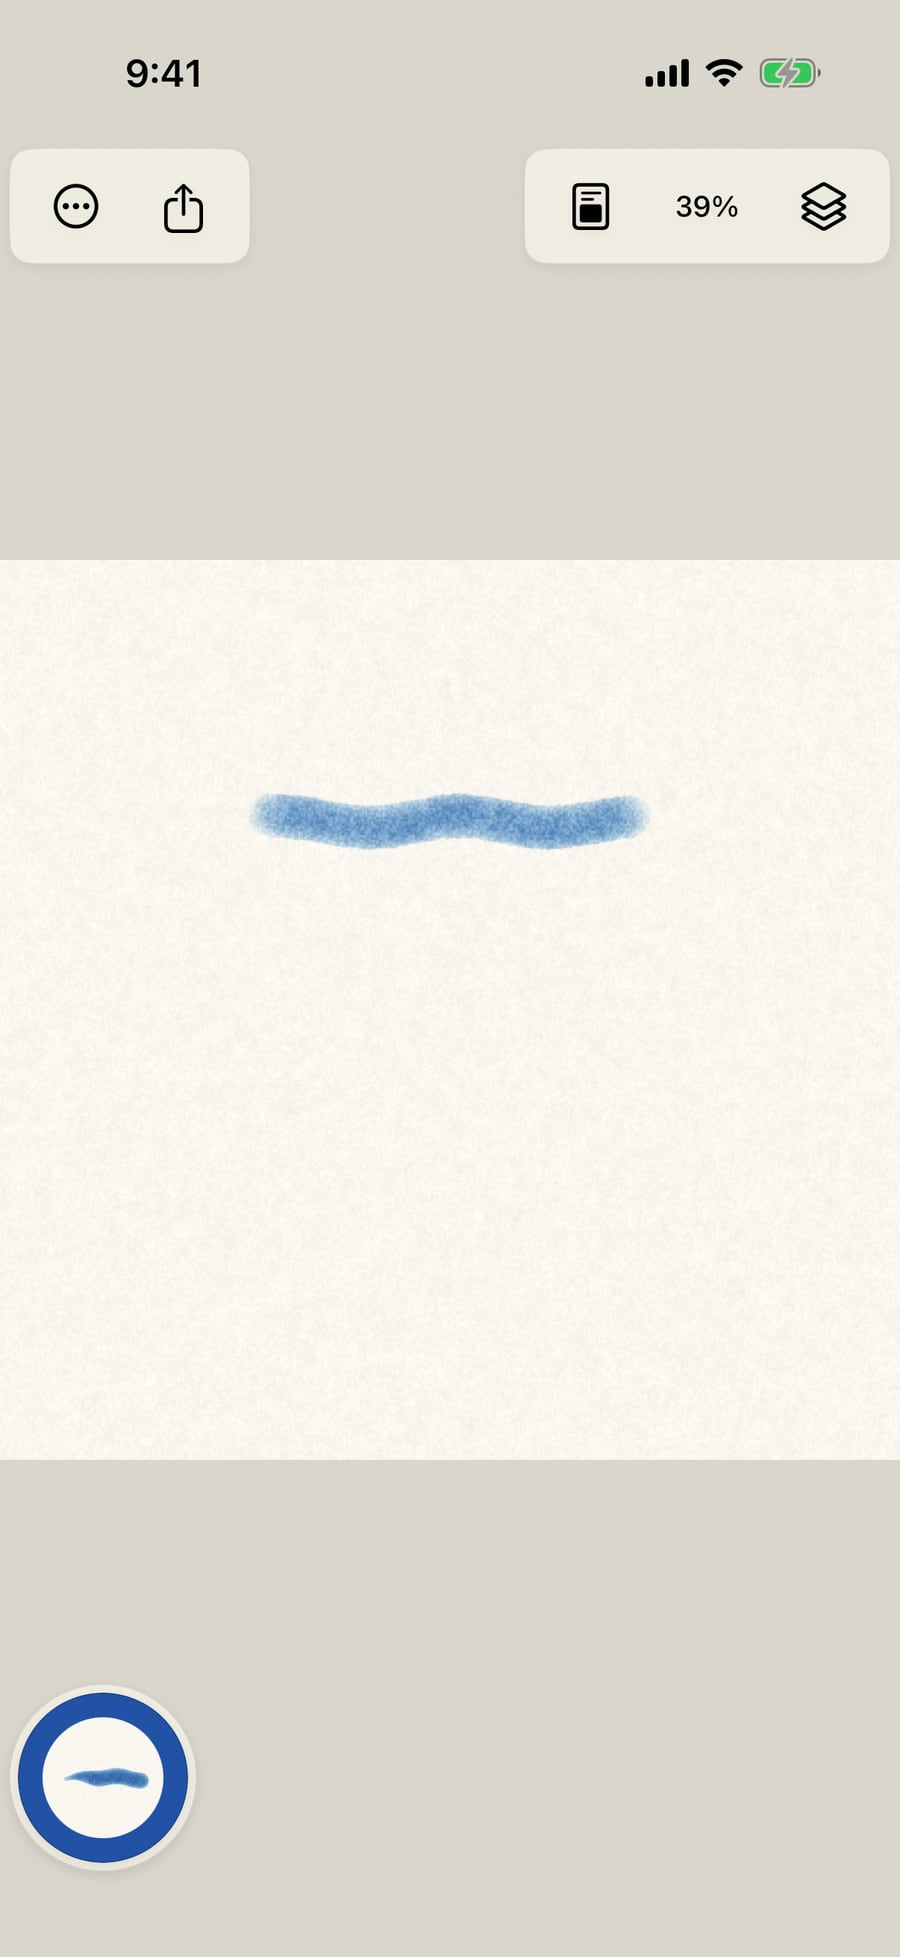
Tap the medium in hand, then All brushes, then the settings button beside the brush in hand. Brush Studio has a page for each part of a stroke, Paint, Marks and Motion.
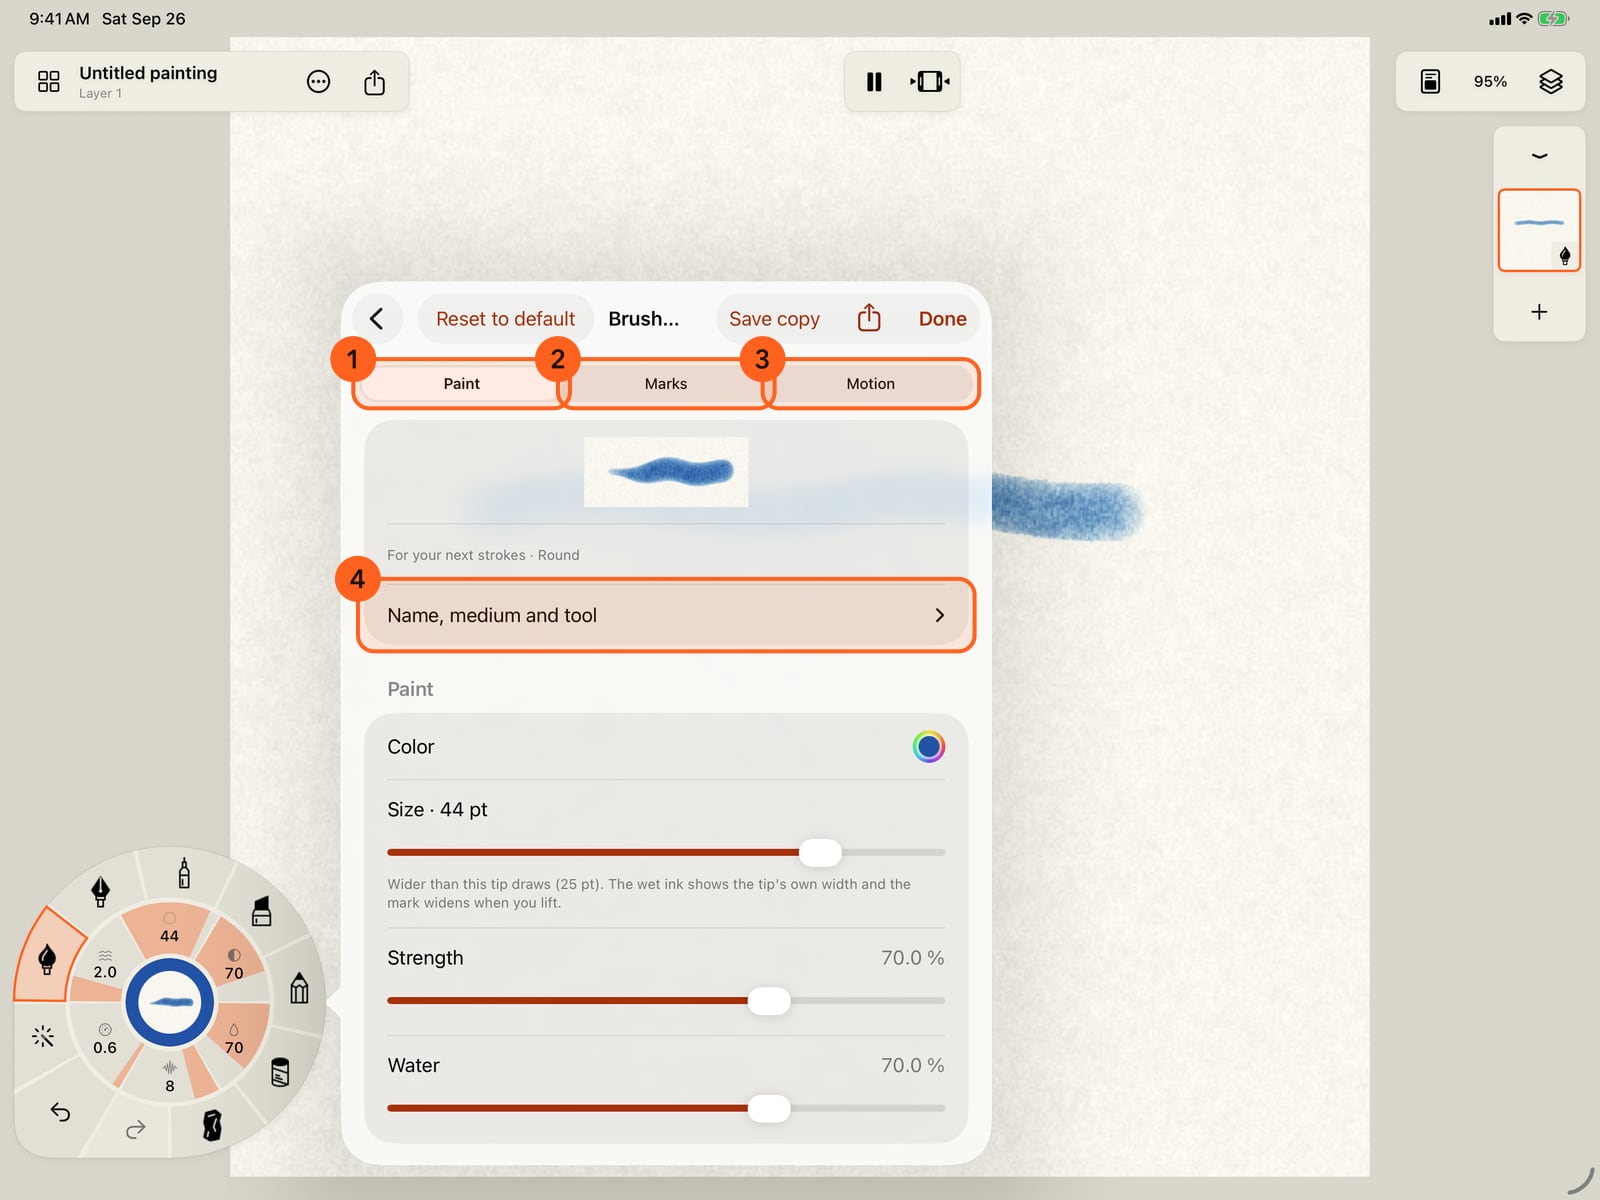
Unfold the wheel, tap the medium in hand, then All brushes, then the settings button beside the brush in hand. Brush Studio has a page for each part of a stroke, Paint, Marks and Motion.
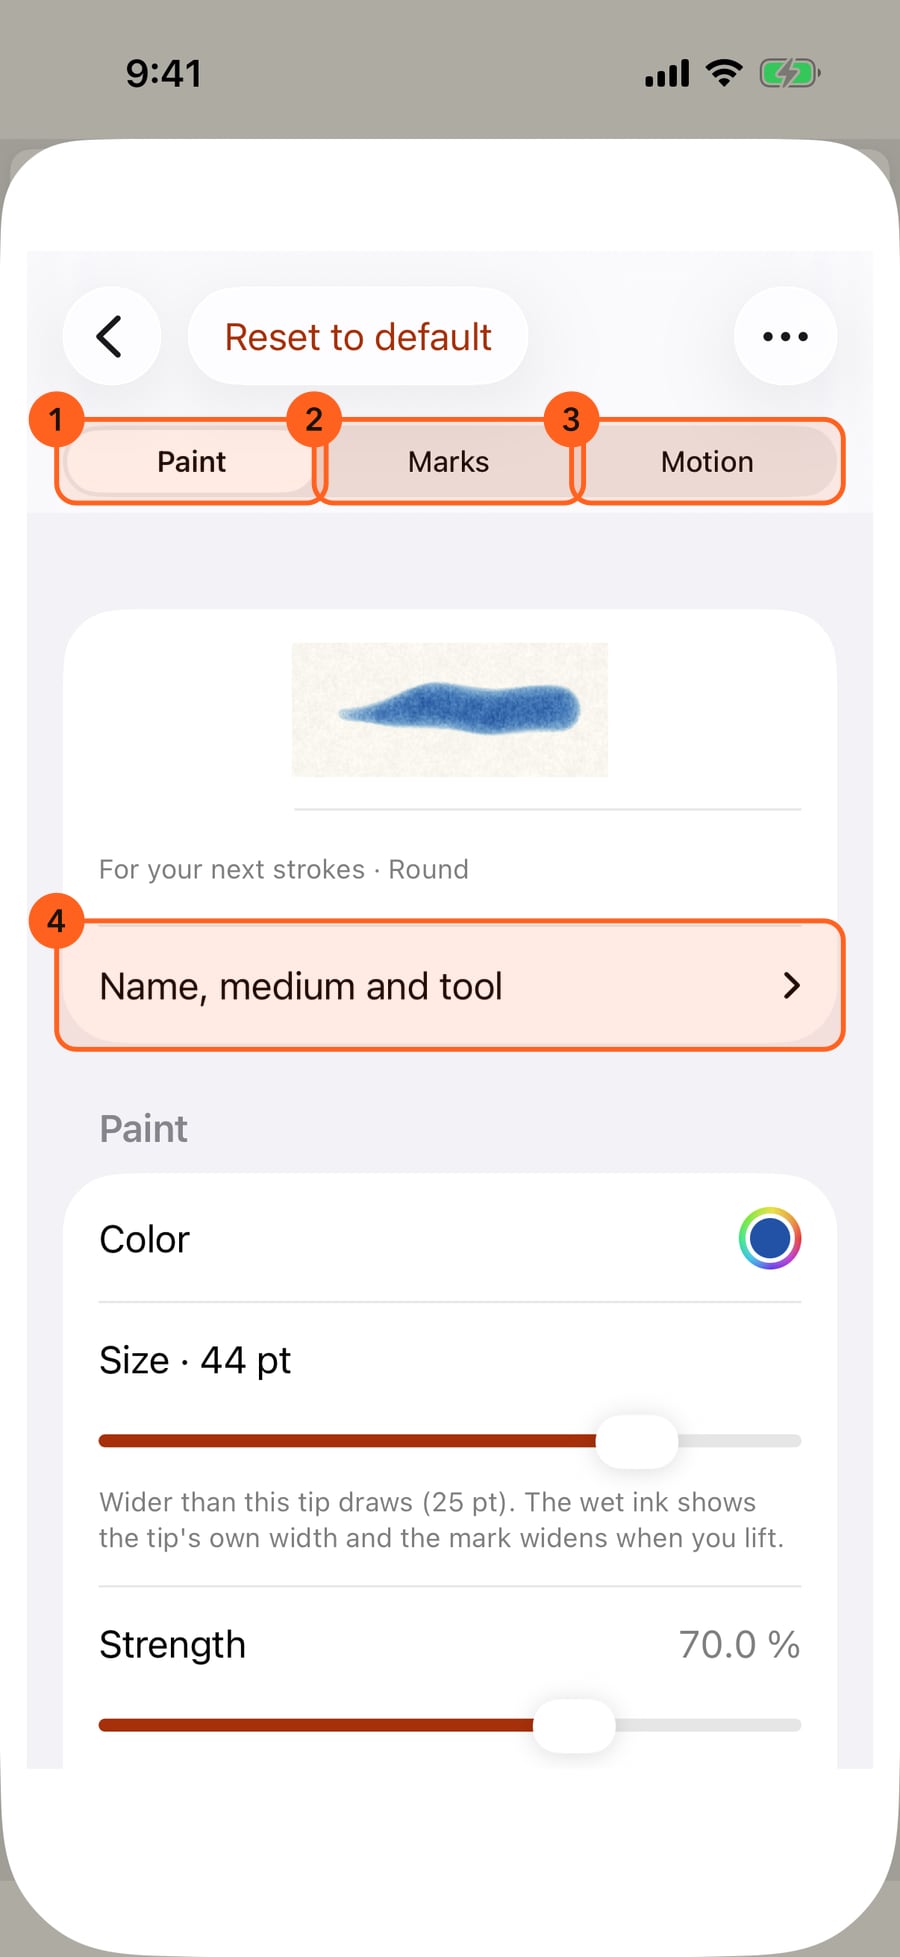
Click the medium in hand, then All brushes, then the settings button beside the brush in hand. Brush Studio has a page for each part of a stroke, Paint, Marks and Motion.
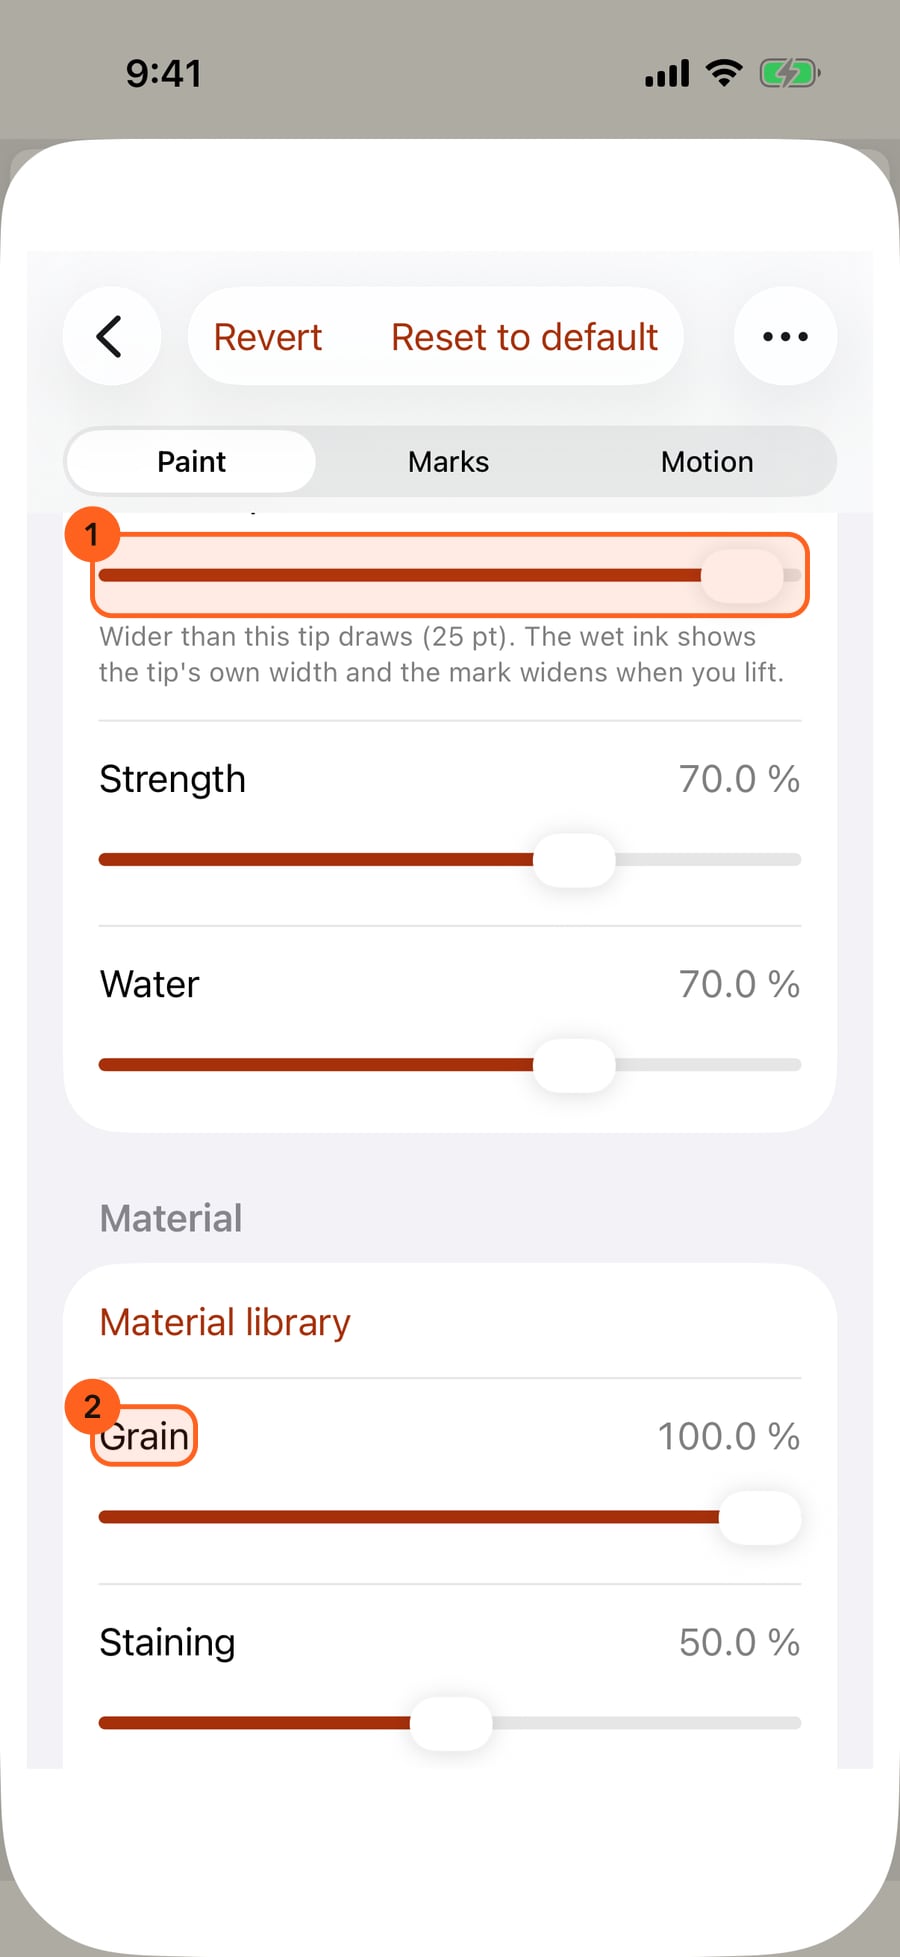
The Paint page comes first. Make the brush larger and grainier. Every change applies to your next strokes as you make it, and Revert appears, to undo them all.
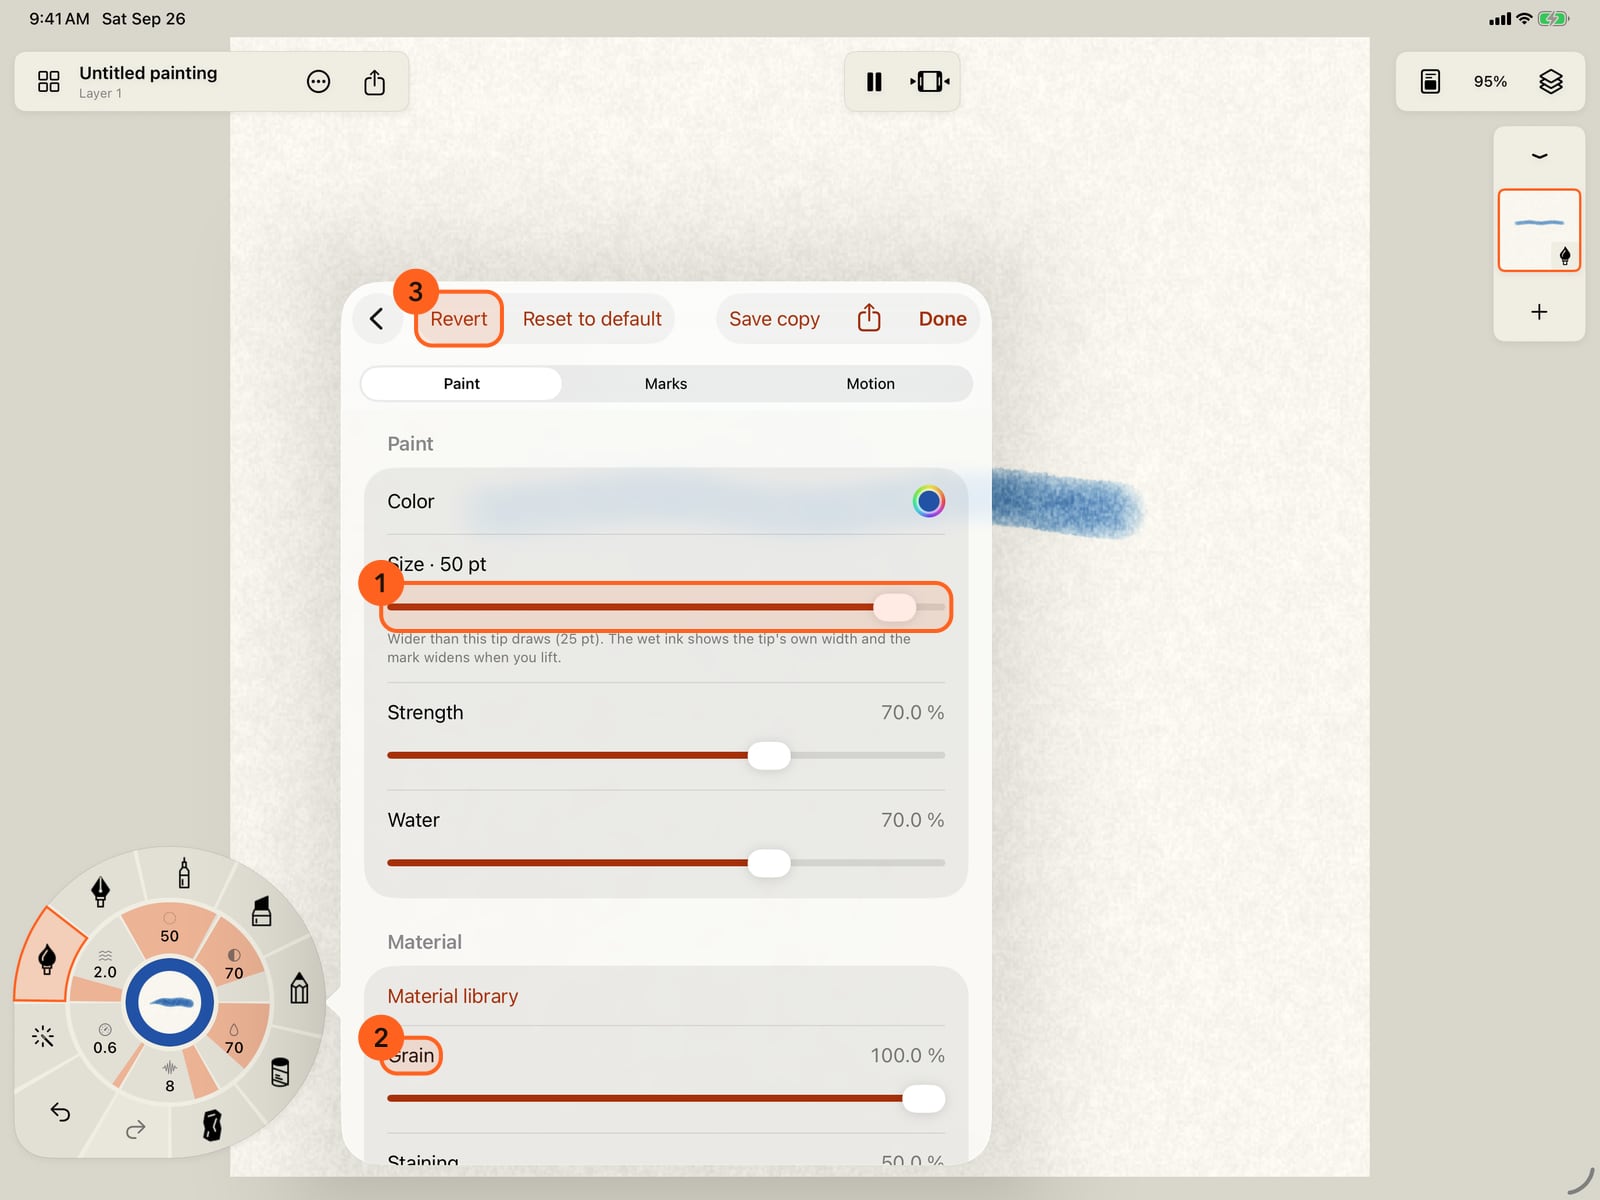
The Paint page comes first. Make the brush larger and grainier. Every change applies to your next strokes as you make it, and Revert appears, to undo them all.
The tip is part of Paint too. Further down, Native tip is the shape Apple Pencil draws with. Open it to choose round, brush, nibs, pencil, crayon, wash, monoline or reed.
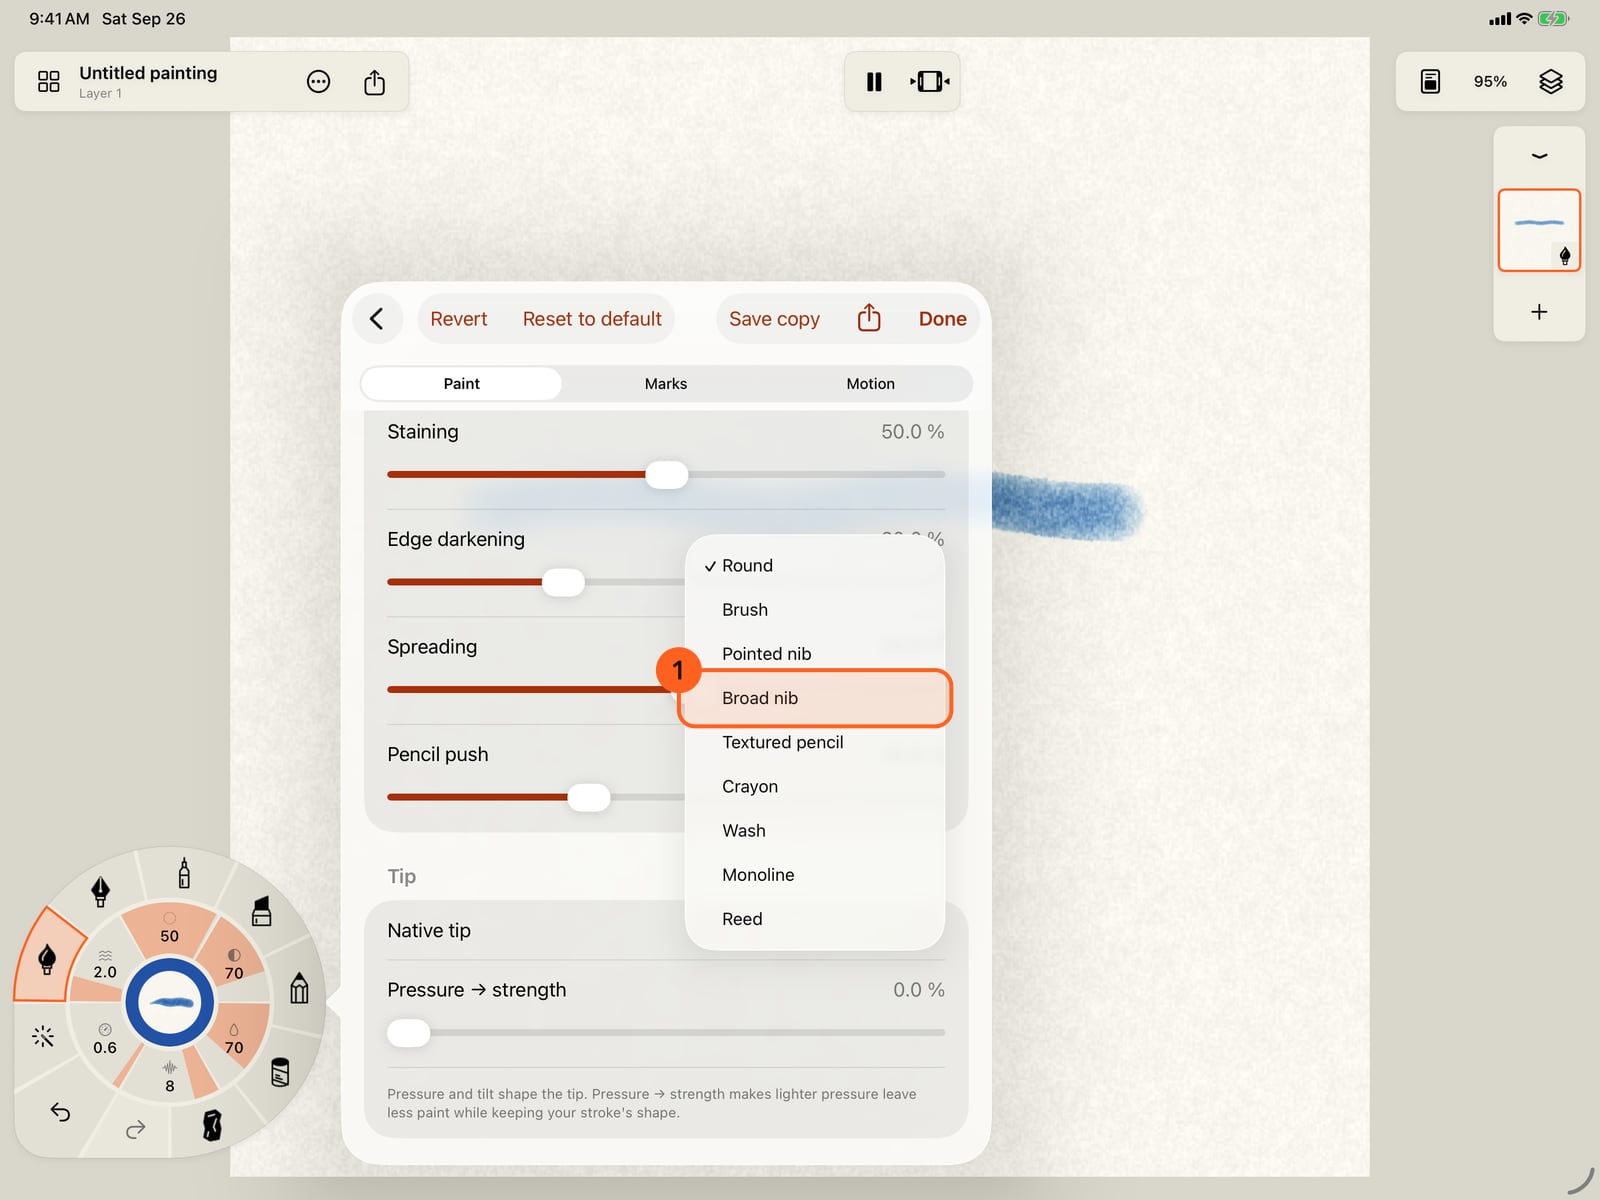
The tip is part of Paint too. Further down, Native tip is the shape Apple Pencil draws with. Open it to choose round, brush, nibs, pencil, crayon, wash, monoline or reed.
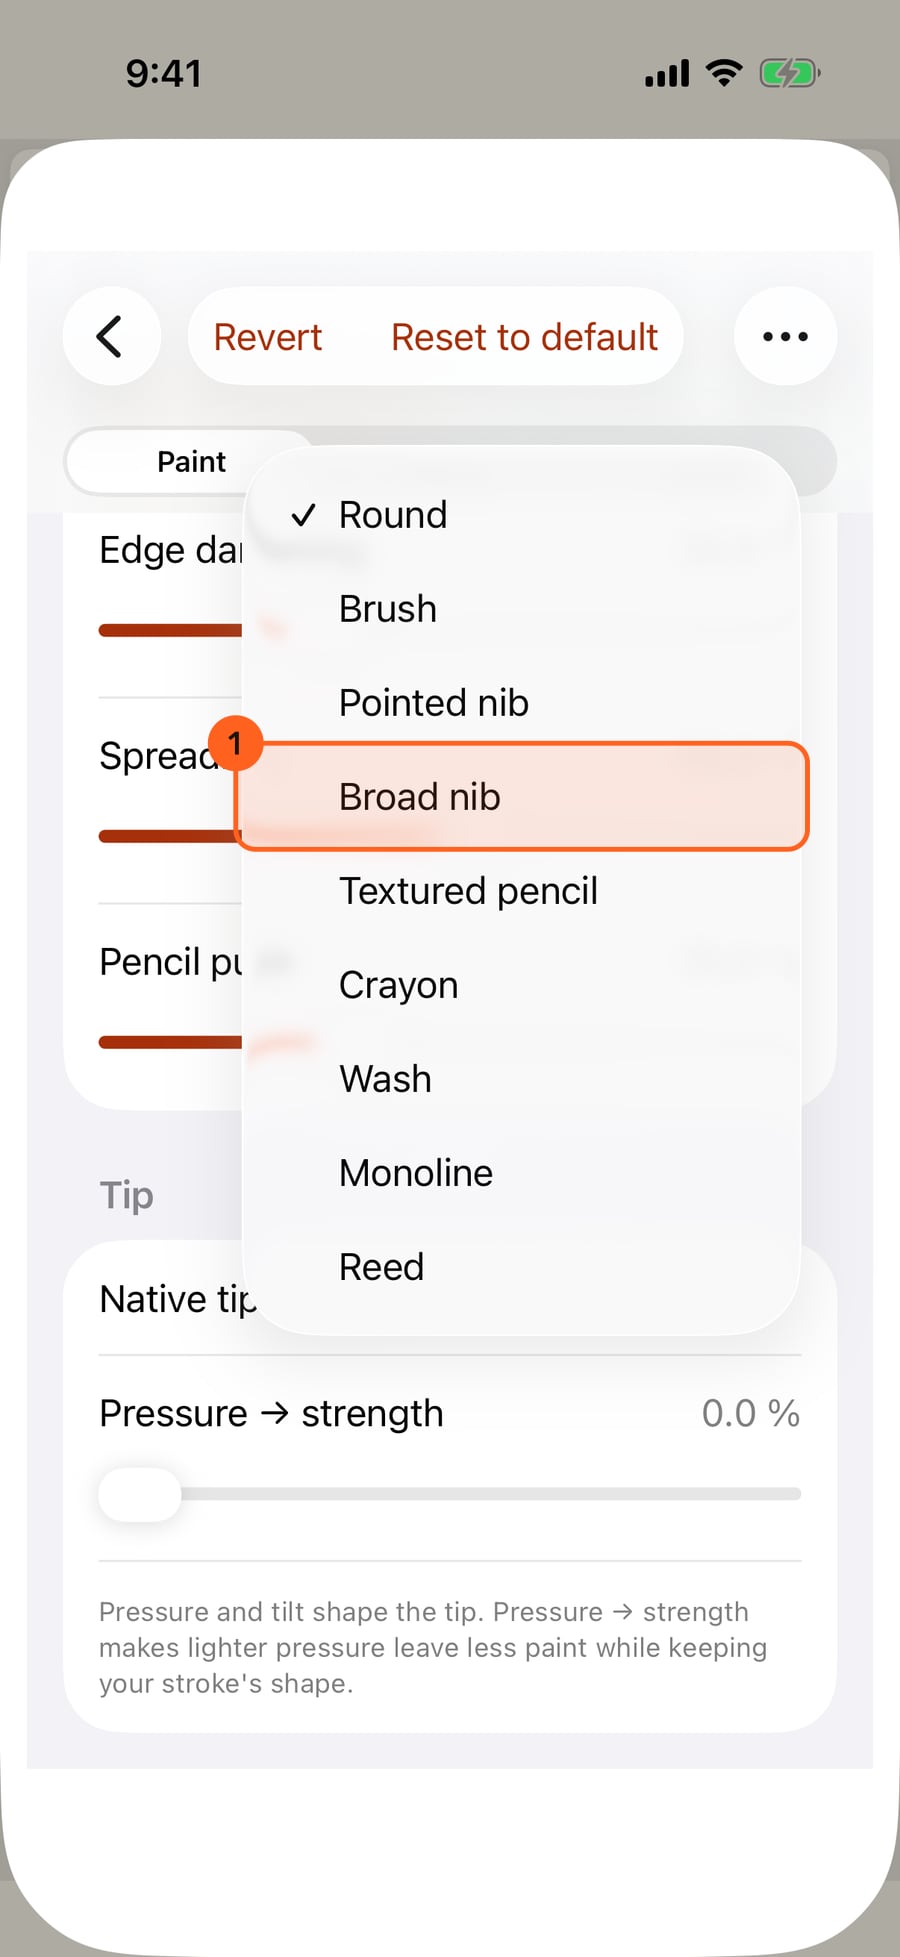
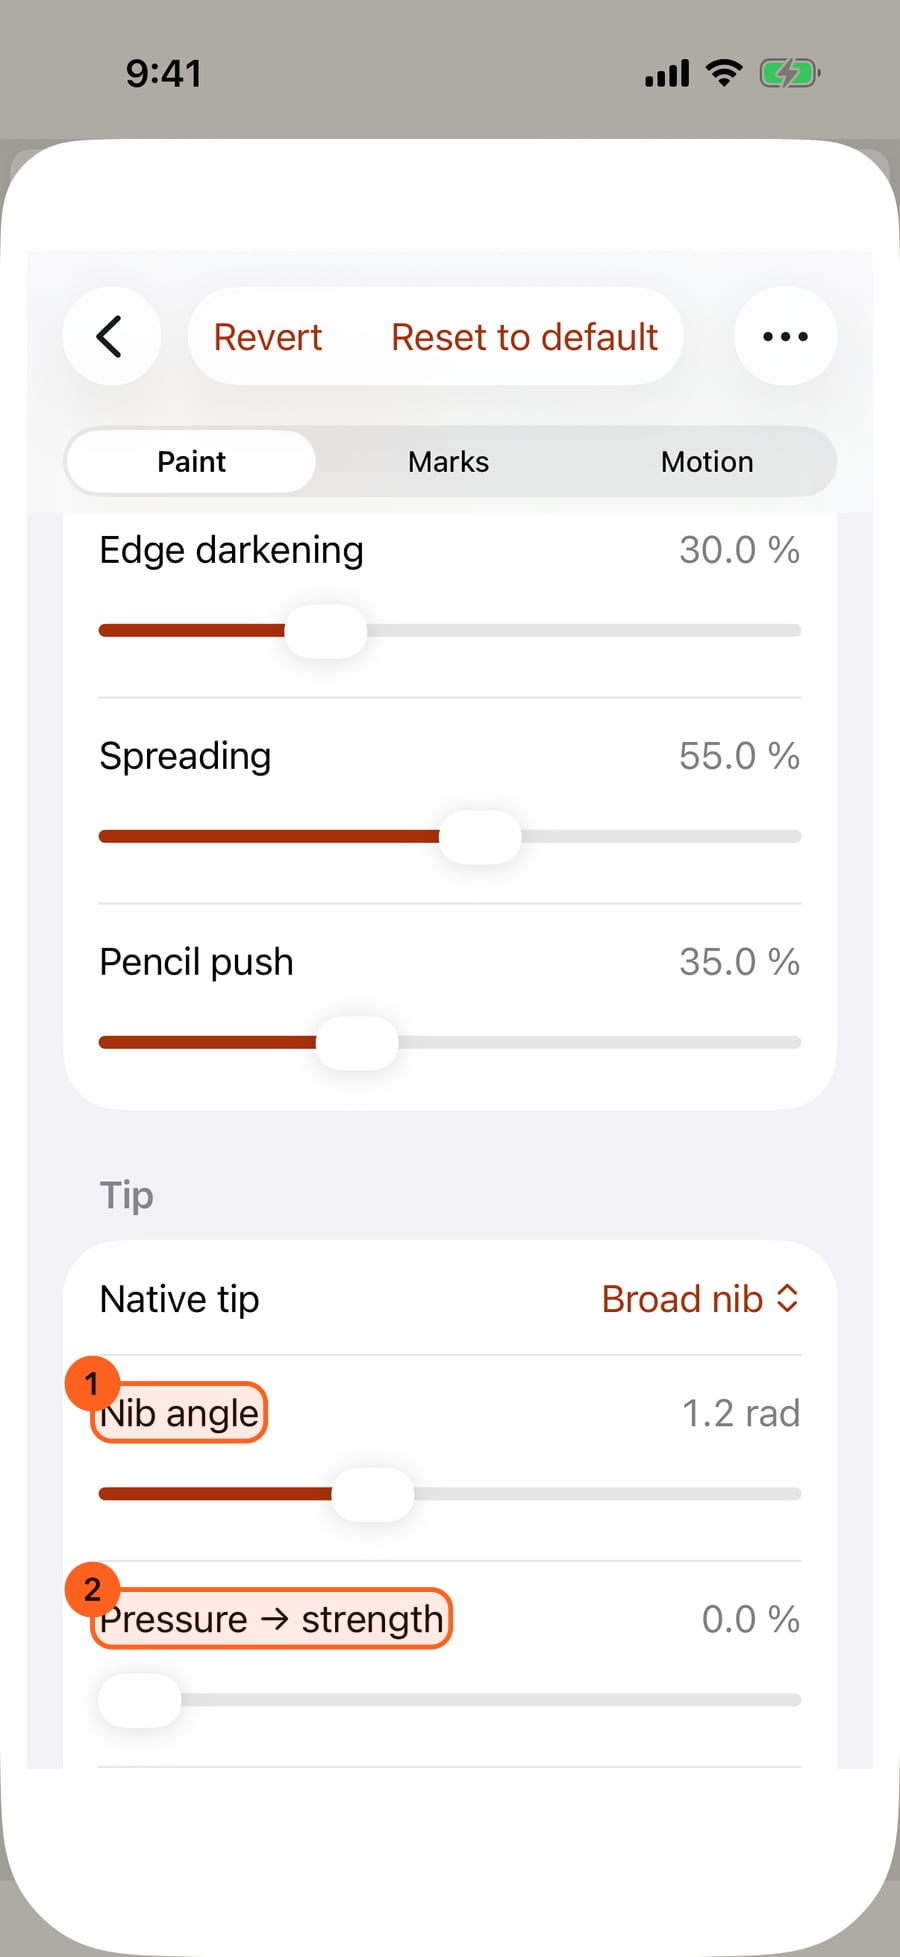
Choose Broad nib. A nib holds an edge, so Nib angle appears, turning the edge the way a calligraphy pen is held.
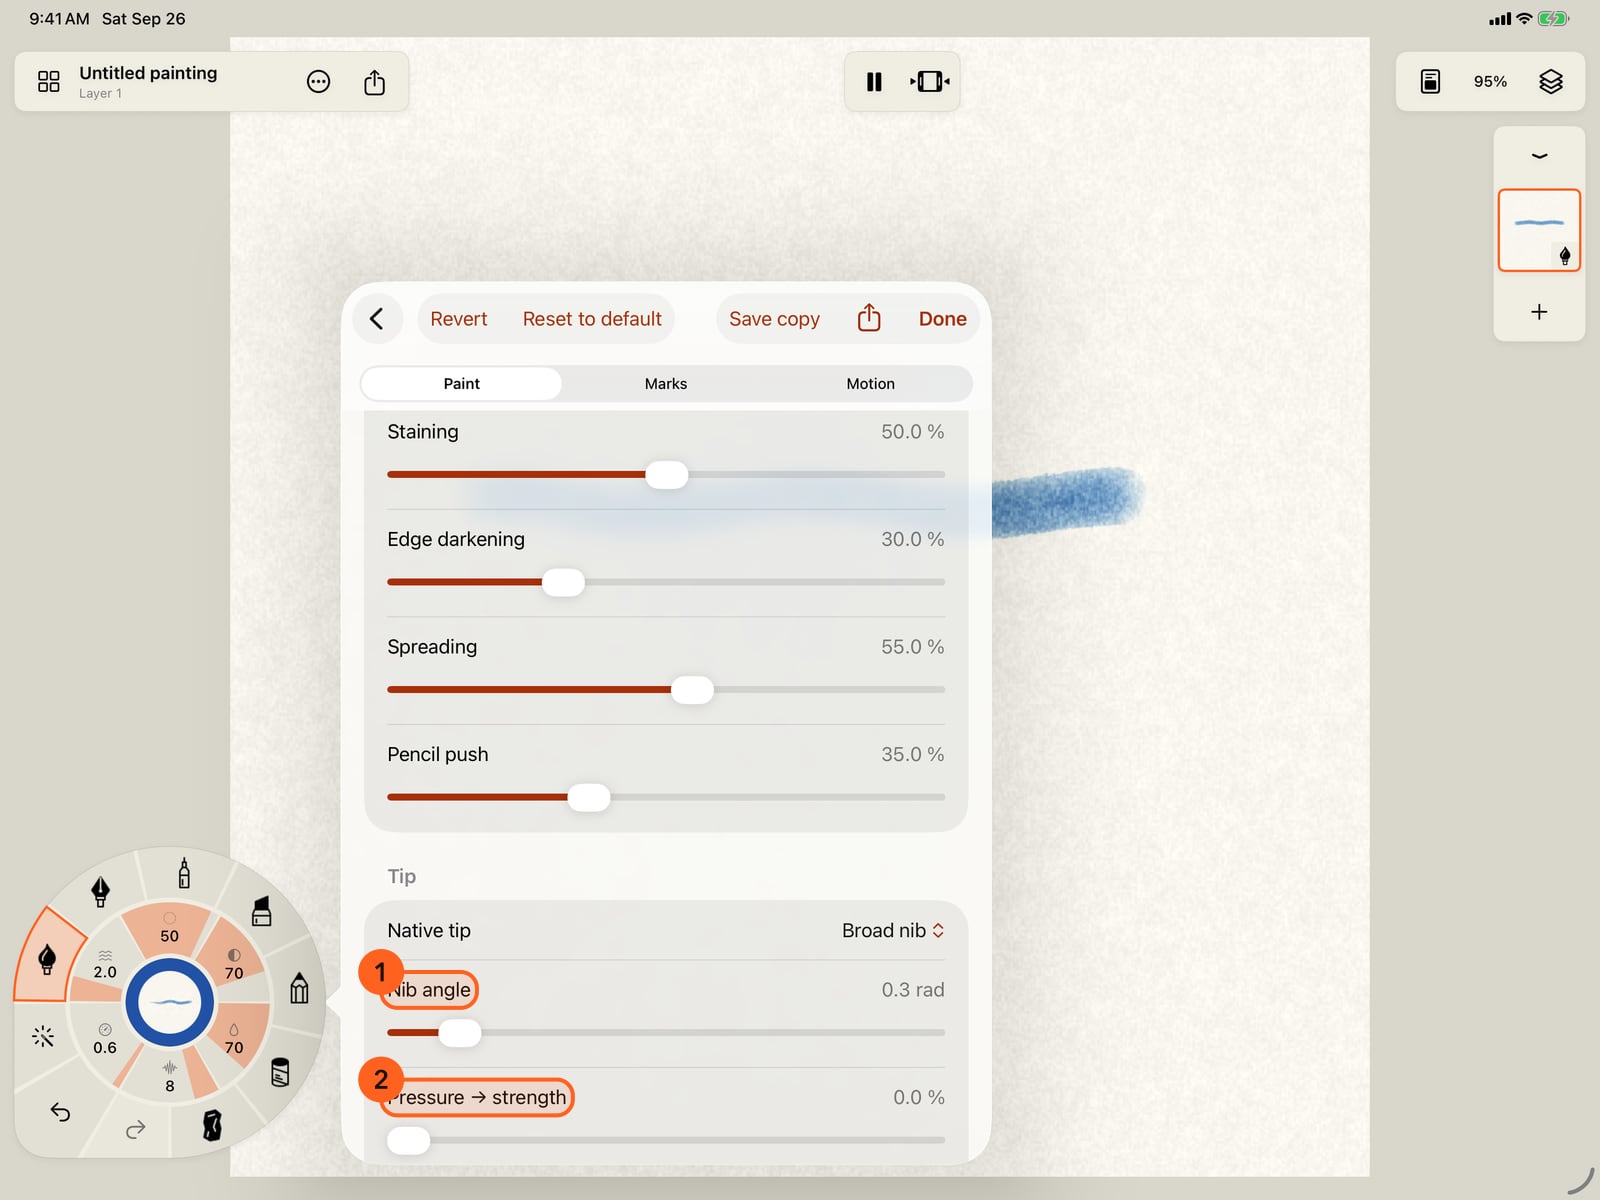
Choose Broad nib. A nib holds an edge, so Nib angle appears, turning the edge the way a calligraphy pen is held.
Tap Done and paint below the first stroke. The same brush, now wider, grainier and cut by a broad nib.
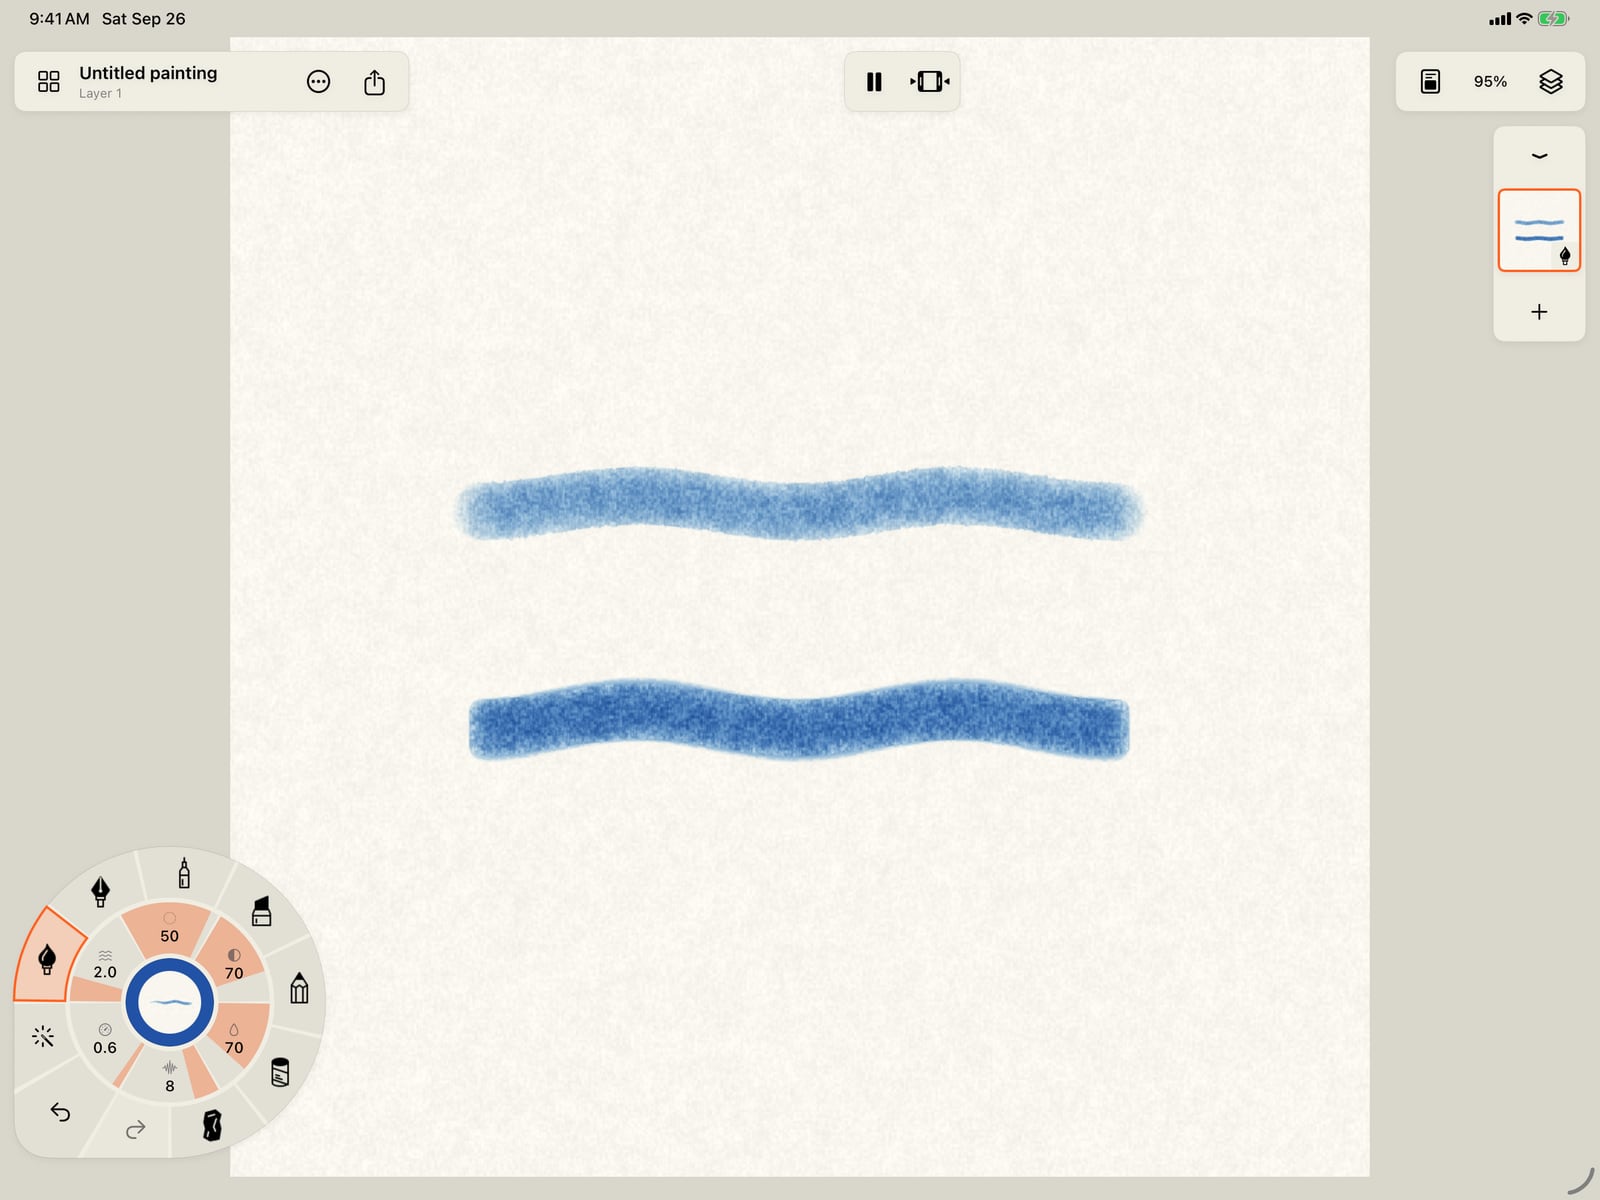
Tap More, then Done, fold the wheel, and paint below the first stroke. The same brush, now wider, grainier and cut by a broad nib.
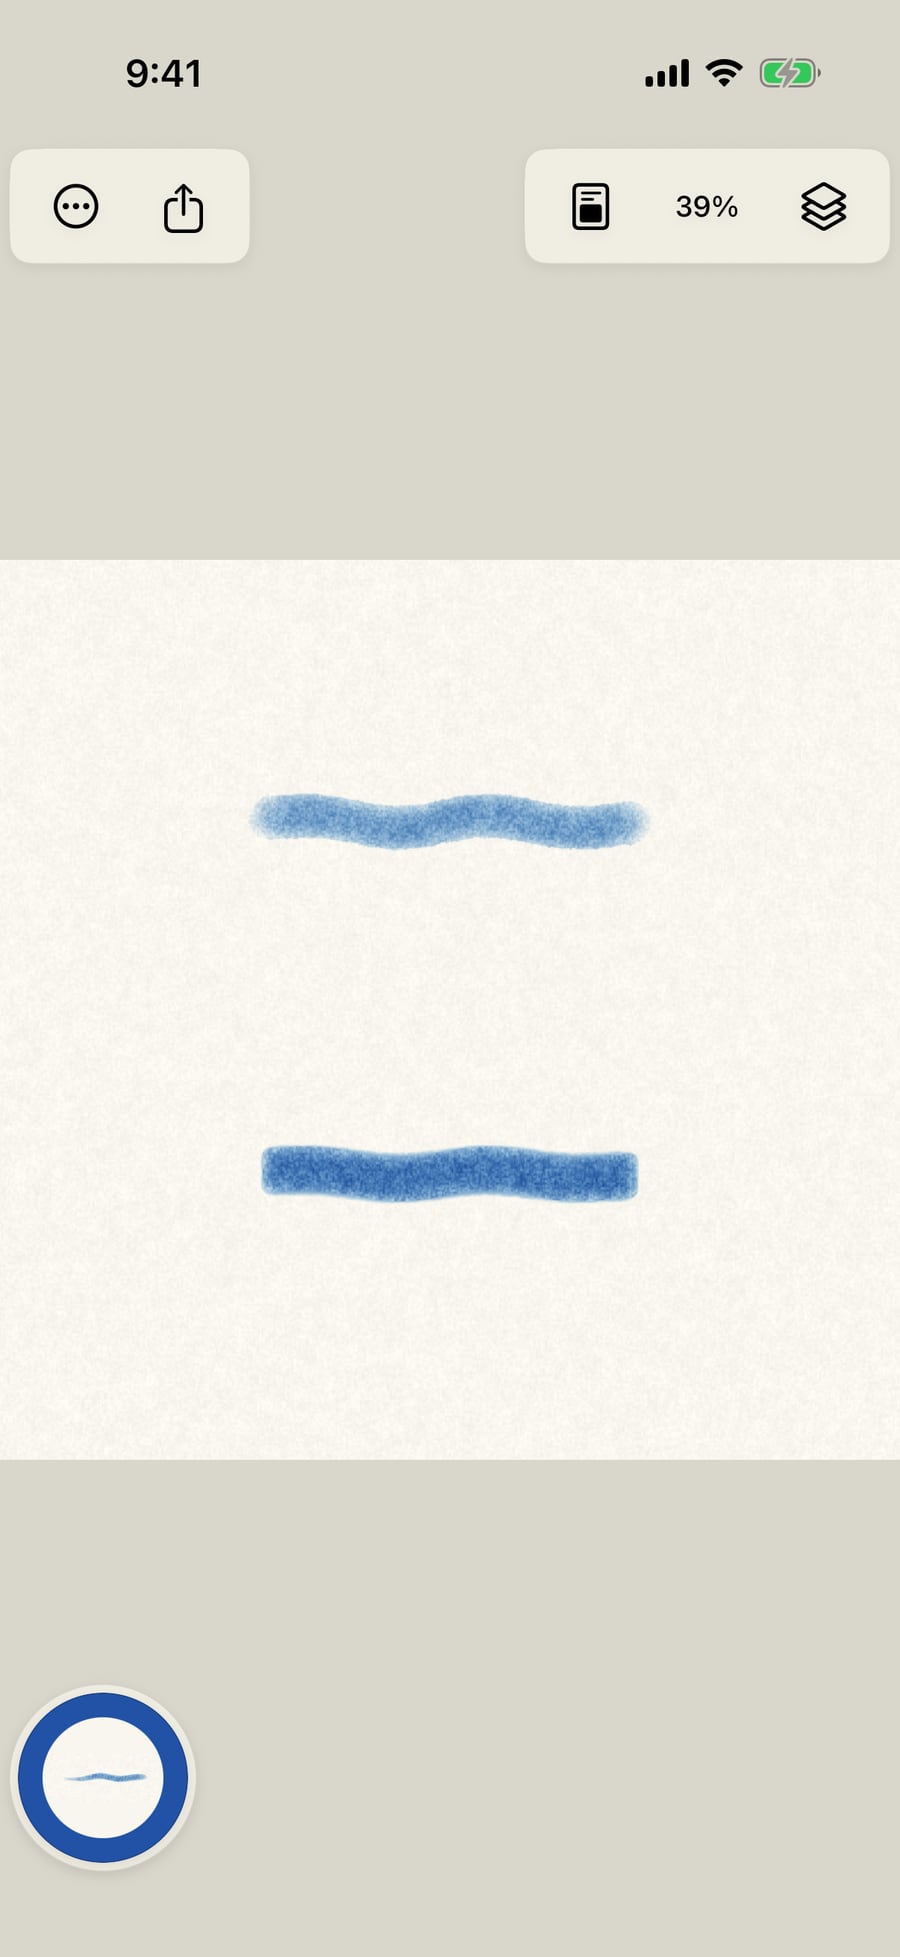
Click Done and paint below the first stroke. The same brush, now wider, grainier and cut by a broad nib.
Open the studio again. Reset to default takes the brush back to how it came, and Save copy keeps this version in My brushes.
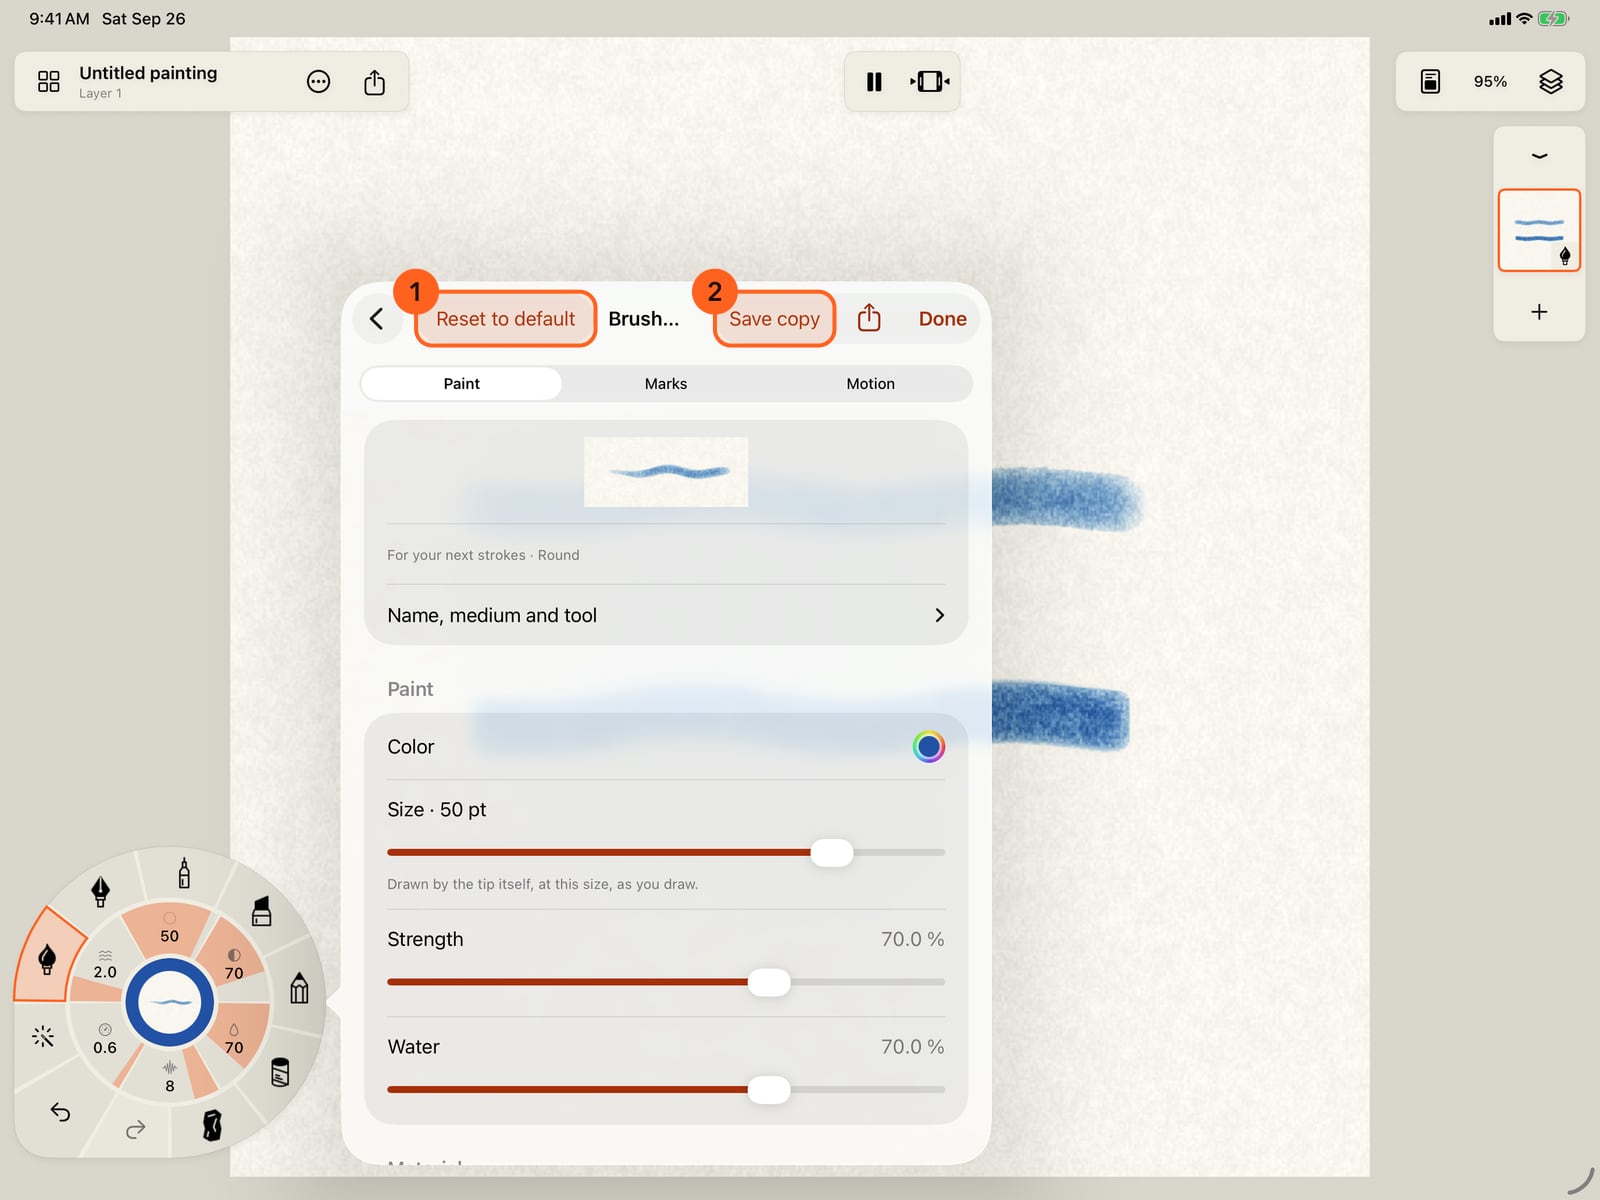
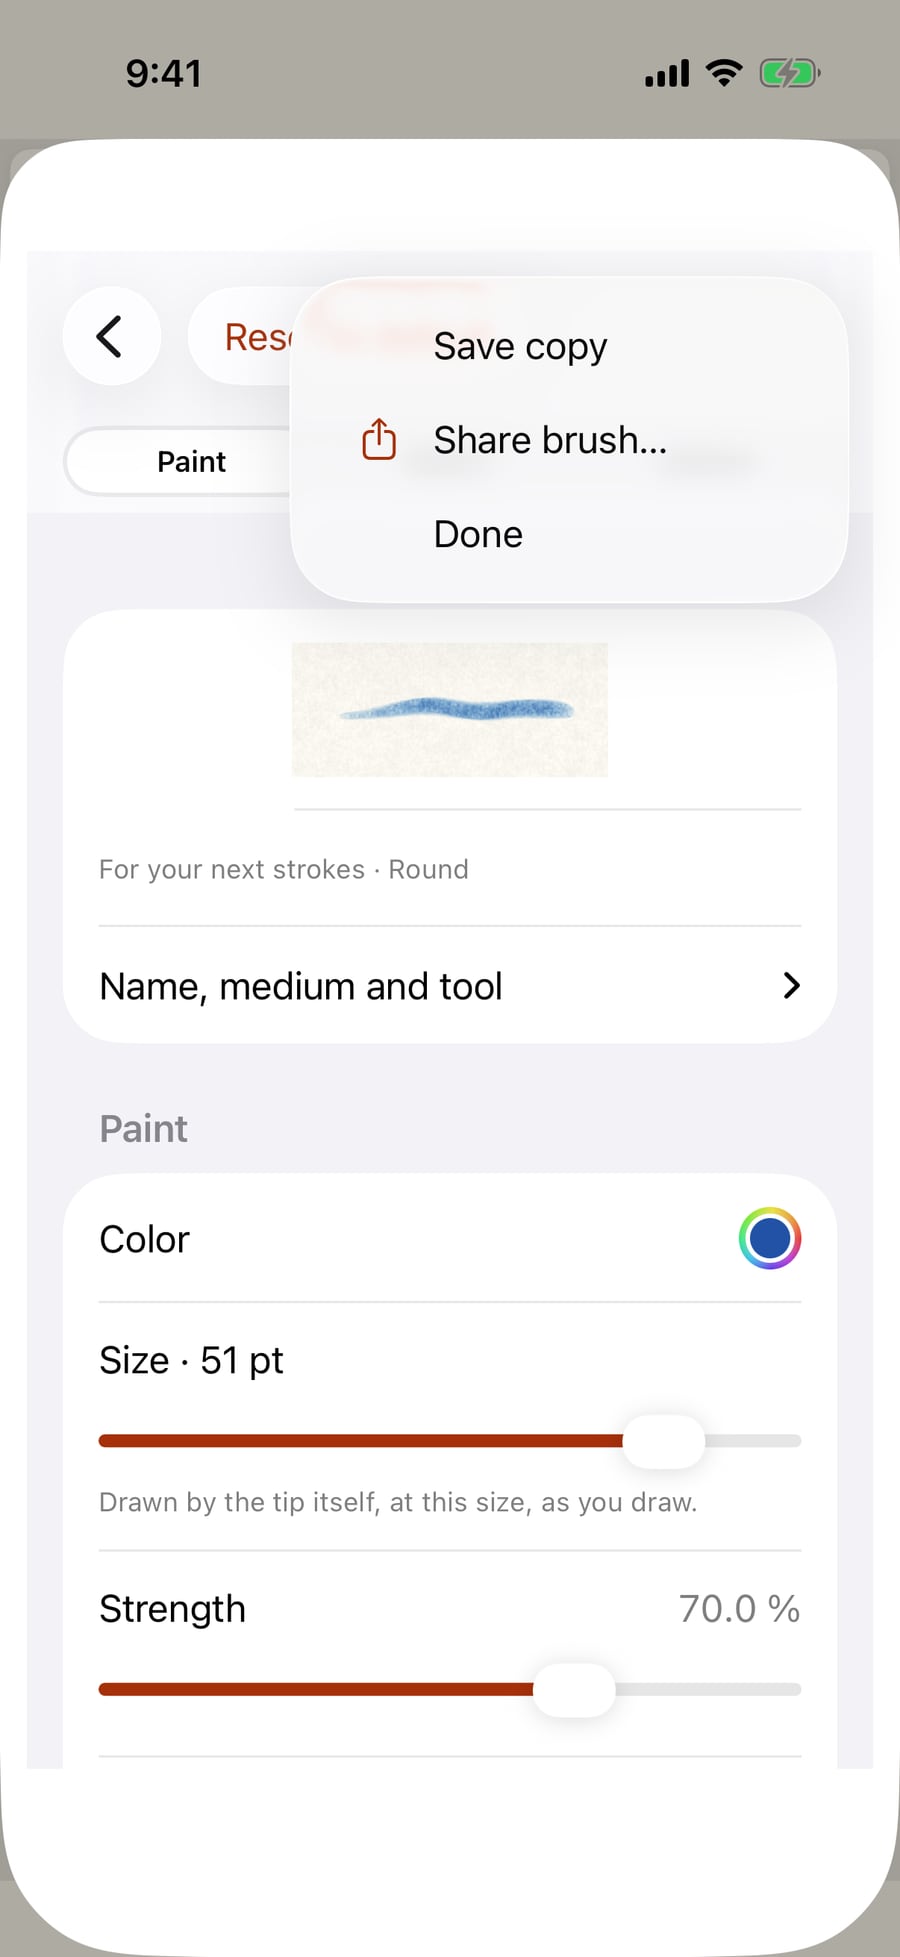
Open the studio again and tap More. Reset to default takes the brush back to how it came, and Save copy keeps this version in My brushes.
Opening Brush Studio
- From the wheel: tap the medium in hand, then All brushes, then Settings beside the brush in hand.
- Or tap any gauge on the wheel for the brush's settings, then More under Paint, Marks or Motion to open that page, or All settings.
The sample at the top shows the brush For your next strokes. Changes apply as you make them, so you can paint, change something and paint again without closing the studio. They never change strokes already painted: for those, use Tools → Select stroke.
A brush is a recipe of three parts, Paint, Marks and Motion, and the studio has a page for each. Under the sample, Name, medium and tool 4 holds the brush itself:
| Control | What it does |
|---|---|
| Brush name | The brush's name. |
| Medium | Starts over as a brush of another medium. |
| Tool | What the brush does: Paint, or a tool the medium has, such as Lift, Smudge, Water or Dust. |
The Paint page 1
What you paint with.
Paint
| Control | What it does |
|---|---|
| Color (Tone for Graphite and Charcoal) | The brush's colour, with the system colour picker. |
| Size | The brush's width. The line under it says whether the tip draws that width itself, or is wider than the tip draws and widens when you lift. |
| Strength | How much colour a stroke lays, the same as the wheel's Strength gauge. |
| Water | How wet the brush is. Watercolor and Ink. |
Material
| Control | Media | What it does |
|---|---|---|
| Material library | All | Starts the brush from a named paint, such as a pigment in its own colour. |
| Grain | Watercolor, Graphite, Pastel, Charcoal | How much the paper's texture breaks up the mark. |
| Adhesion | Pastel, Charcoal | How well particles hold to the paper, and resist smudging. |
| Staining | Watercolor, Ink | How firmly pigment binds to the paper; staining pigment resists lifting. |
| Edge darkening | Watercolor, Ink | How much pigment gathers at the edge as a wash dries. |
| Spreading | Watercolor, Ink | How far wet paint runs. |
| Bleed | Marker | How far the ink bleeds into the paper. |
| Glow | Pen, Graphite, Pastel, Charcoal | Makes the mark add light, for dark paintings. |
| Pencil push | Watercolor, Ink, and the Flow Brush | How much the speed of your stroke pushes the water. |
Tip
| Control | What it does |
|---|---|
| Native tip | The footprint Apple Pencil draws with: Round, Brush, Pointed nib, Broad nib, Textured pencil, Crayon, Wash, Monoline or Reed. |
| Nib angle | For Pointed nib, Broad nib and Reed: the angle the nib's edge is held at. |
| Pressure → strength | How much lighter pressure leaves less paint, keeping the stroke's shape. |
Pressure and tilt shape the tip. Choosing a tip can change the Size range, because each tip draws its own range of widths.
Surface: Brush grain response is how strongly this brush answers the paper's grain, and Brush spread response how strongly its wet paint answers the paper's absorbency (wet media and Marker).
Pro: All parameters, at the end of the Paint page, lists every value the brush sends to the renderer. See Brush parameters and files.
The Marks page 2
What each stroke leaves, and how the marks move inside it. A paint brush draws a Line, or lays marks along its path: Shapes (beads, stars, petals and more), Hatching, or Effects, by category, such as Flame, Blizzard and Fireflies. Below the tiles: Shape (mark size, spacing, joining and edge softness), Life (travel, liveliness, grow and fade, colour inside the marks, hatch motion), Pencil (what pressure, tilt, direction and speed do) and Advanced. See Marks and Effects. Tools that move paint, such as the Water Brush, have no Marks page.
The Motion page 3
How the whole finished stroke moves. Choose motion opens every motion as a moving sample, the medium's suggestions first. Below it: the motion's Amount, Speed (or Frame rate), and Detail or Pattern where the motion has them; Advanced motion (Phase, Anchors, Move paint); Combine motions (Pro, see Combine motions); and for wet media, Motion drives water.
Keeping, reverting and resetting
| Control | What it does |
|---|---|
| Revert | Appears after your first change: puts the brush back as it was when the studio opened. |
| Reset to default 1 | Appears when the brush differs from its default: takes it back to the built-in brush it came from, or to the file it was imported from. A reset is itself an edit, so Revert can undo it. |
| Save copy 2 | Saves the brush as it is now in My brushes, and continues editing the copy. |
| Share brush… | Saves the brush as a file. Pro. |
| Done | Closes the studio, keeping the brush in hand as it is. |
On iPhone, Done and some of the other buttons sit in the toolbar's More menu (⋯).
Pro: Brush Studio is Free. All parameters, Share brush… and adding motion modifiers need Pro. On Free, their notes and Share brush… open Free and Pro over the Studio, as does a change that needs a fourth paint layer.
Something not behaving as expected?
Visit support or write to [email protected].