

Guides / Images and colouring pages
Image layers
Bring in a photo or picture as its own layer, place it by hand or with sliders, and let it take on the paper.
Pictures come in as layers. Tap Layers, then Add image.
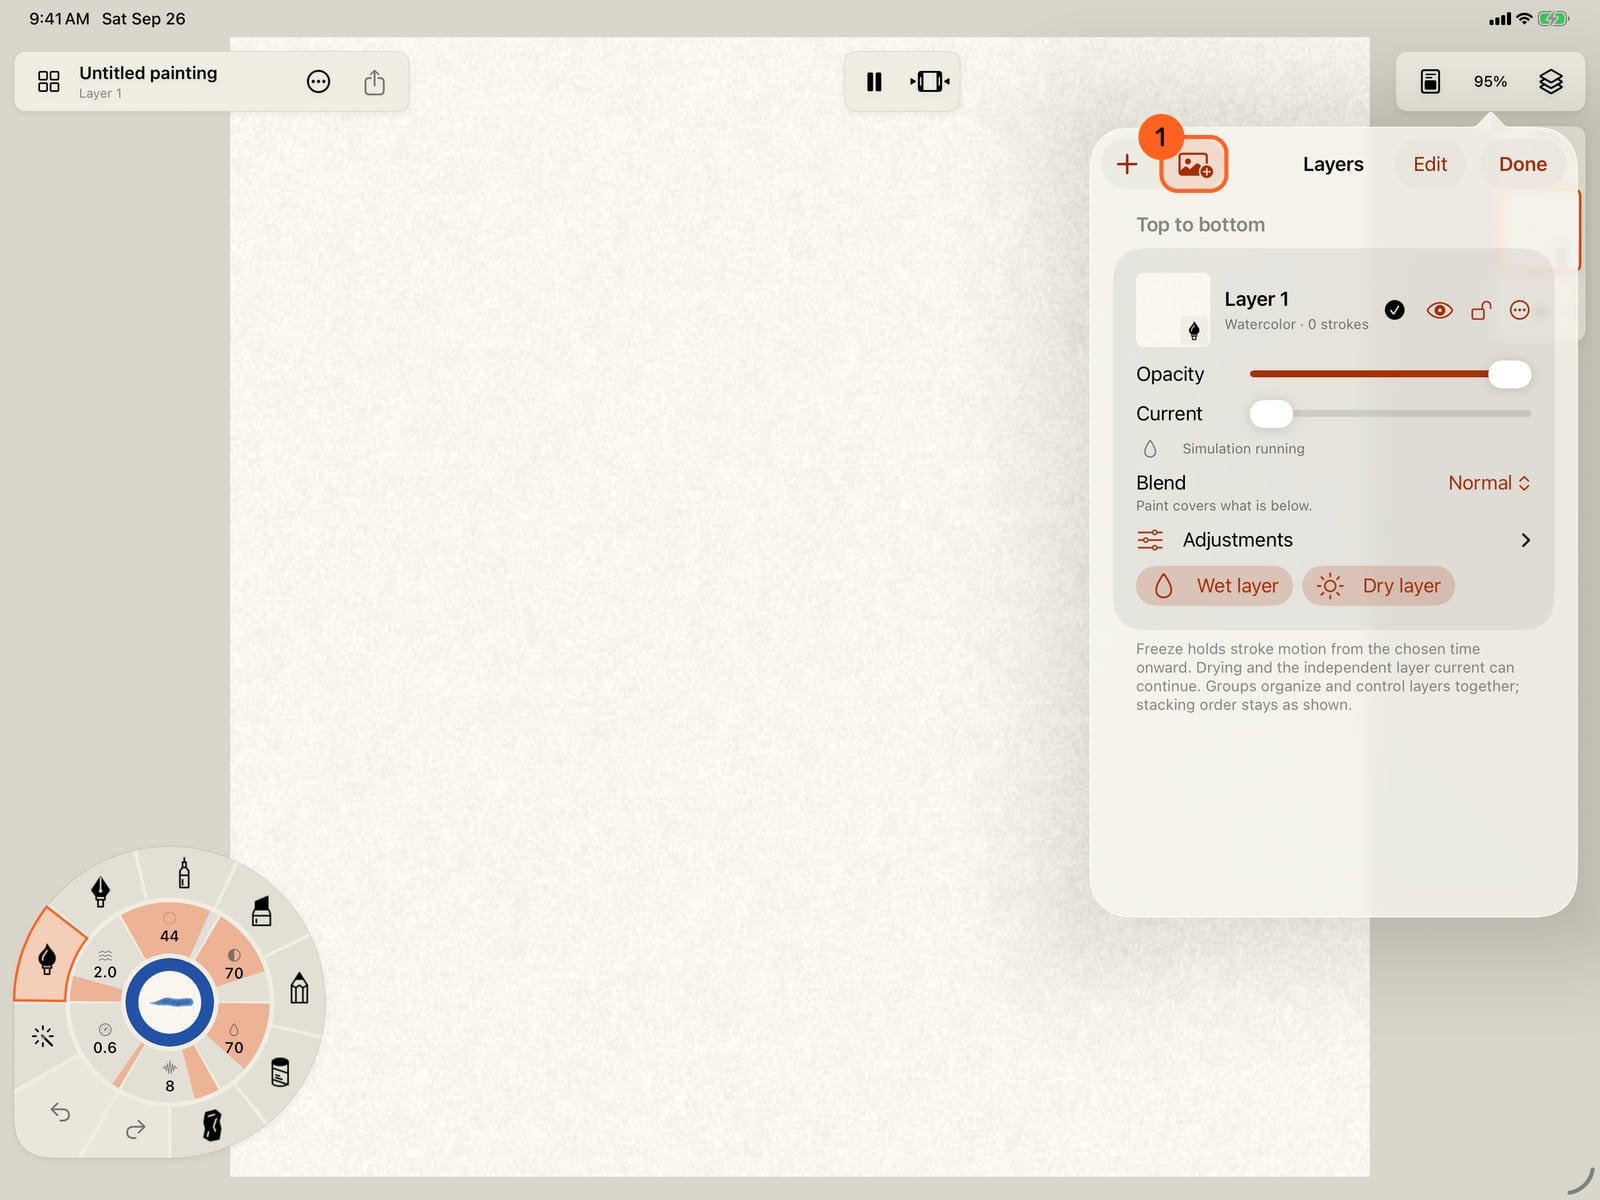
Pictures come in as layers. Tap Layers, then Add image.
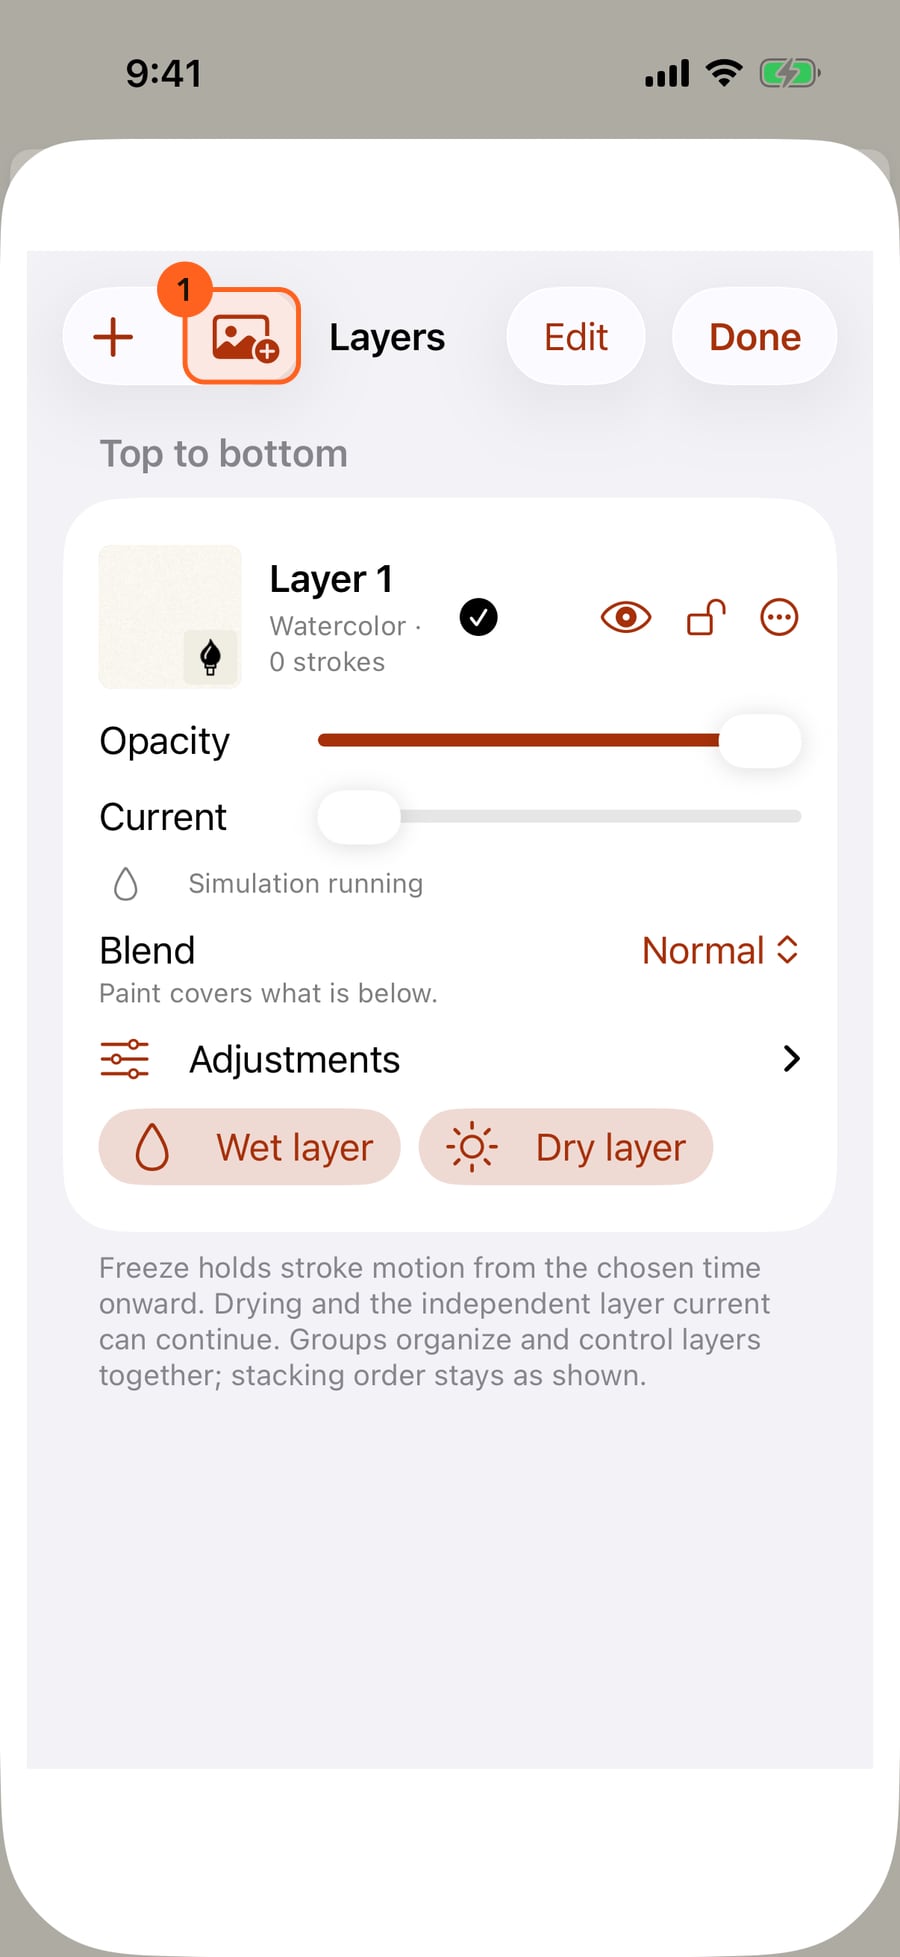
Pictures come in as layers. Click Layers, then Add image.
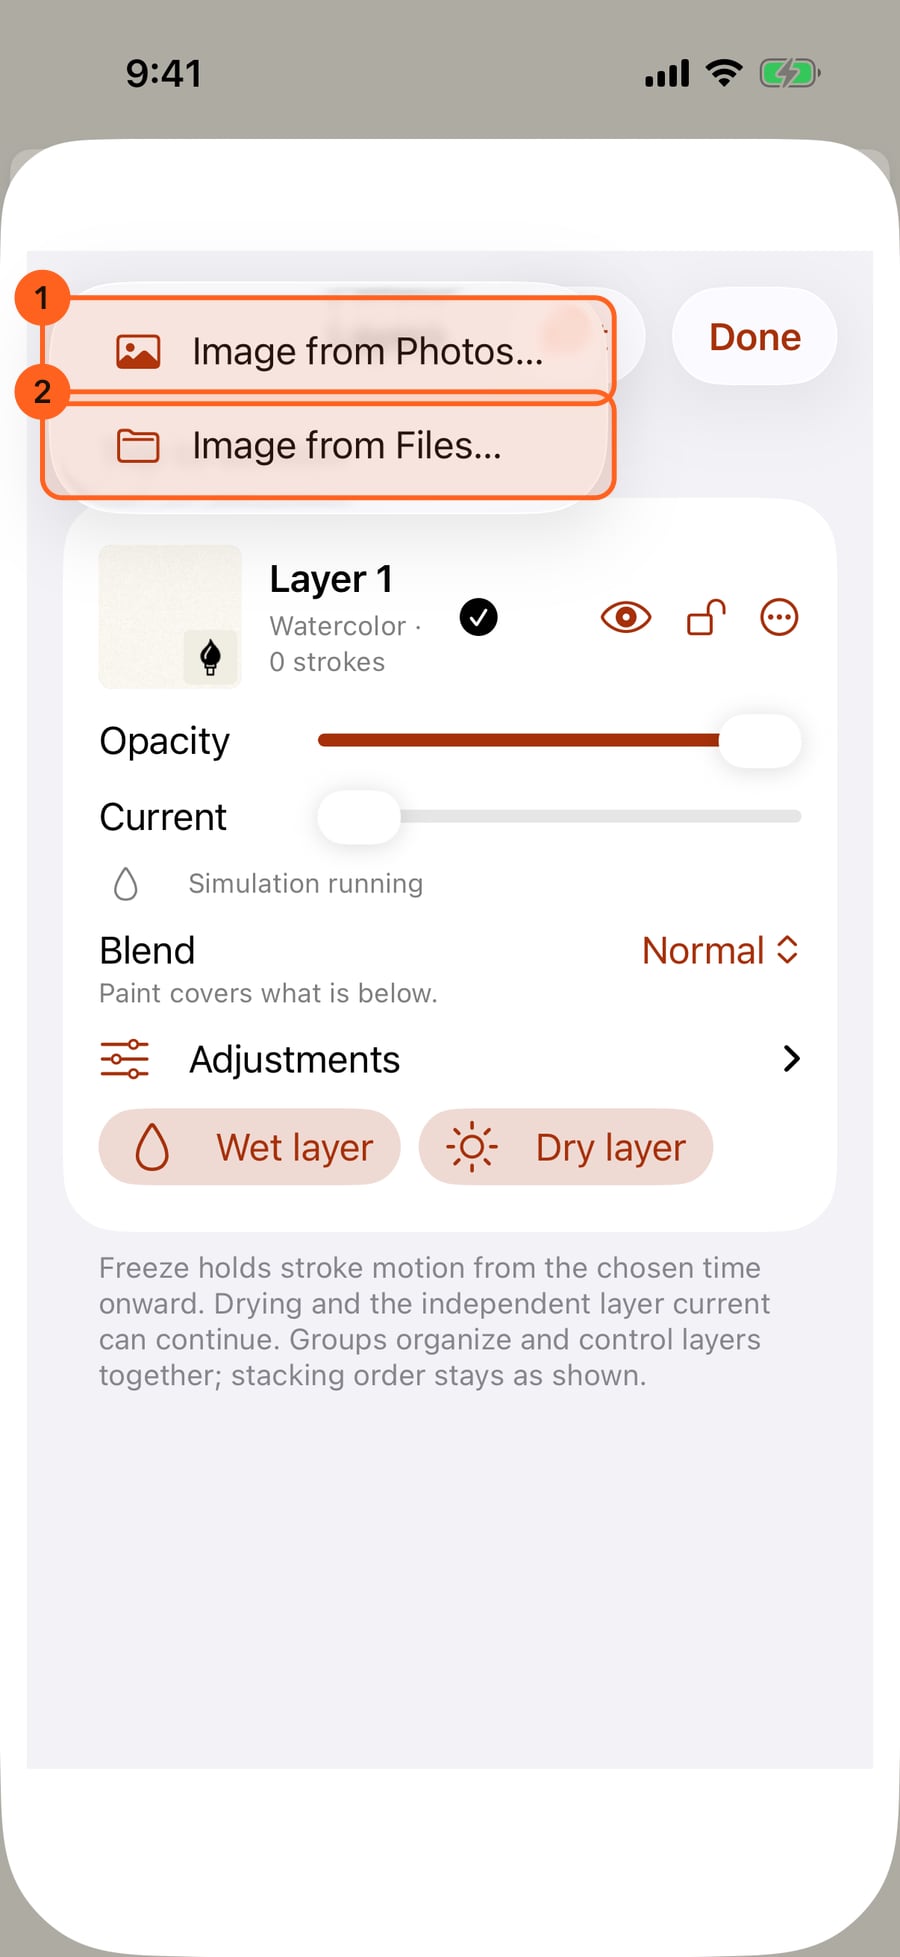
Choose Image from Photos for your photo library, or Image from Files for a picture saved in Files.
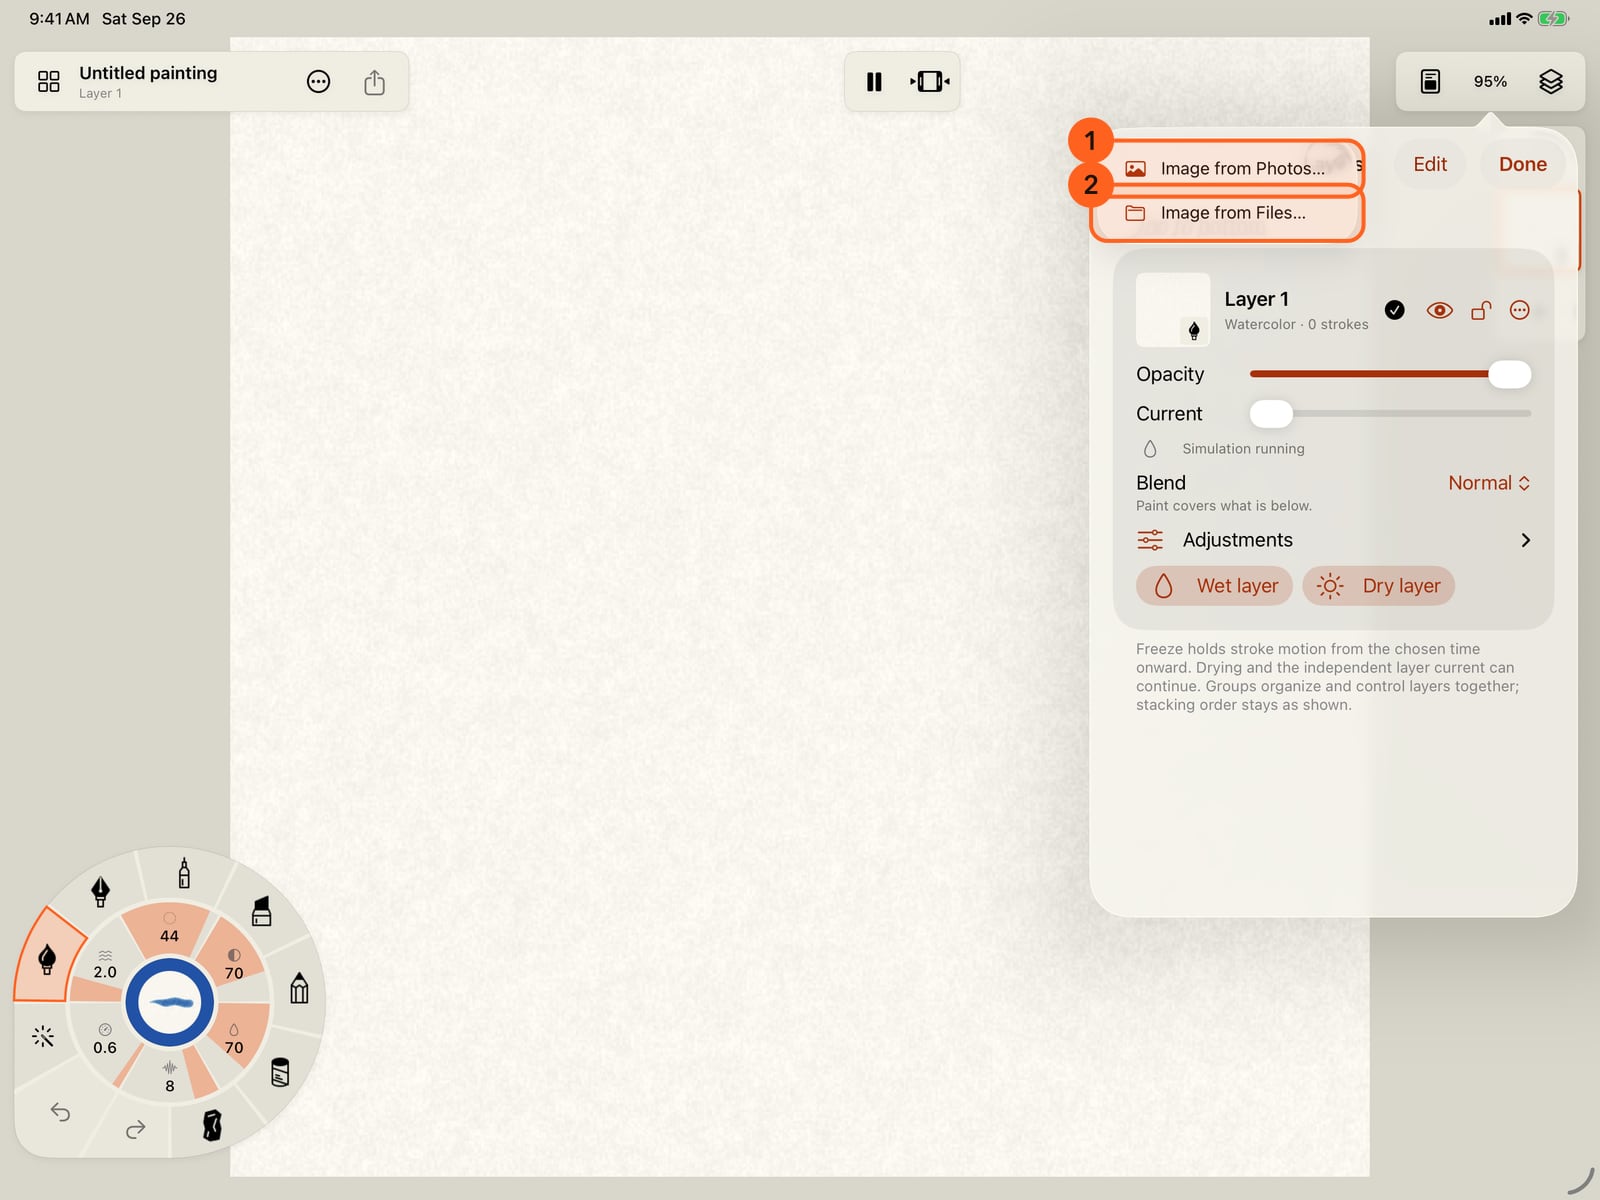
Choose Image from Photos for your photo library, or Image from Files for a picture saved in Files.
Here, from Files. Find the picture and tap it.
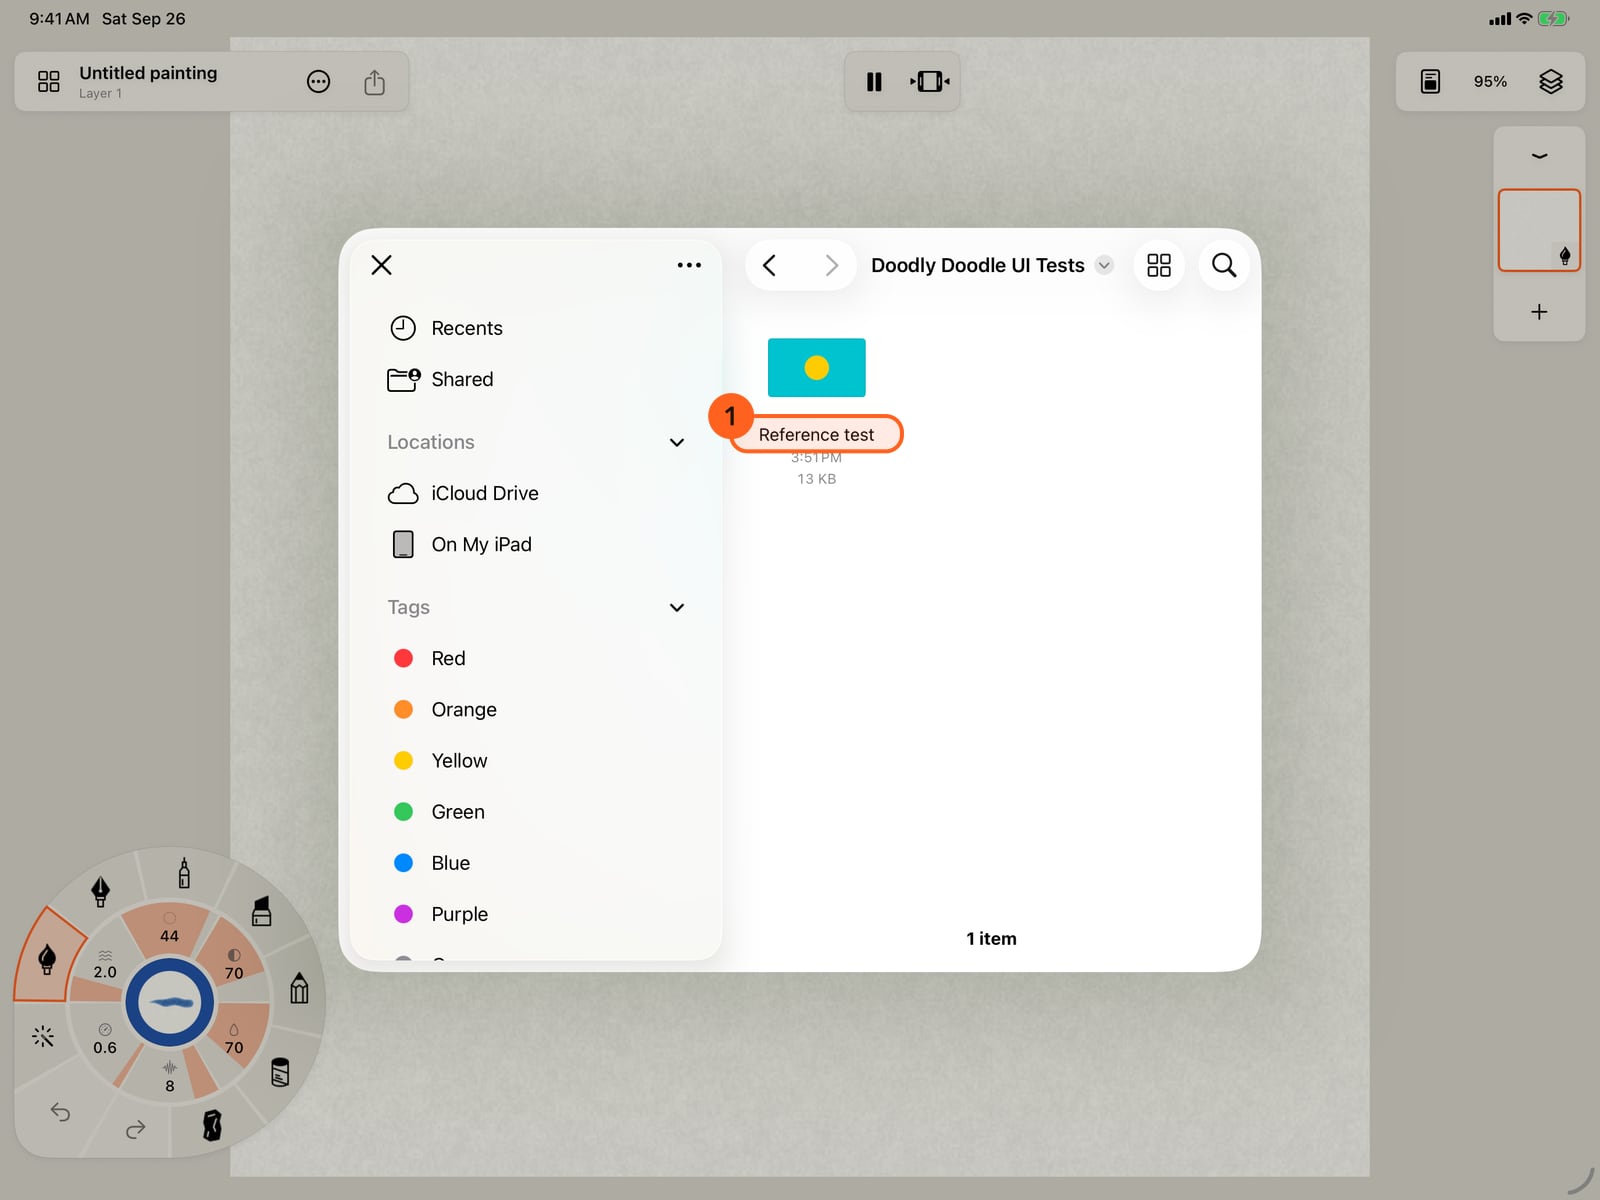
Here, from Files. Find the picture and tap it.
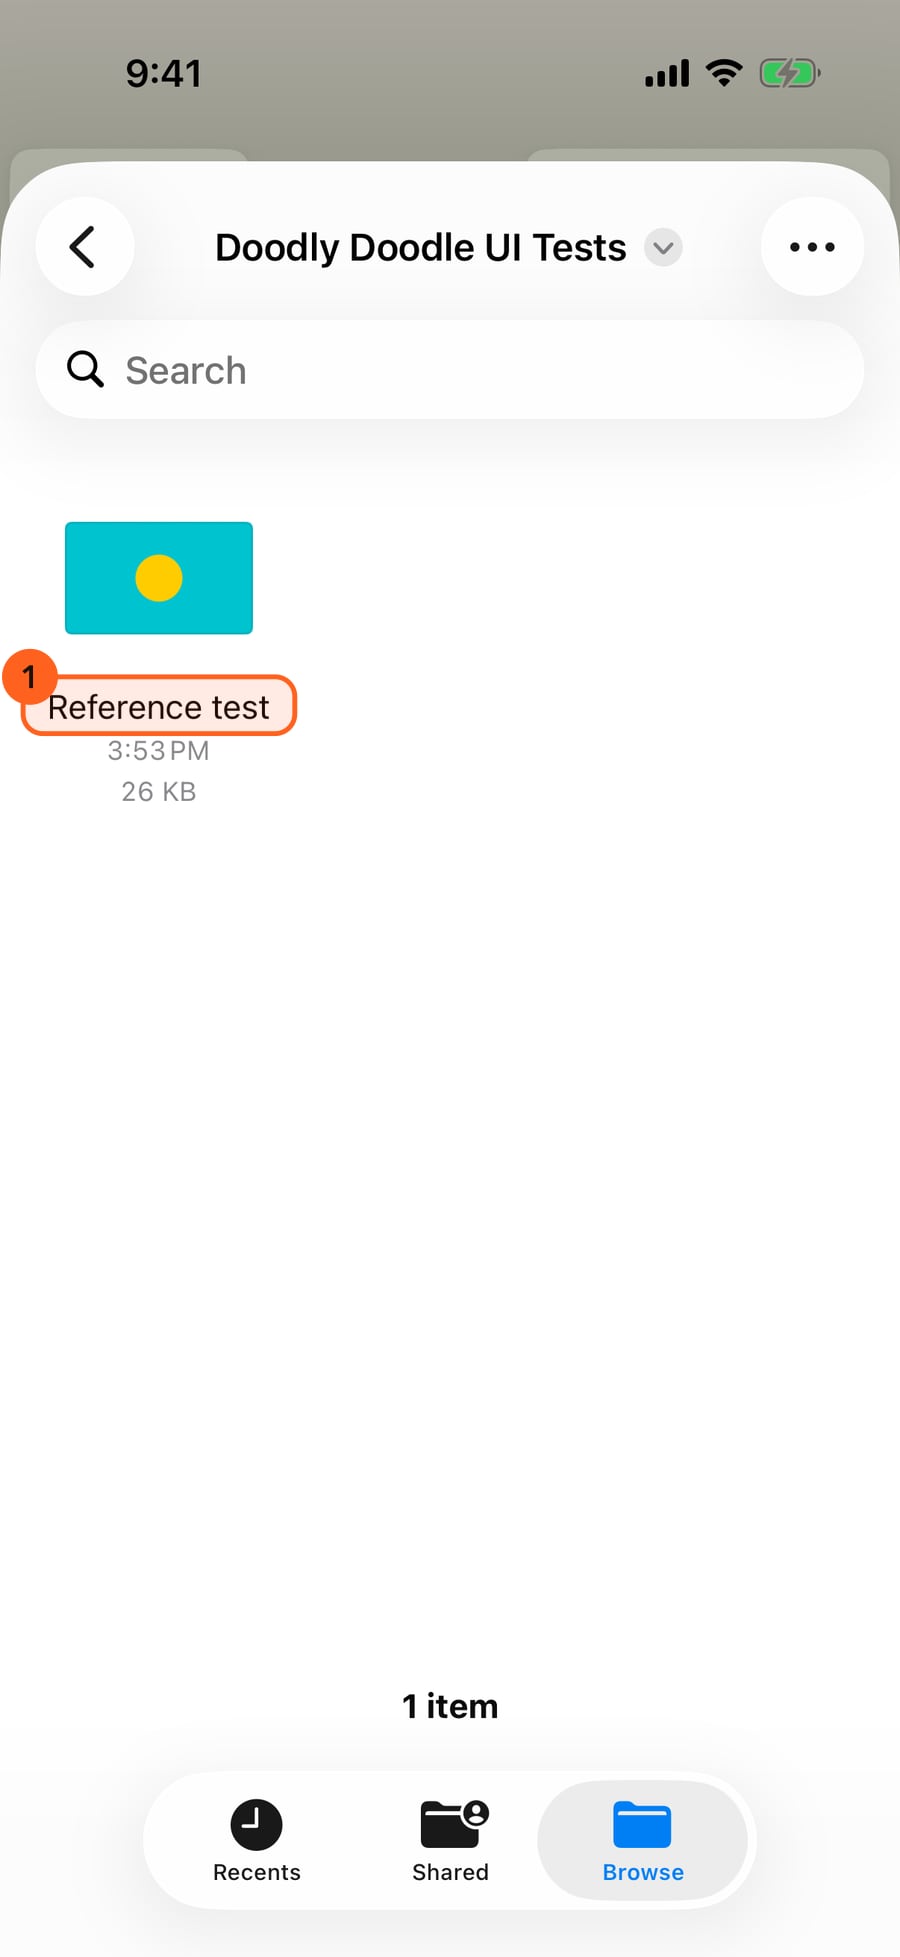
Here, from Files. Find the picture and click it.
The picture arrives as its own layer, fitted to the canvas, under your paint. The paint layer stays current.
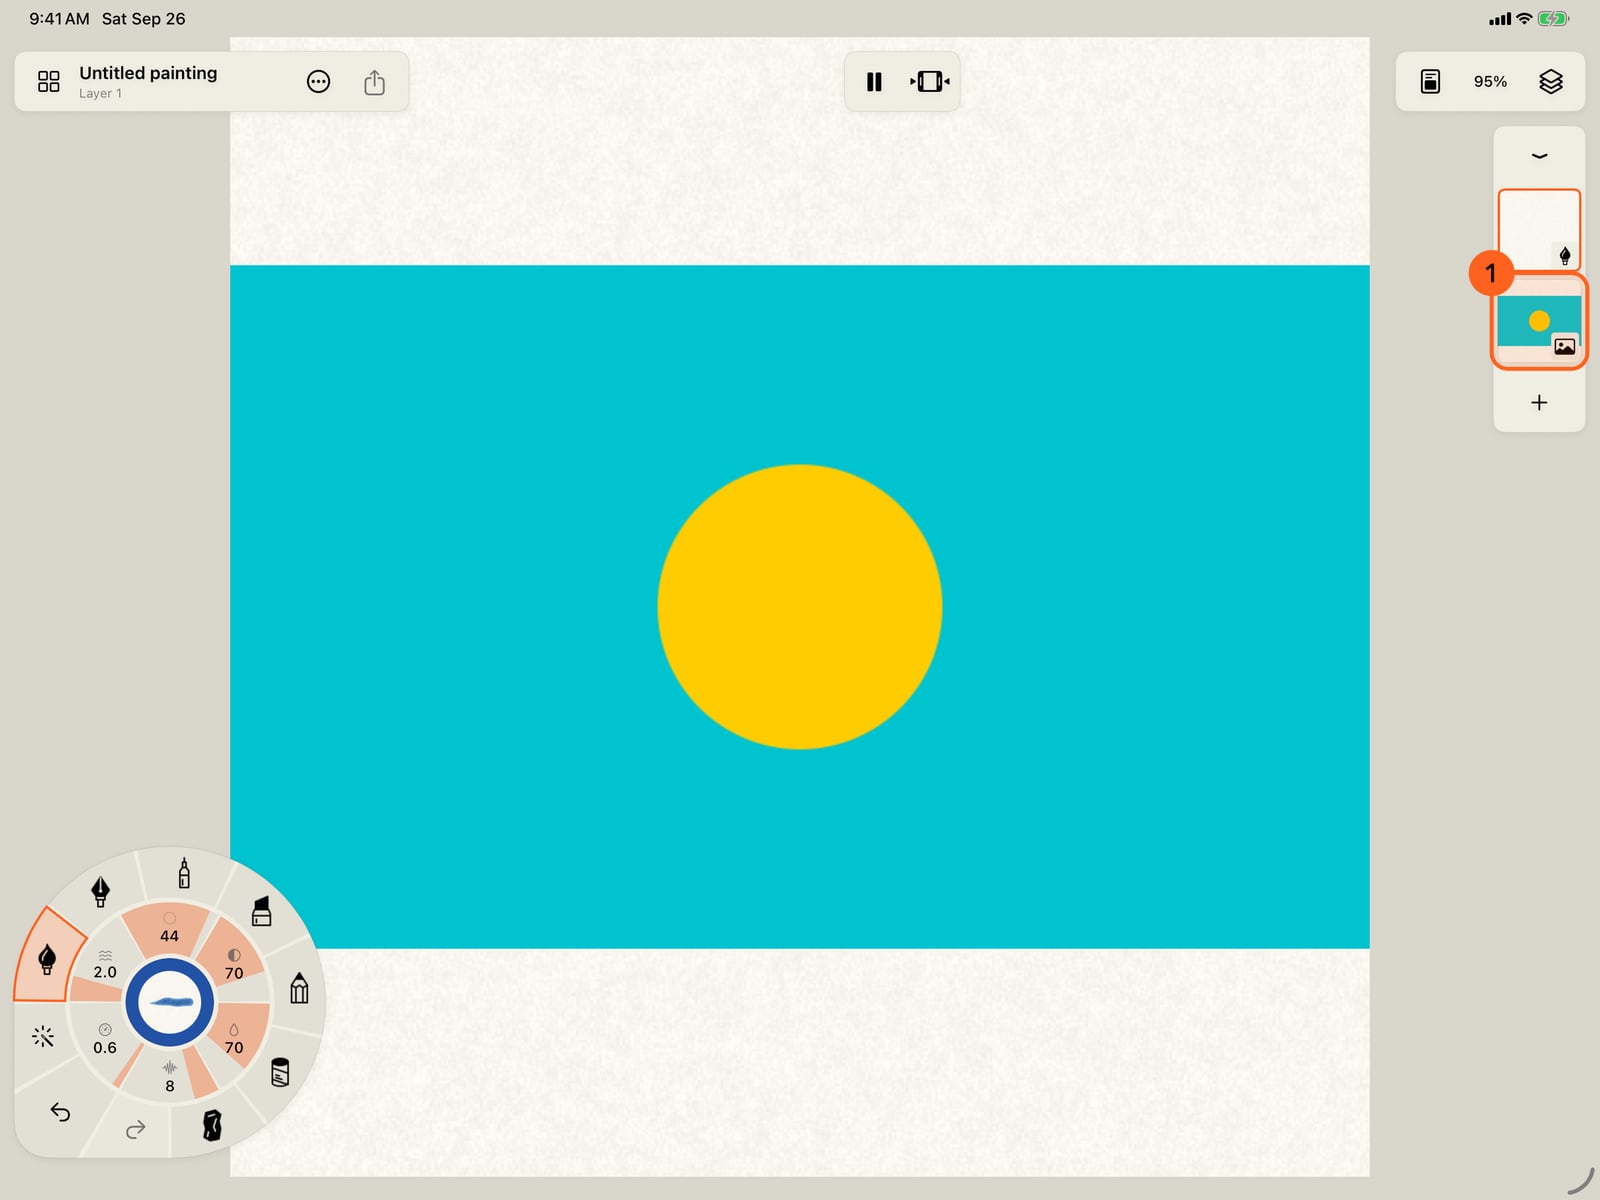
The picture arrives as its own layer, fitted to the canvas, under your paint. The paint layer stays current.
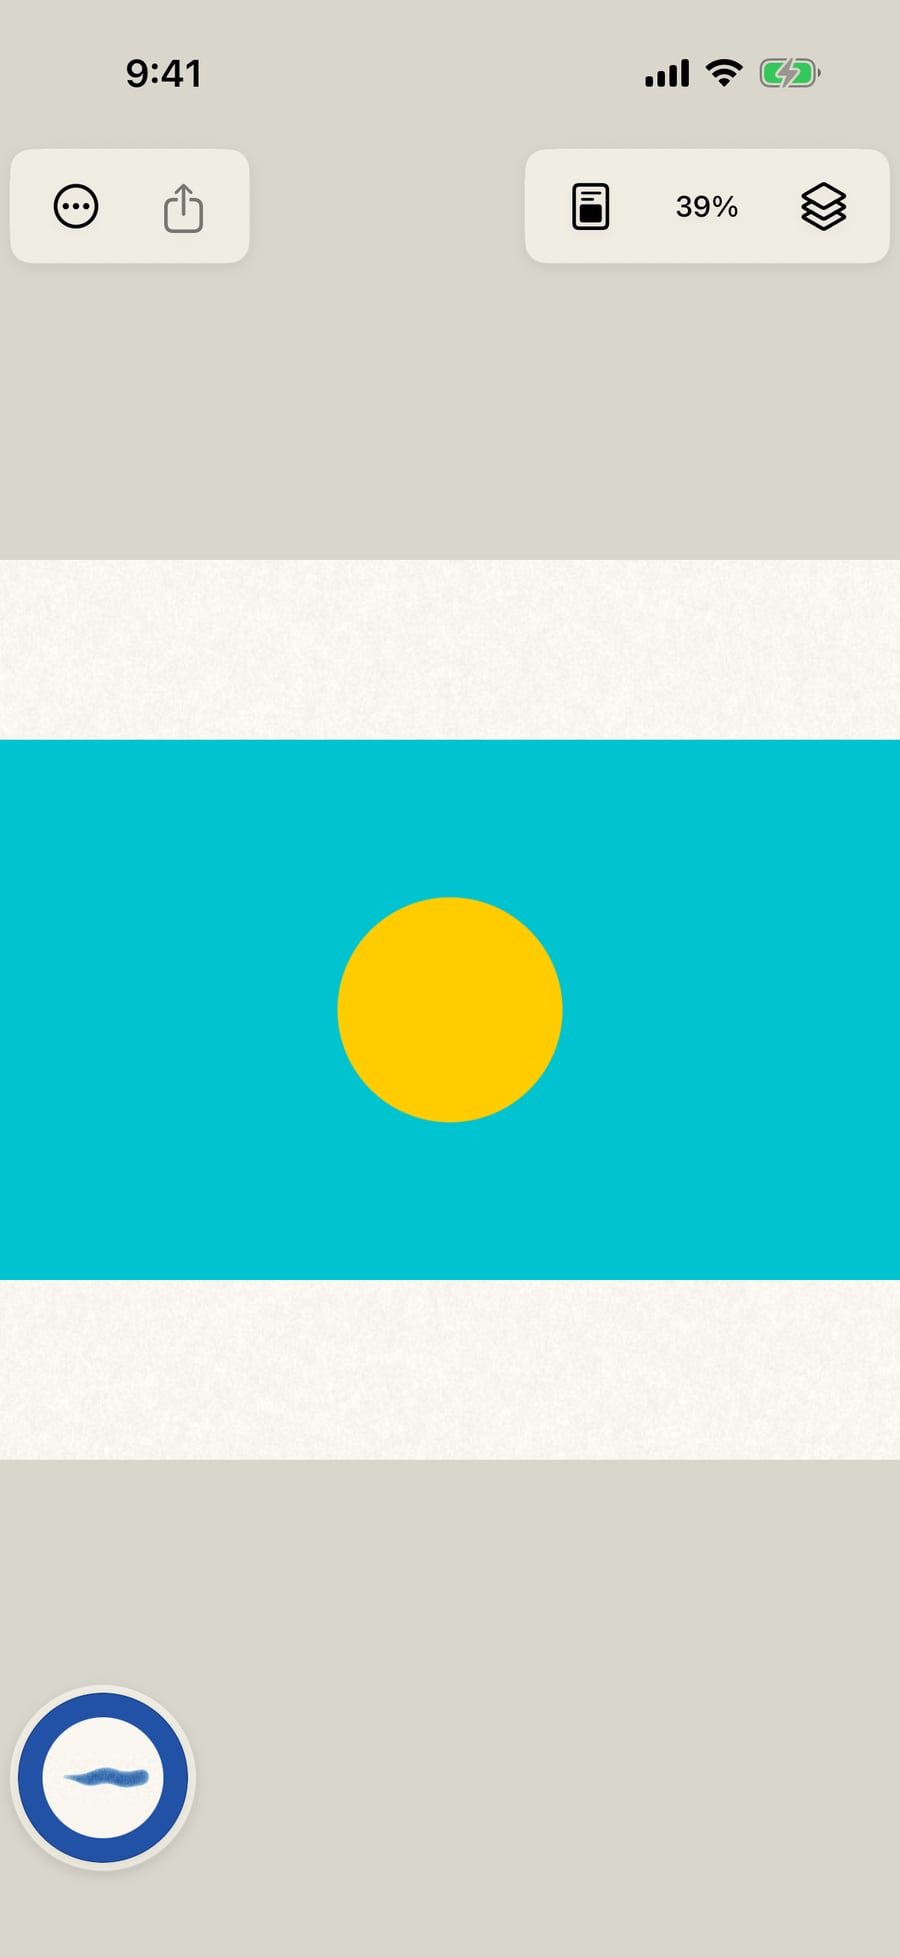
Tap the image's thumbnail to make it current, and tap it again for its controls.
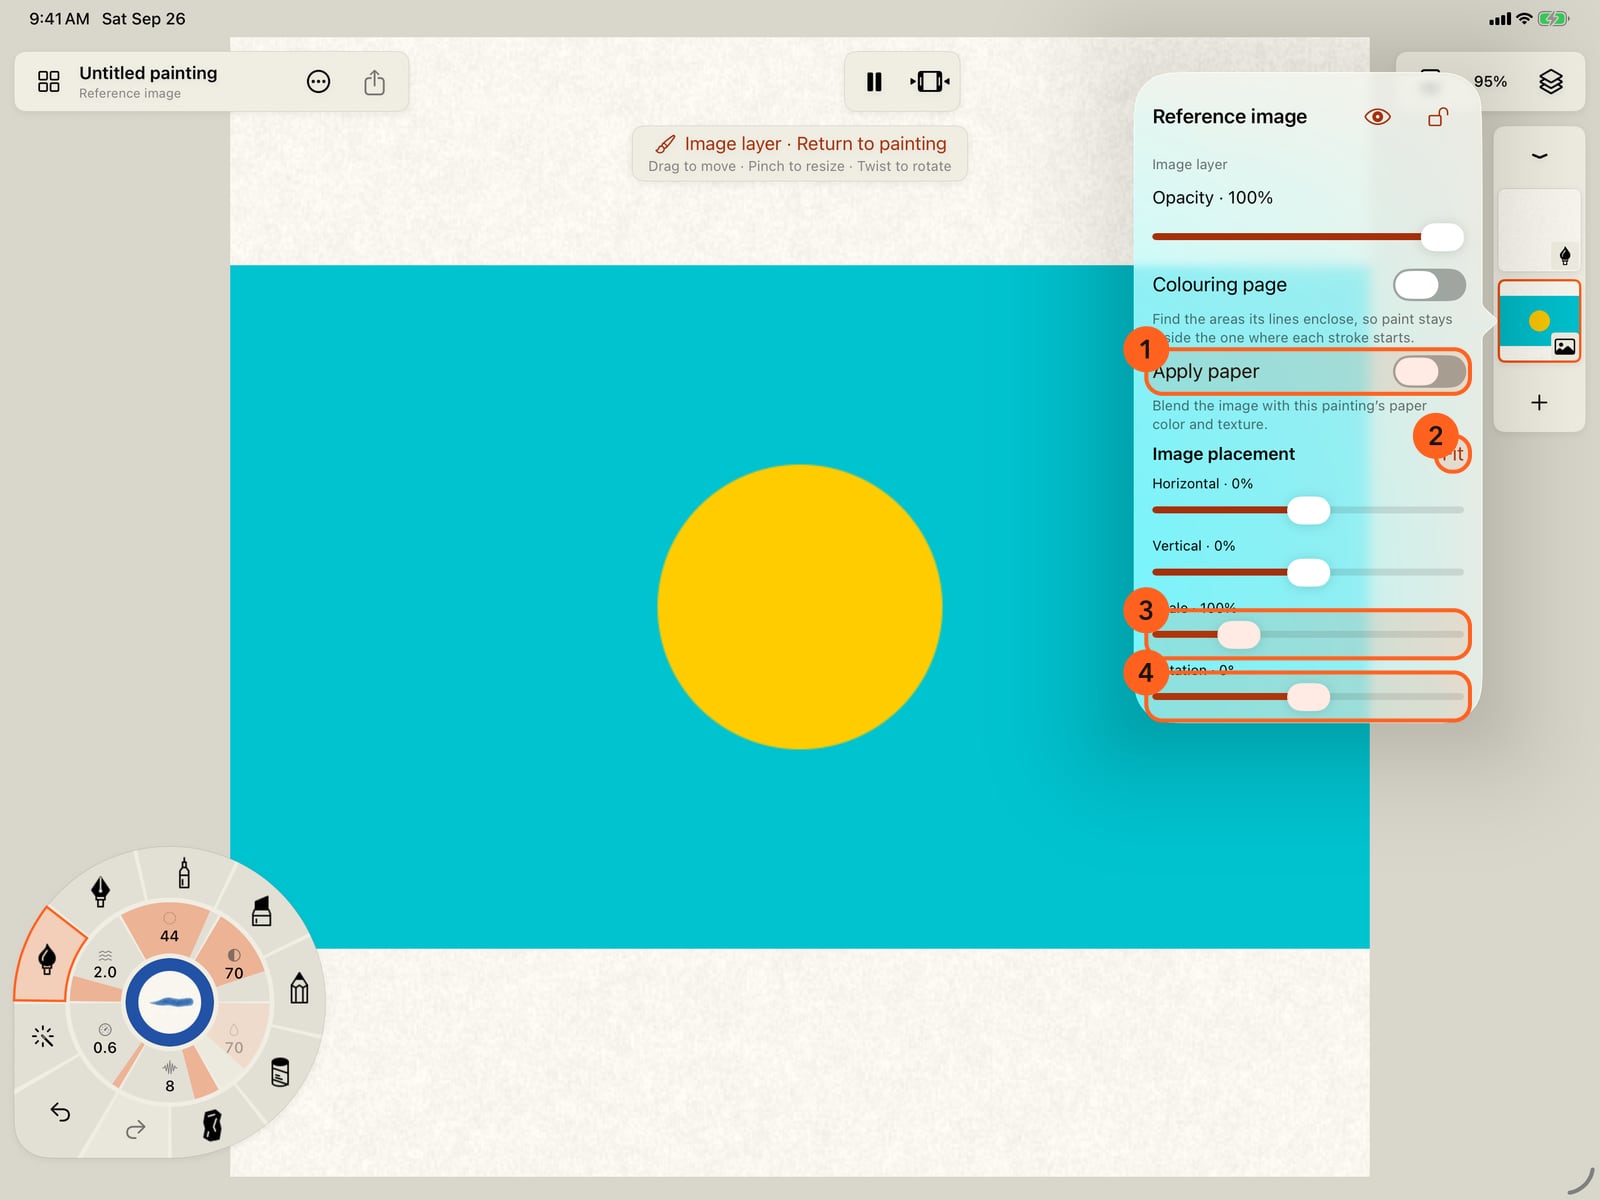
Open Layers and tap the image layer. Its controls open beneath it.
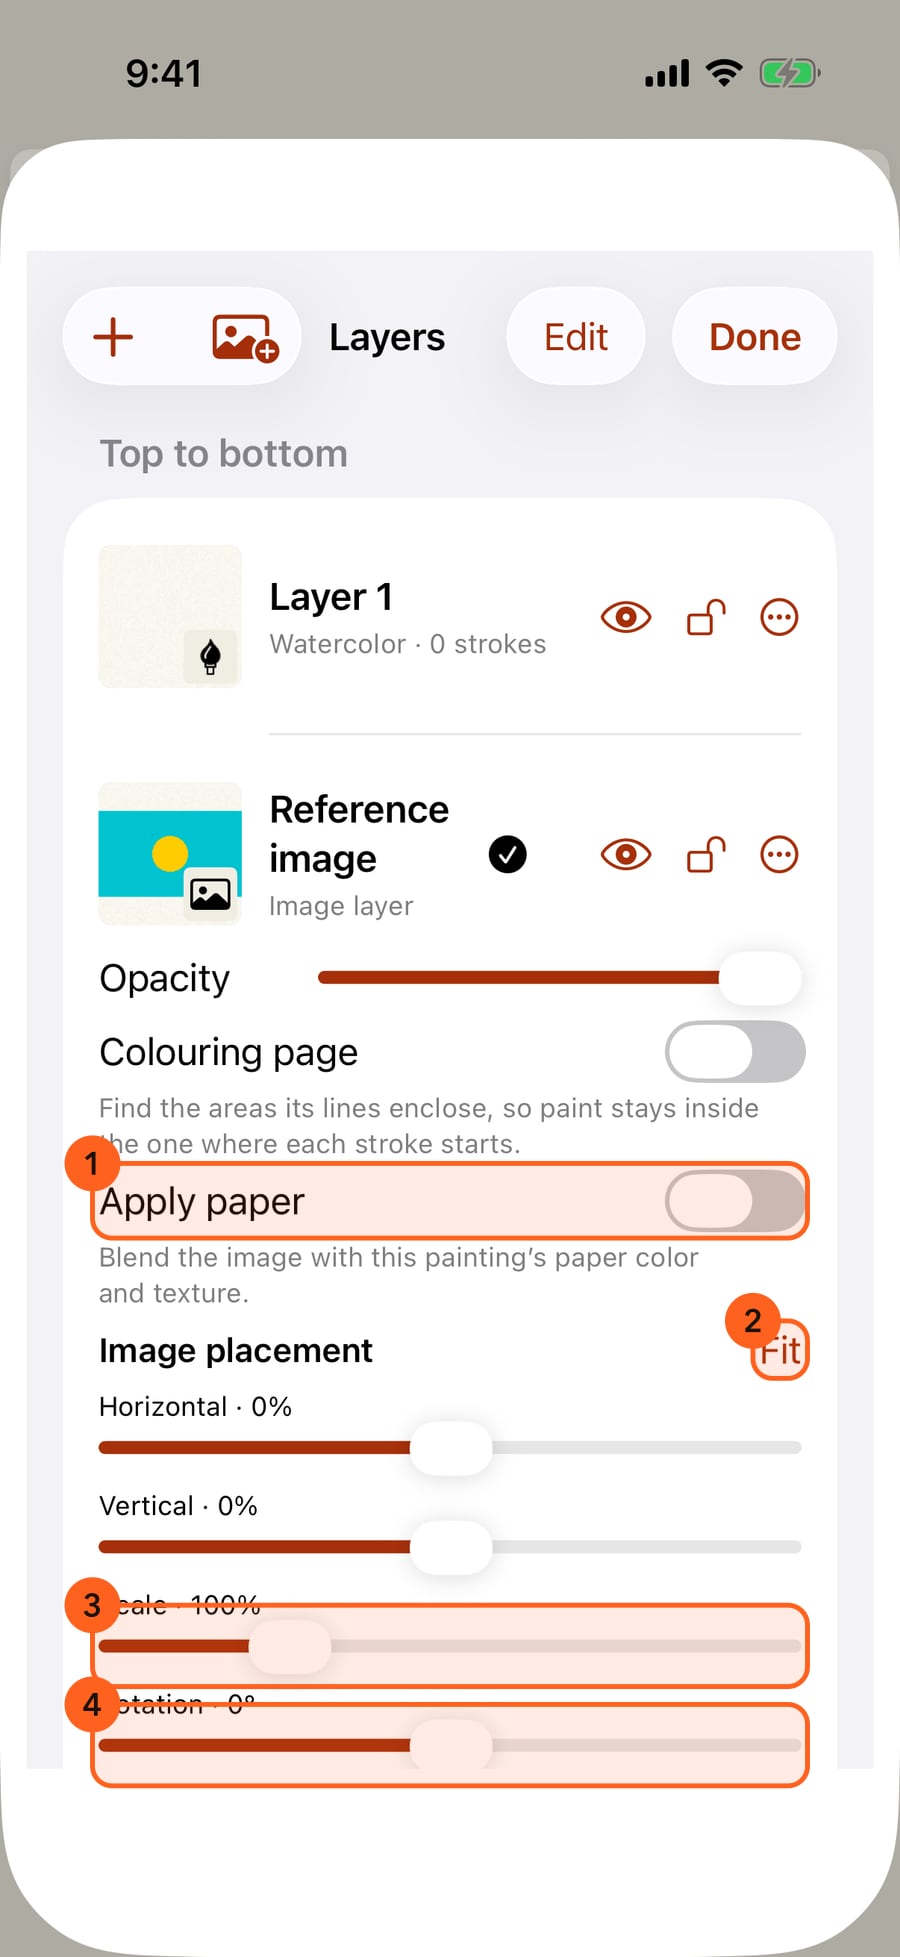
Click the image's thumbnail to make it current, and click it again for its controls.
Scale and Rotation set exact values, as do Horizontal and Vertical. Apply paper lays the painting's paper colour and texture over the picture.
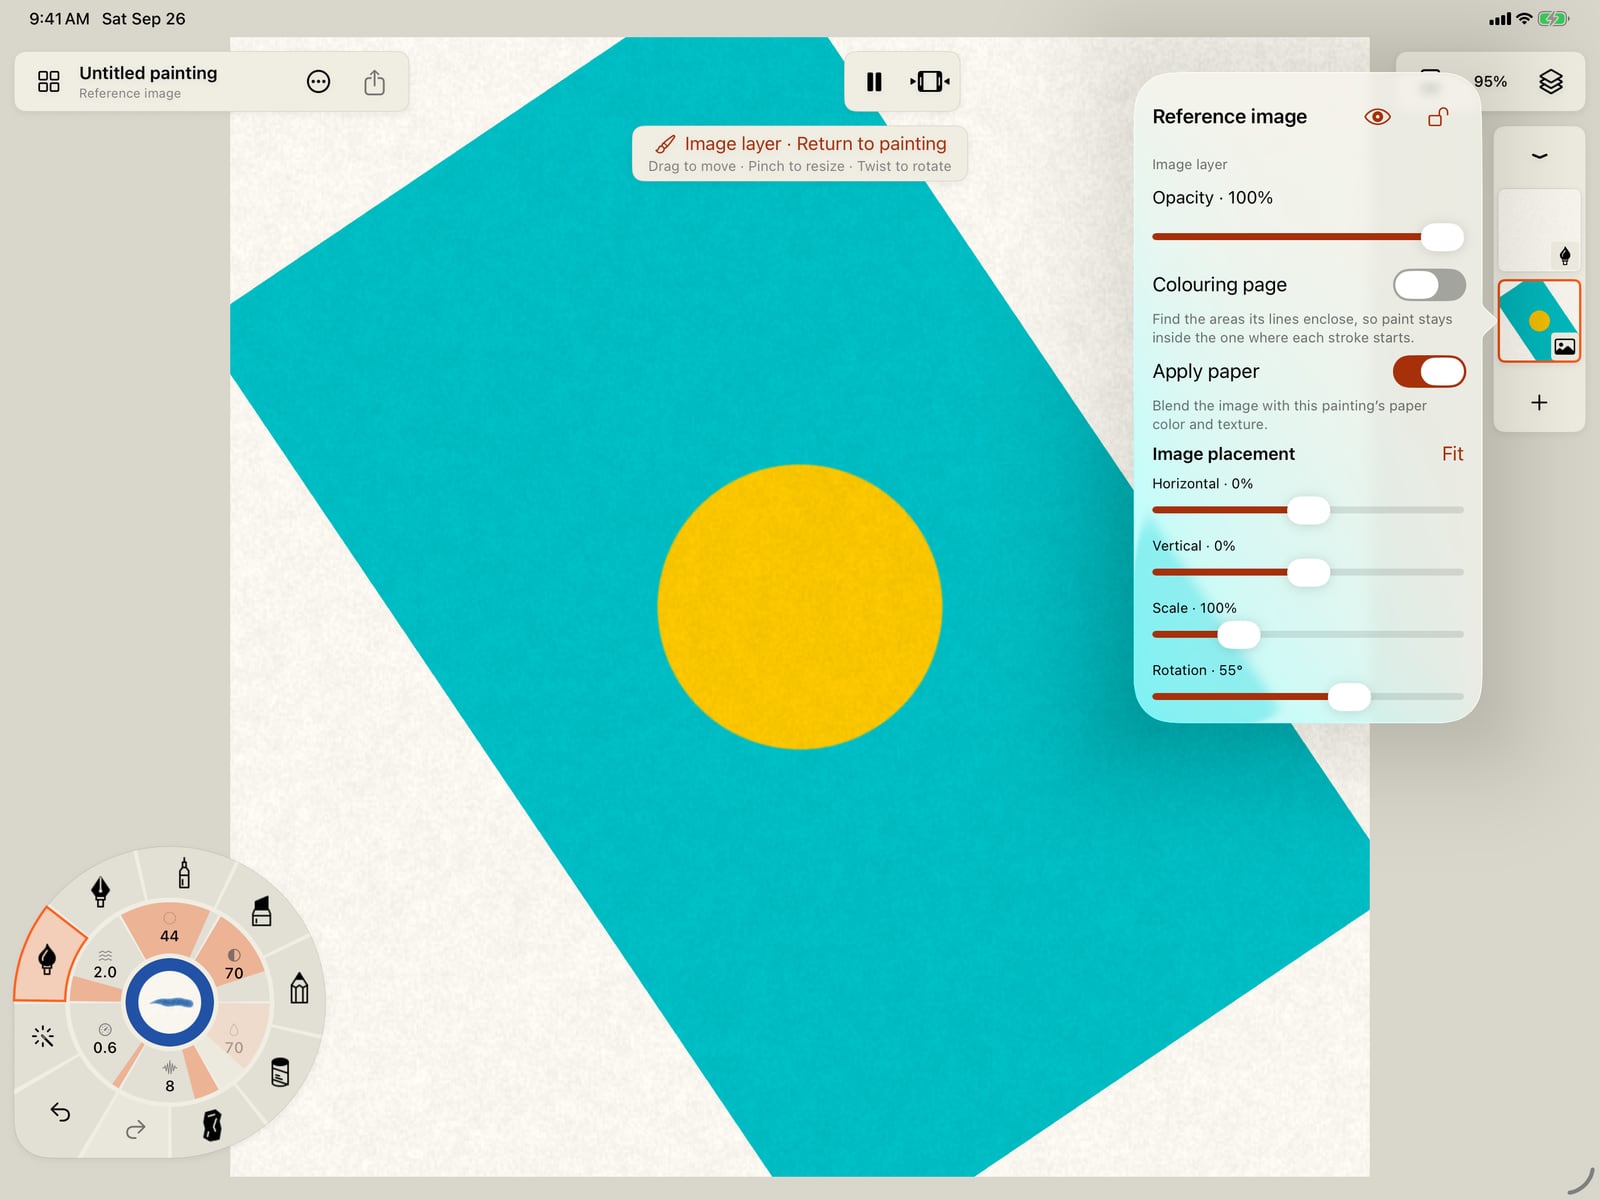
Scale and Rotation set exact values, as do Horizontal and Vertical. Apply paper lays the painting's paper colour and texture over the picture.
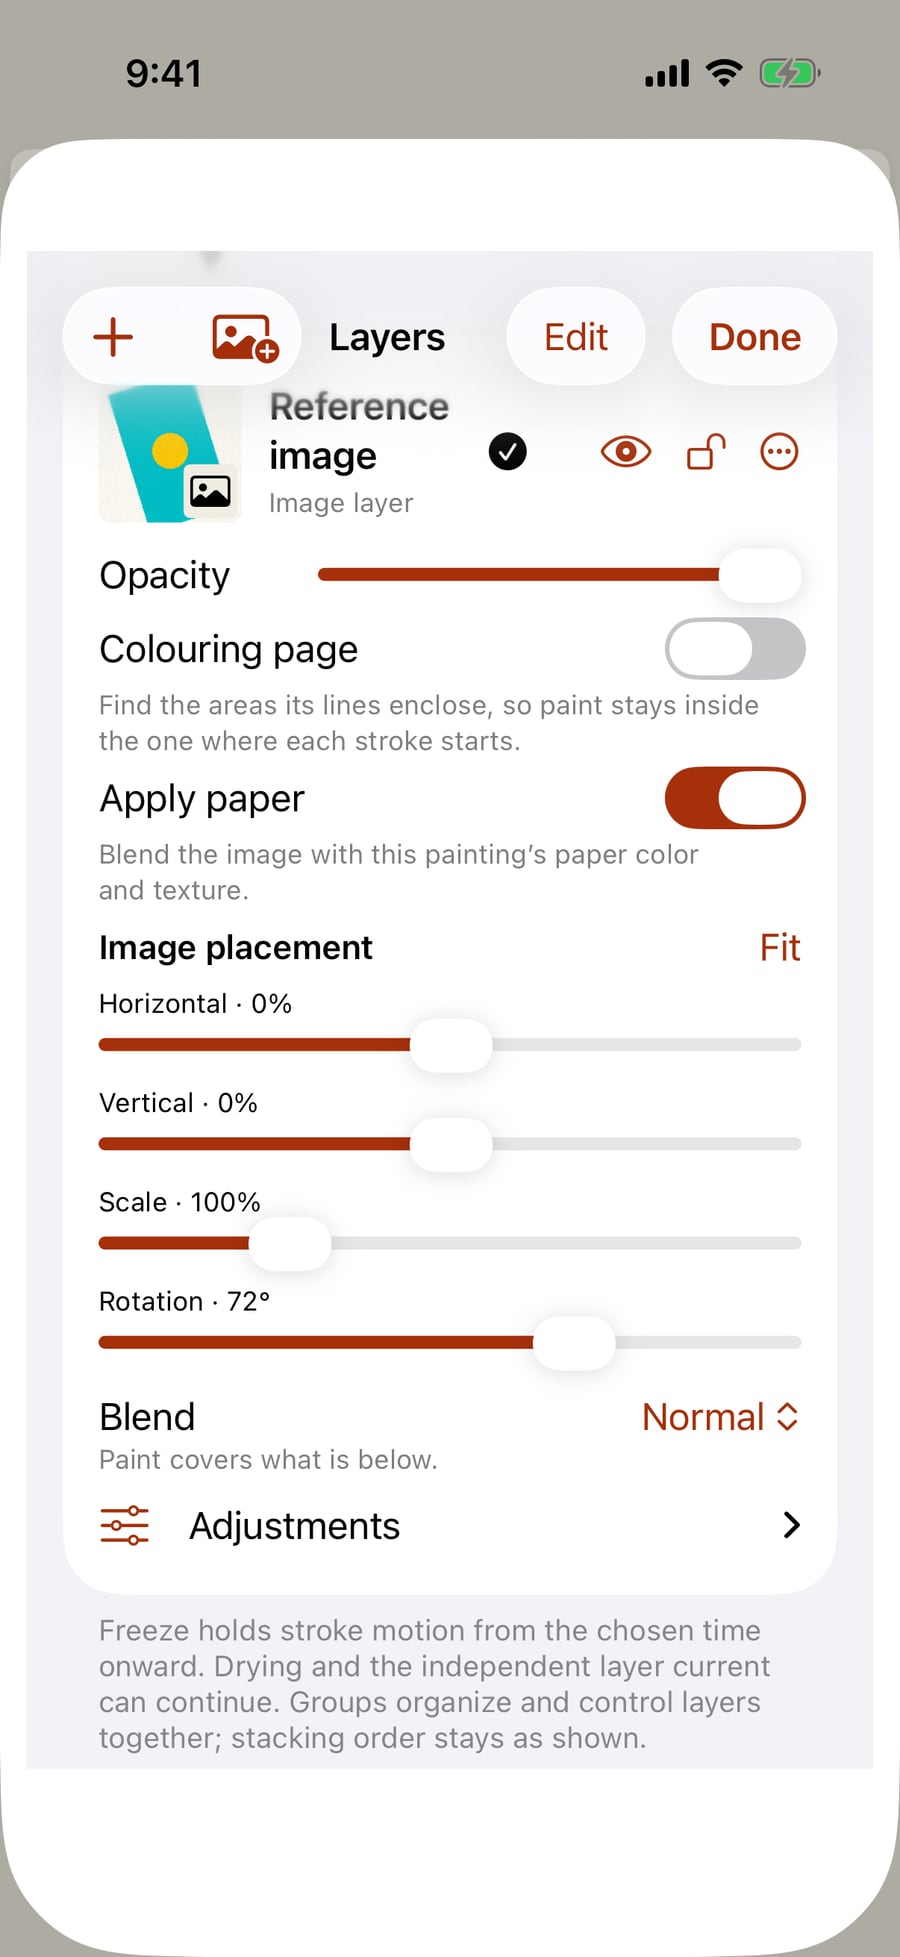
Close the controls. While the image layer is current, a drag on the page moves it, a pinch resizes it and a twist turns it.
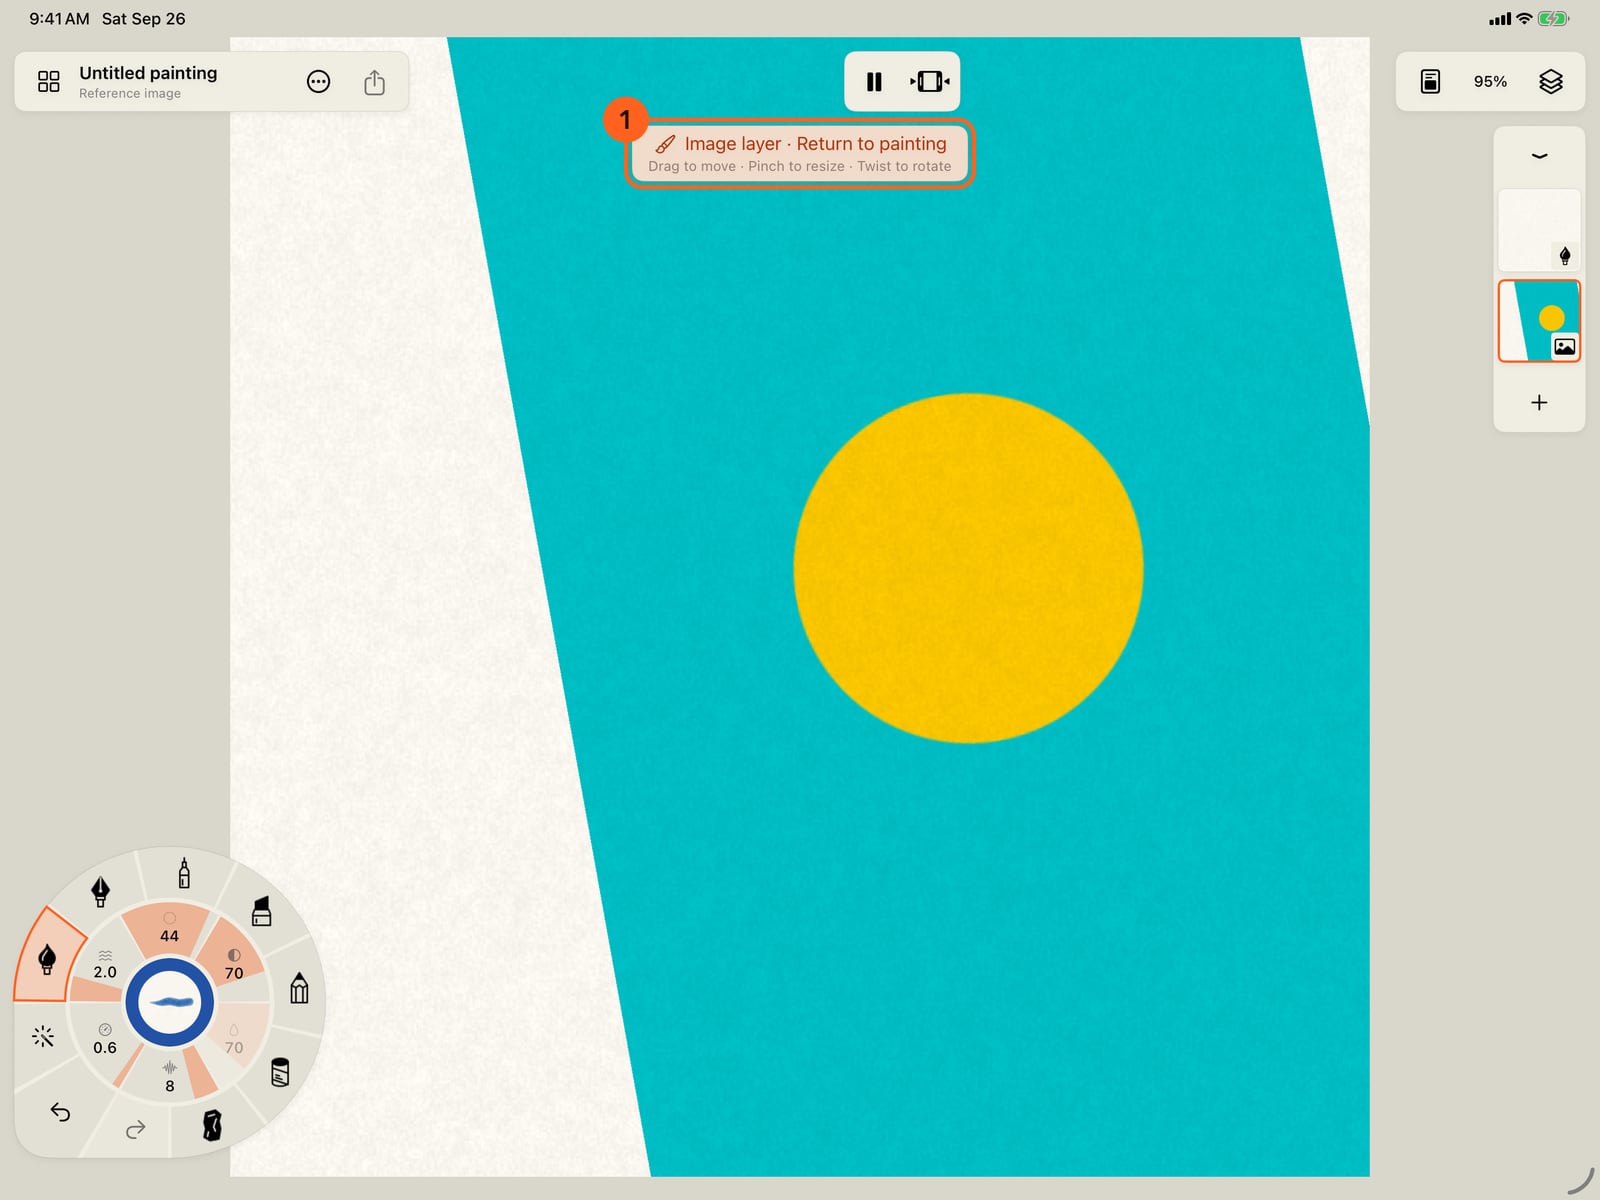
Tap Done. While the image layer is current, a drag on the page moves it, a pinch resizes it and a twist turns it.
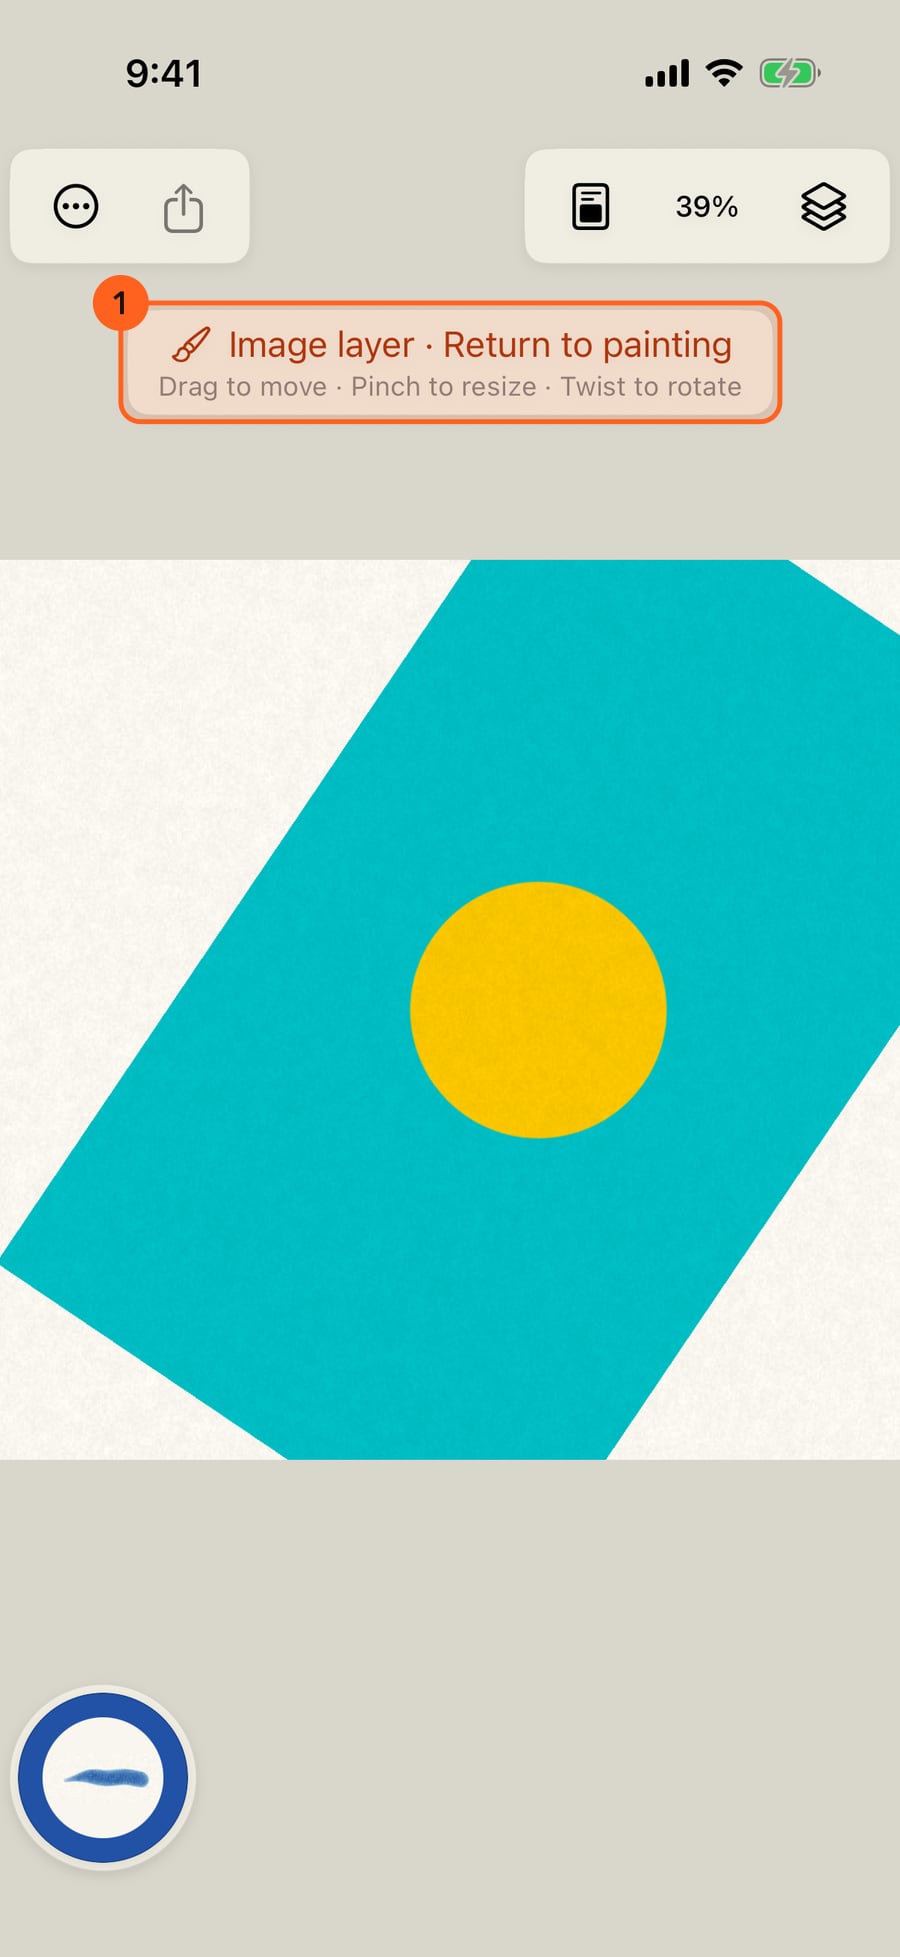
Tap Return to painting to go back to your brush on the paint layer, and paint over the picture.
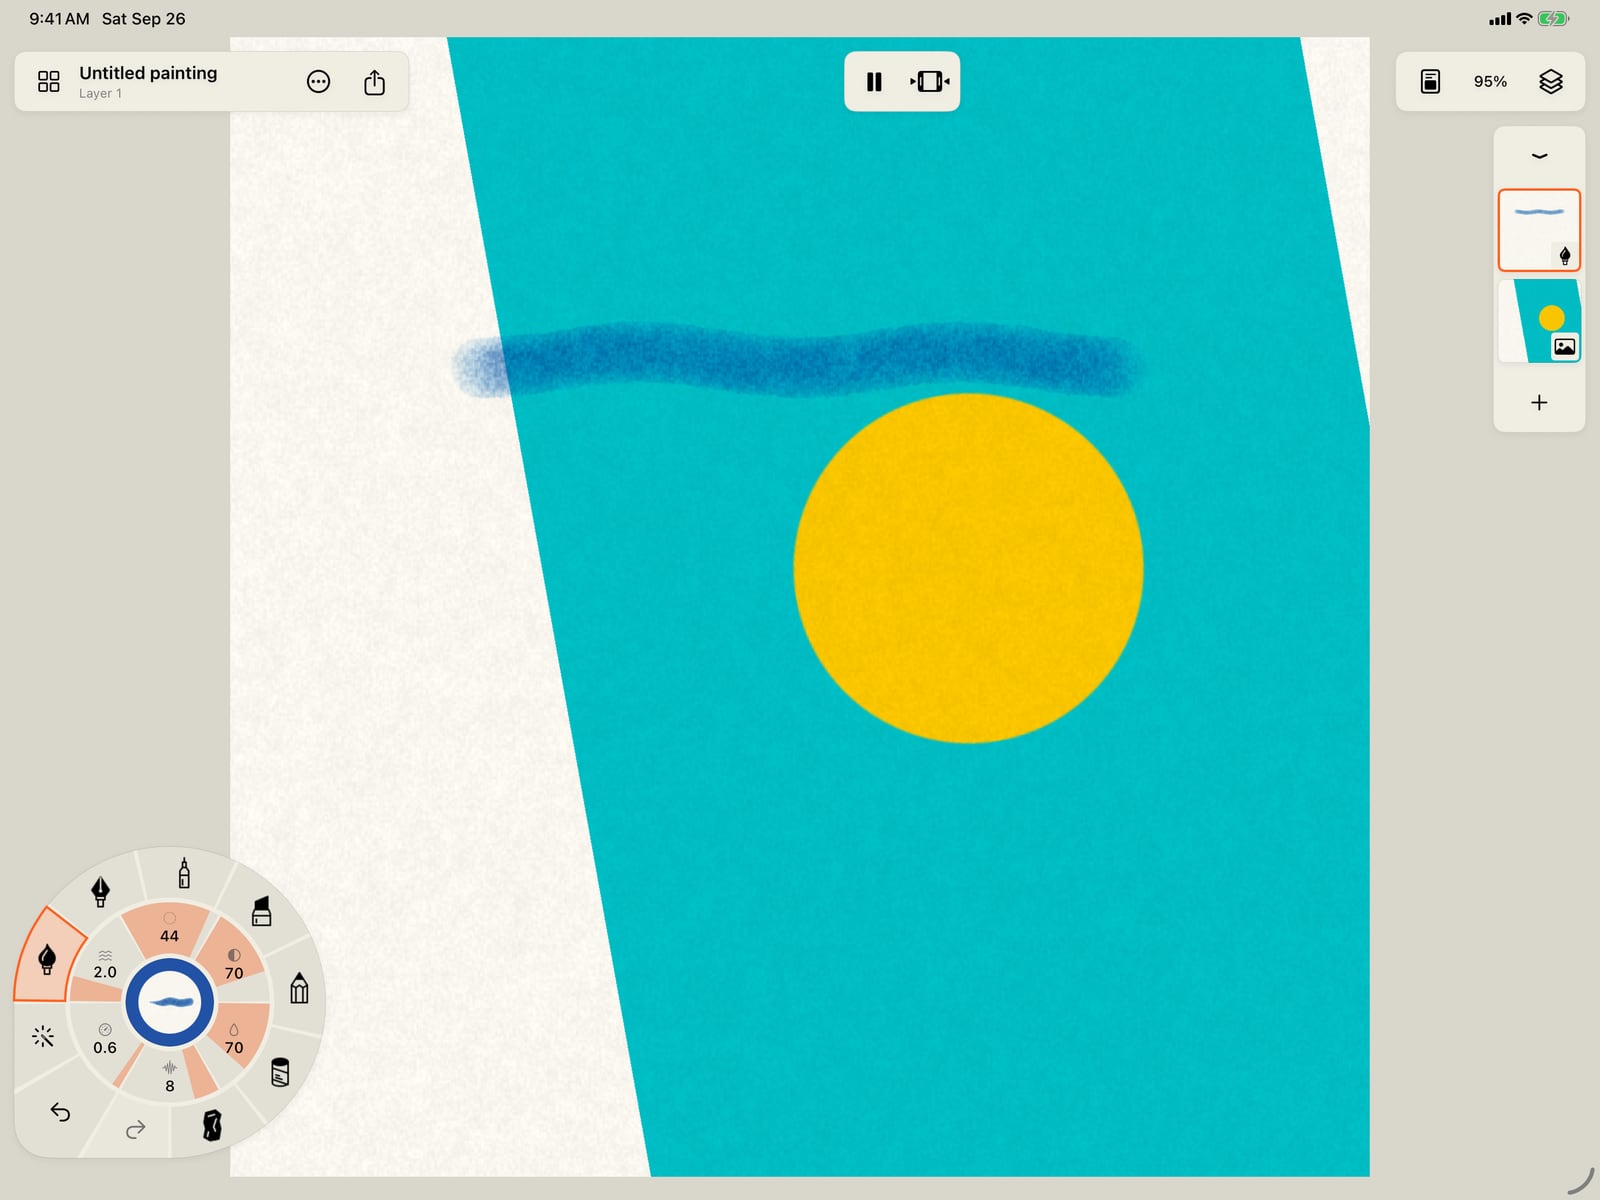
Tap Return to painting to go back to your brush on the paint layer, and paint over the picture.
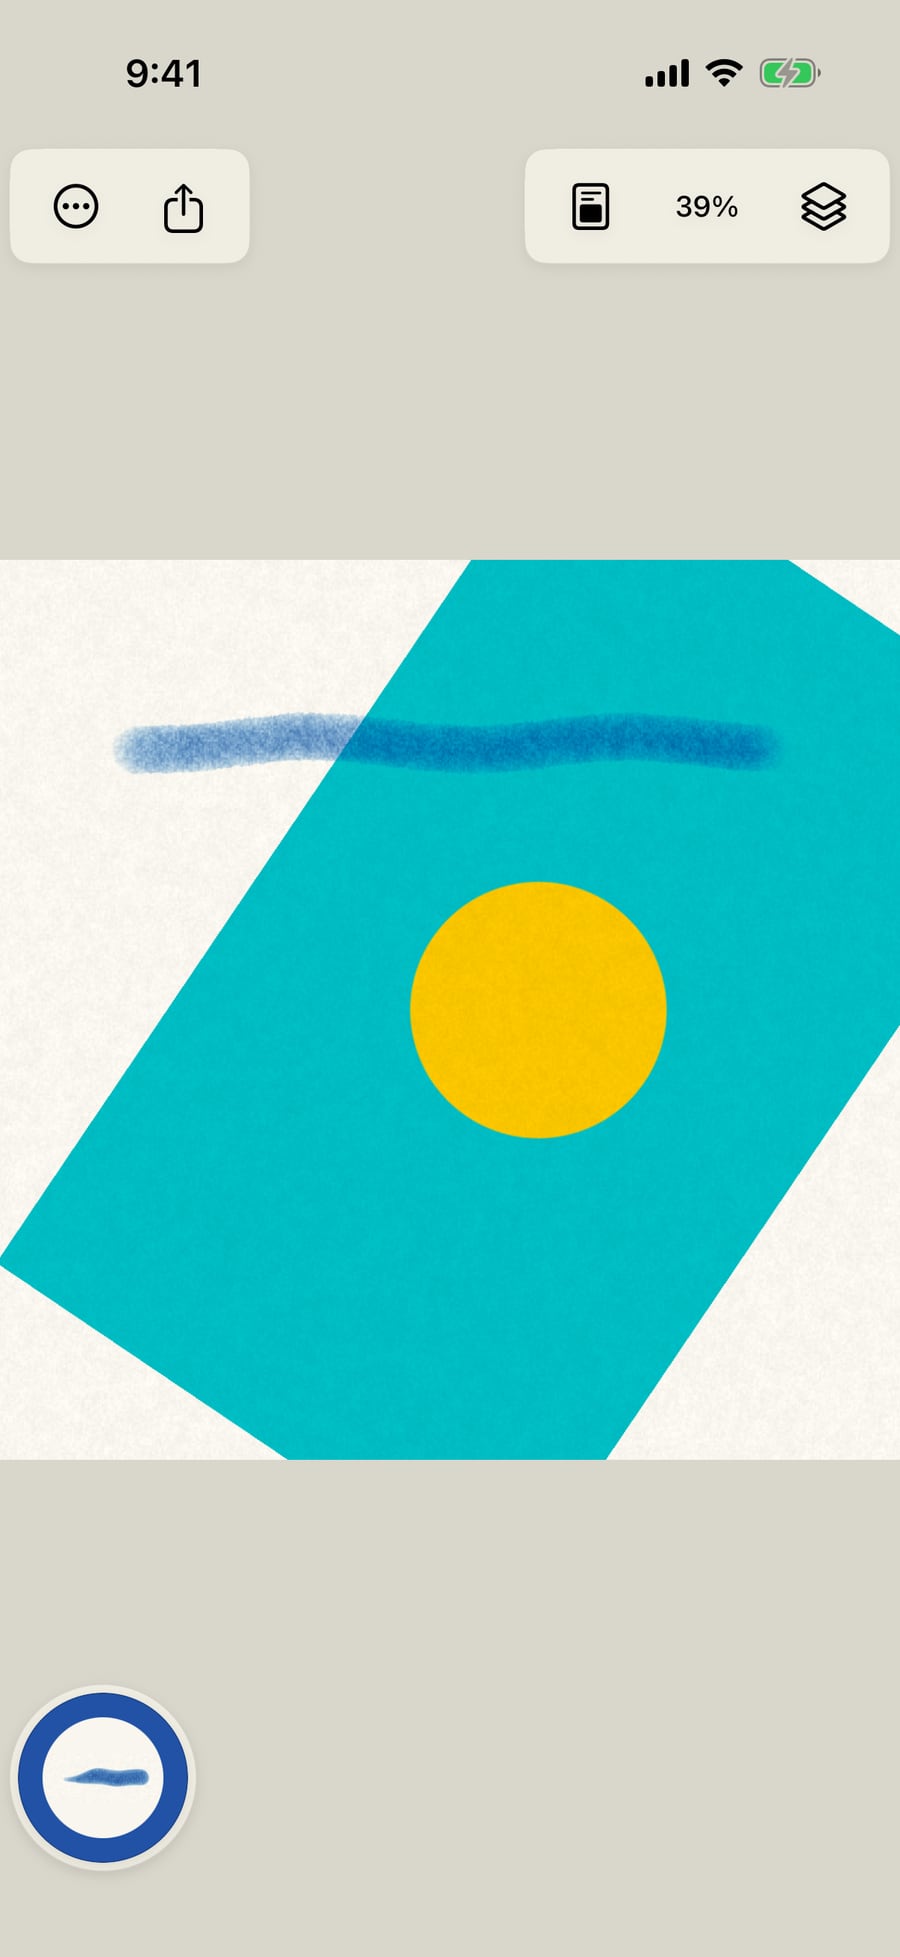
Click Return to painting to go back to your brush on the paint layer, and paint over the picture.
Adding an image
Open Layers and tap Add image 1:
- Image from Photos… opens your photo library.
- Image from Files… opens Files, for a picture in iCloud Drive, on your device or on a connected drive.
The picture becomes an image layer, fitted to the canvas and placed under your paint layers, so you can trace or paint over it. The paint layer stays current. A copy up to 2,752 pixels on its long side is kept in the painting; the original stays where it was.
Placing it
With the image layer current, a status above the page reads Image layer · Return to painting 1, and the page moves the picture instead of painting:
- Drag to move it, pinch to resize it, twist to turn it. The view of the page stays where it is, and one Undo takes back each gesture.
- Return to painting goes back to your brush and a paint layer.
For exact values, open the image layer's controls: tap its thumbnail twice (once to make it current, again for its controls), or tap it in the Layers sheet.
| Control | What it does |
|---|---|
| Colouring page | Finds the areas the picture's lines enclose, so paint stays inside them: see Colouring pages. |
| Apply paper 1 | Blends the picture with the painting's paper colour and texture, so it sits on the paper rather than over it. |
| Fit 2 | Fits it to the canvas again, undoing every move, scale and turn. |
| Horizontal, Vertical | Moves it, as a percentage of the canvas. |
| Scale 3 | From 5% to 400% of its fitted size. |
| Rotation 4 | From −180° to 180°. |
An image layer also has the controls every layer has: visibility, lock (a locked image cannot move), opacity, and Blend modes other than Glaze (see Layer blend modes and adjustments). Image layers never count toward the layer limit.
On iPhone there is no layer strip: open Layers and tap the image layer's row. Its controls open beneath it; scroll to reach them.
On the Mac, drag with the mouse or trackpad to move the picture, and use the Scale and Rotation sliders to resize and turn it.
Pro: Image layers are Free.
Something not behaving as expected?
Visit support or write to [email protected].