

Guides / Selecting and drawing aids
Fill an area
Tap inside a shape to fill it with the brush in hand, drag to fill several areas at once, and fill behind your lines.
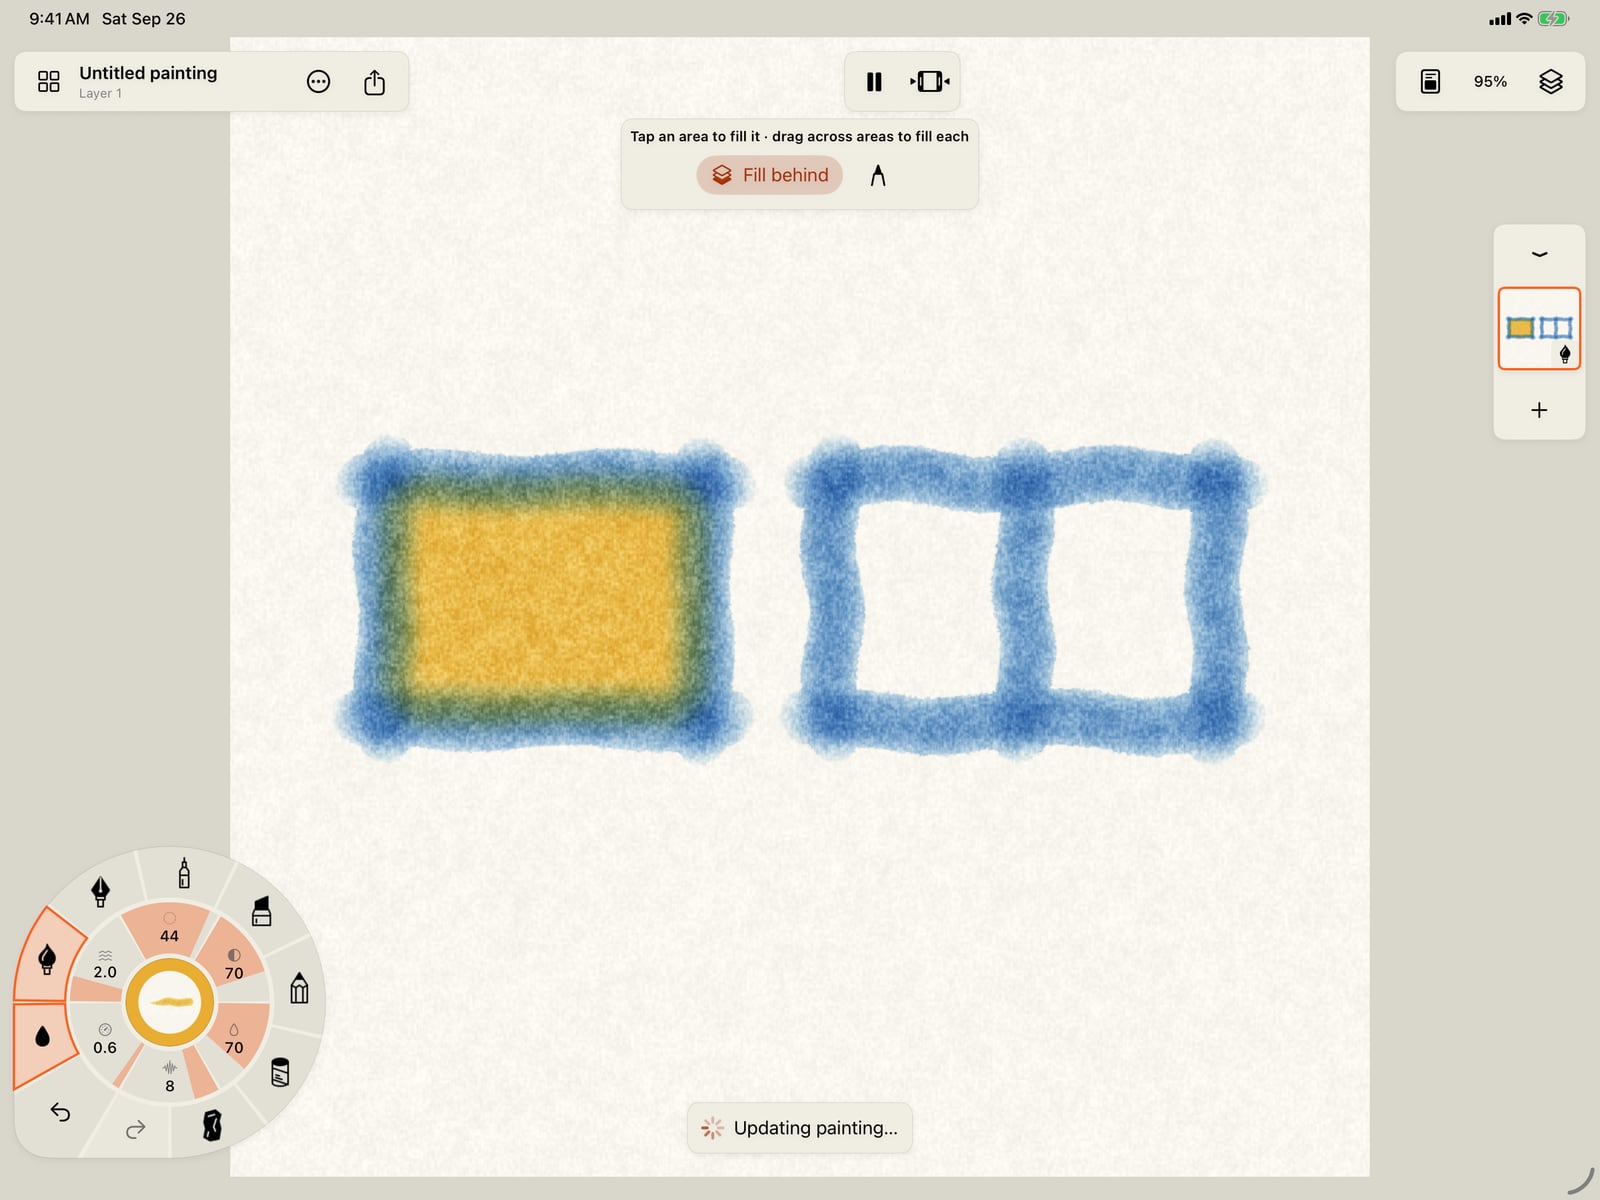
A fill needs an area that strokes enclose. Paint two boxes, each side running a little past its corners so they close, and split the second box in two.
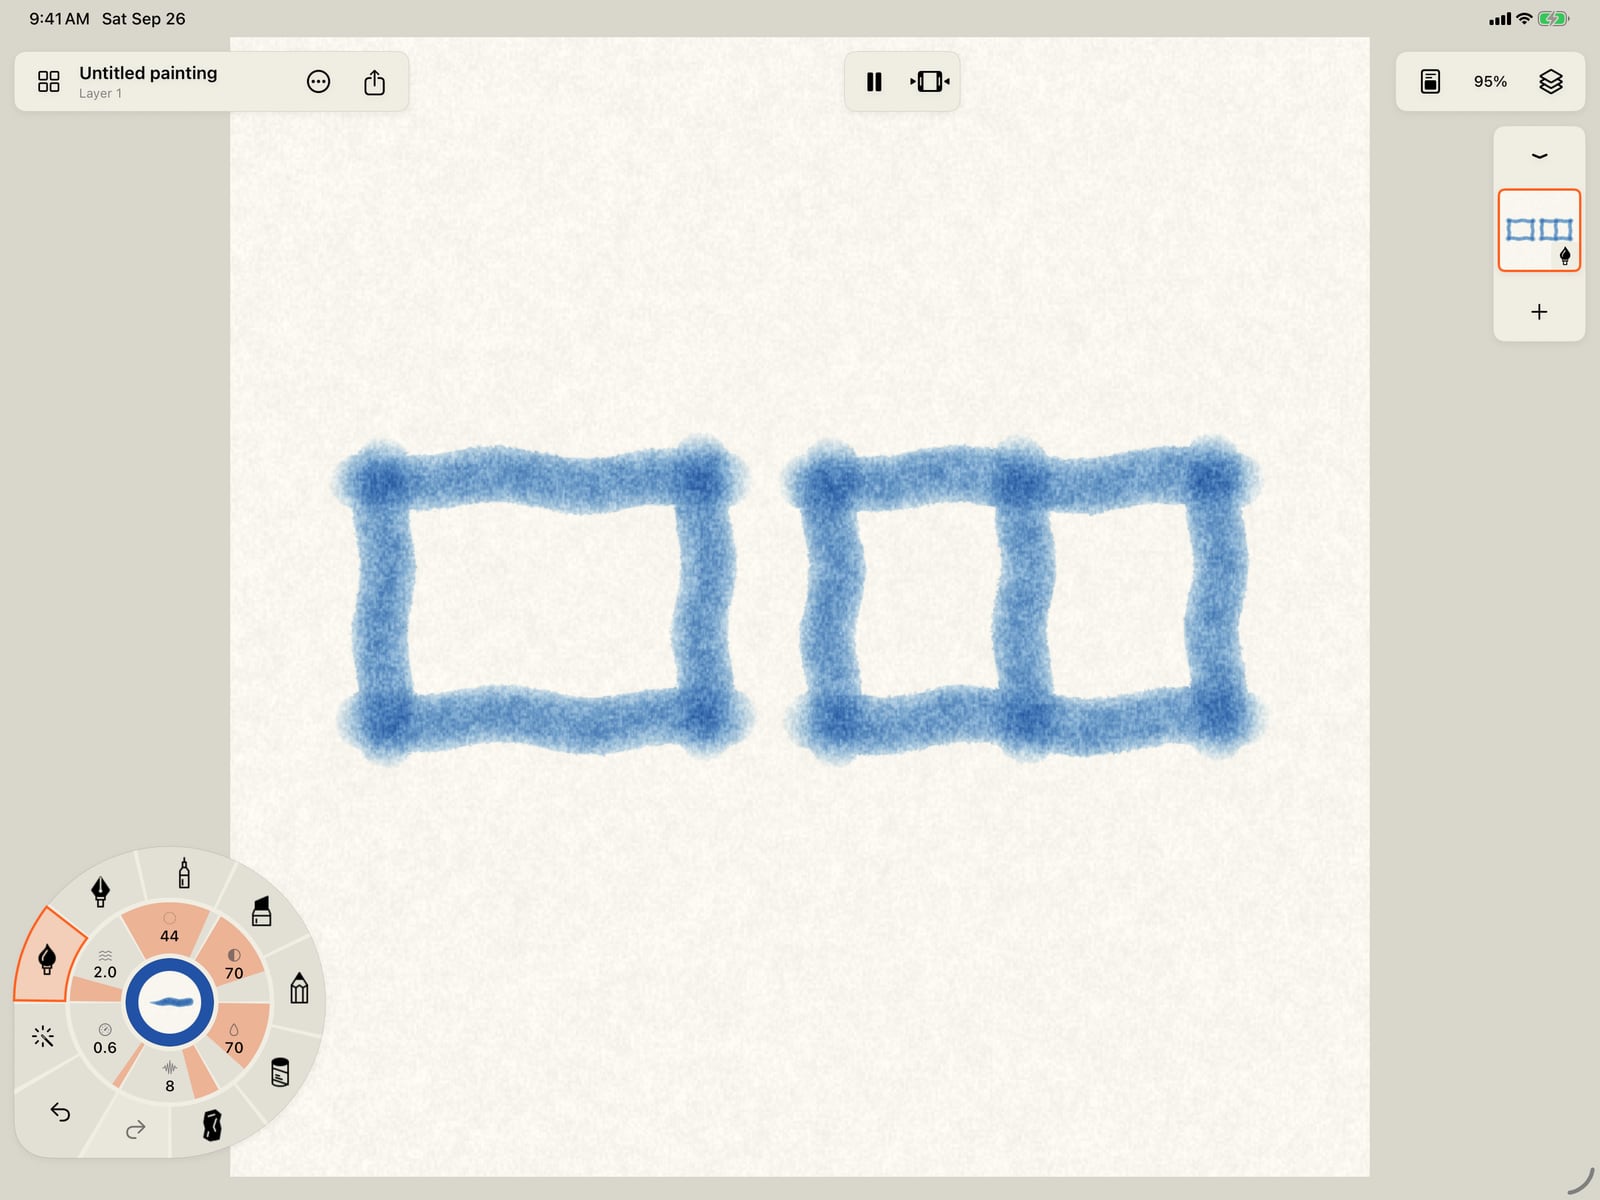
A fill needs an area that strokes enclose. Paint two boxes, each side running a little past its corners so they close, and split the second box in two.
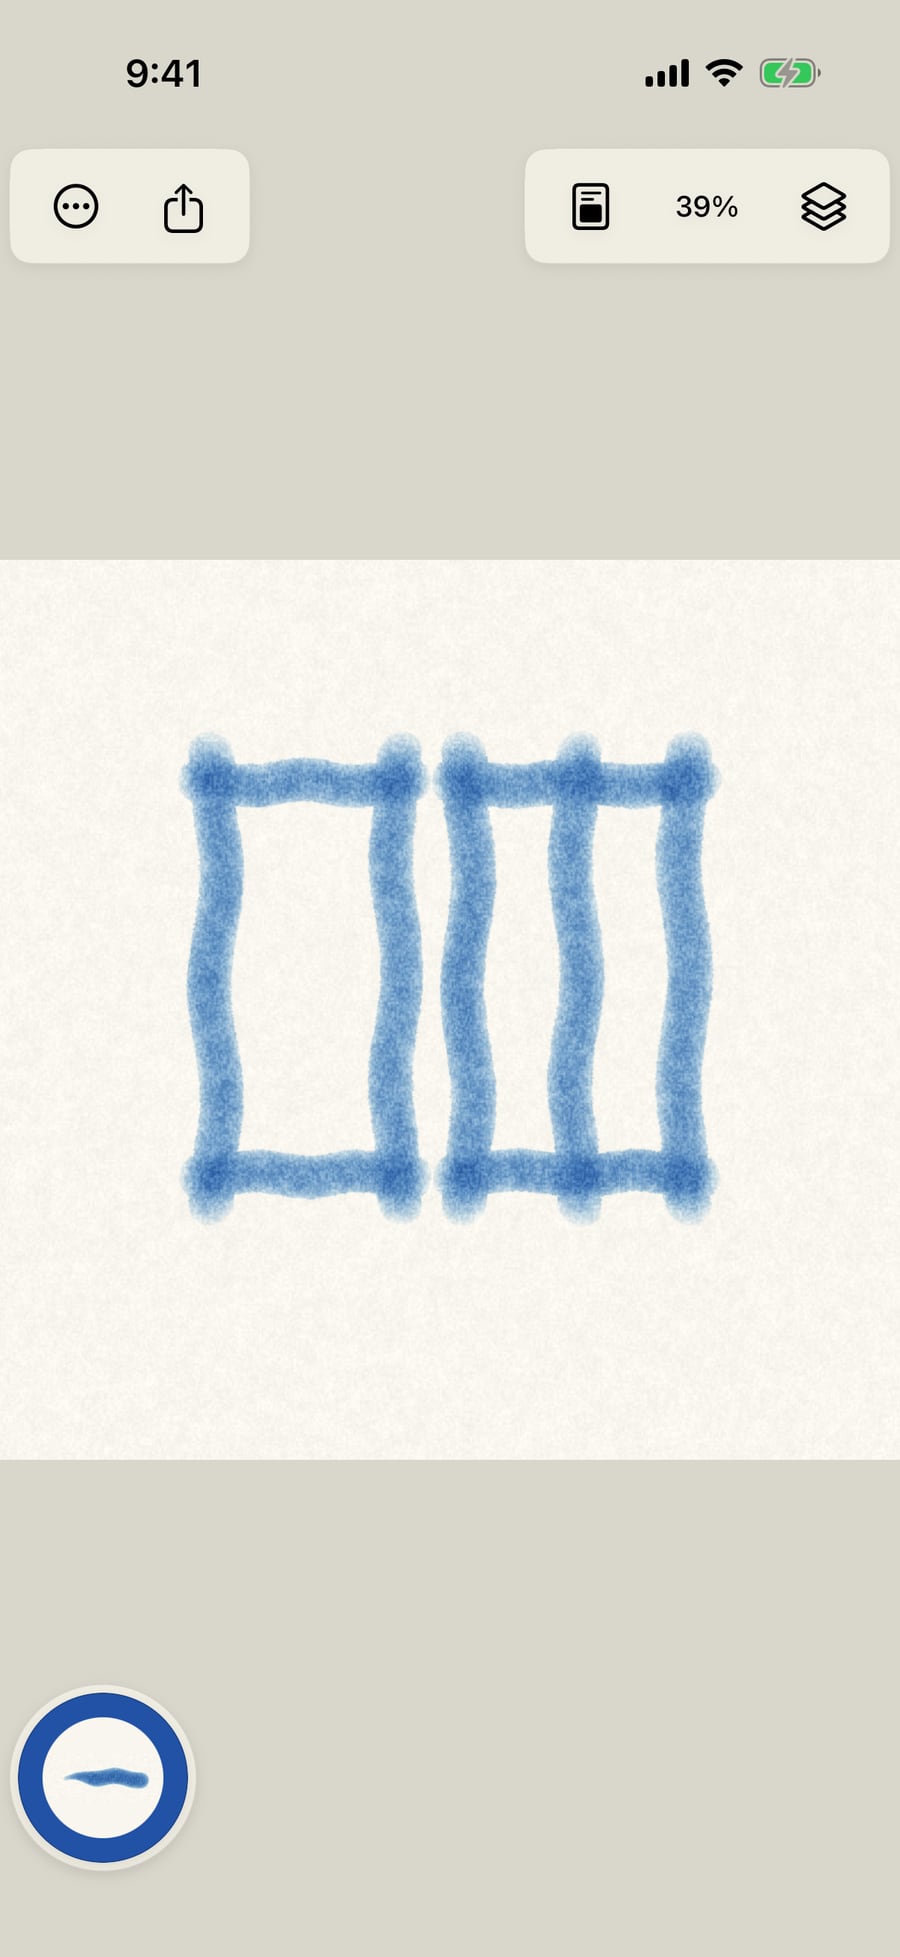
A fill paints with the brush and colour in hand. Pick Golden yellow, then tap Tools in the wheel's corner.
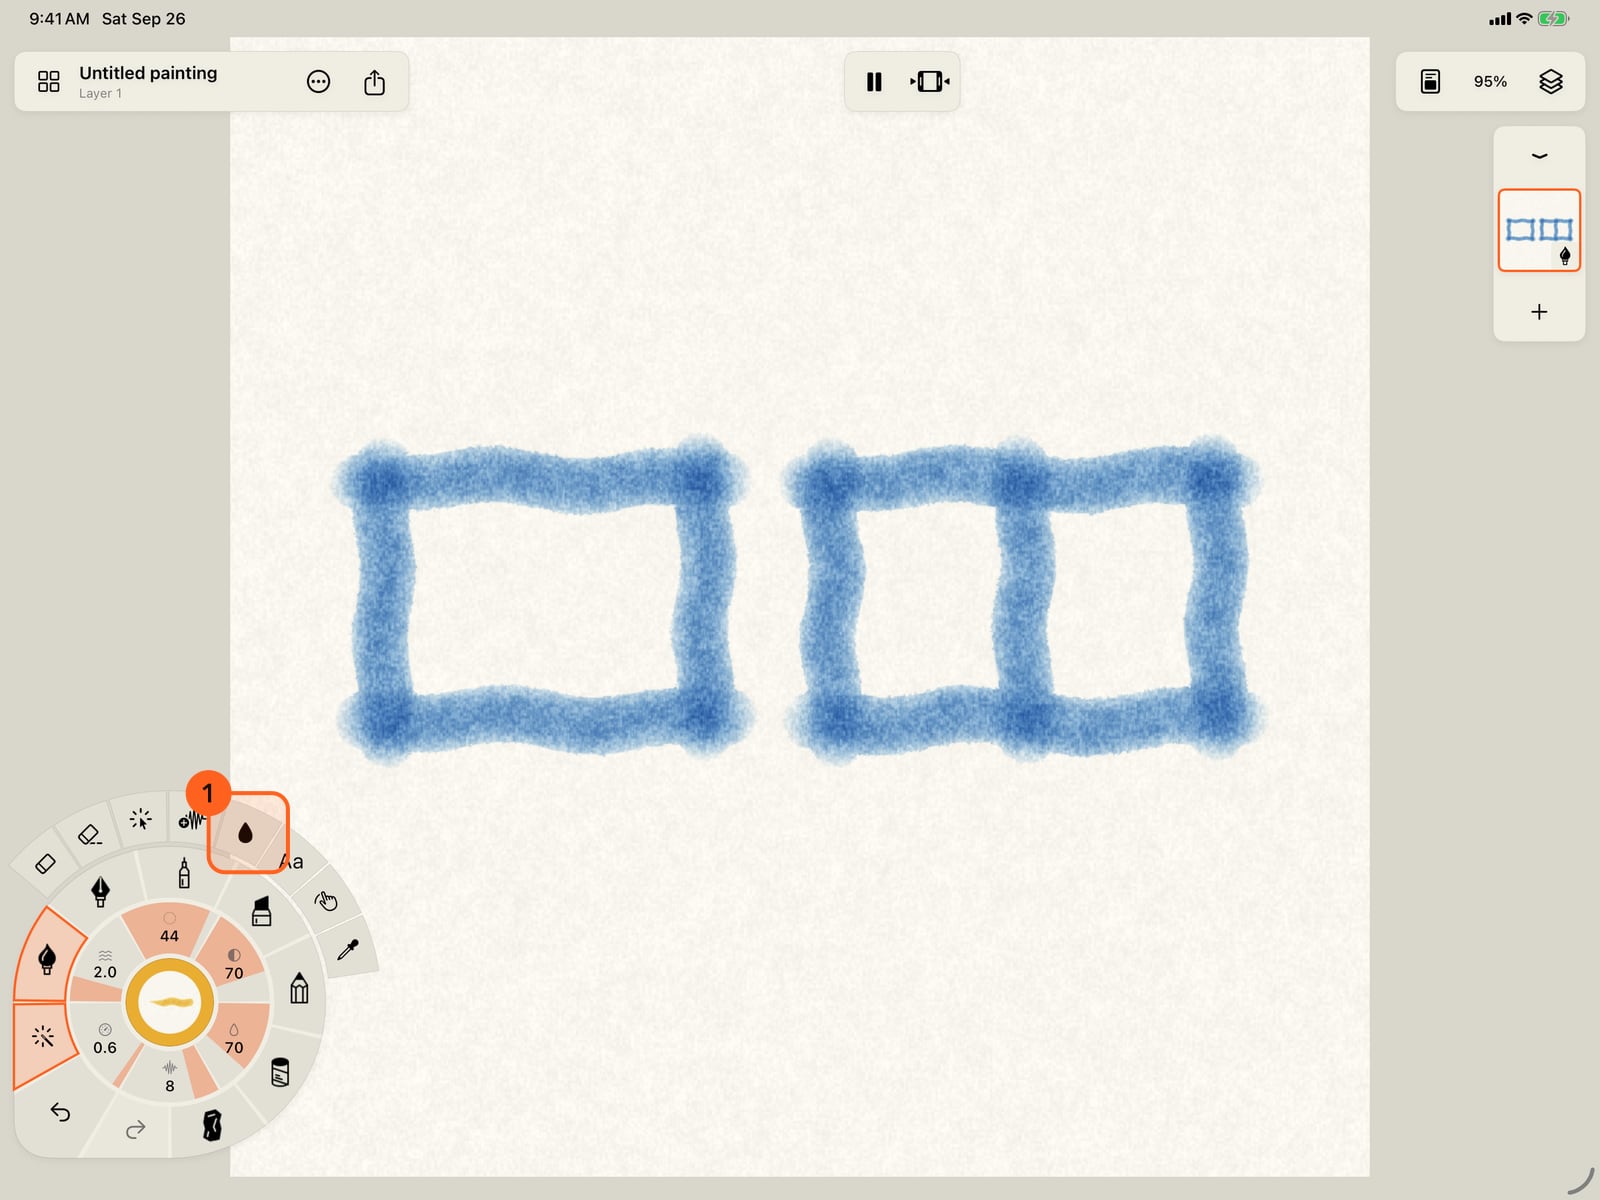
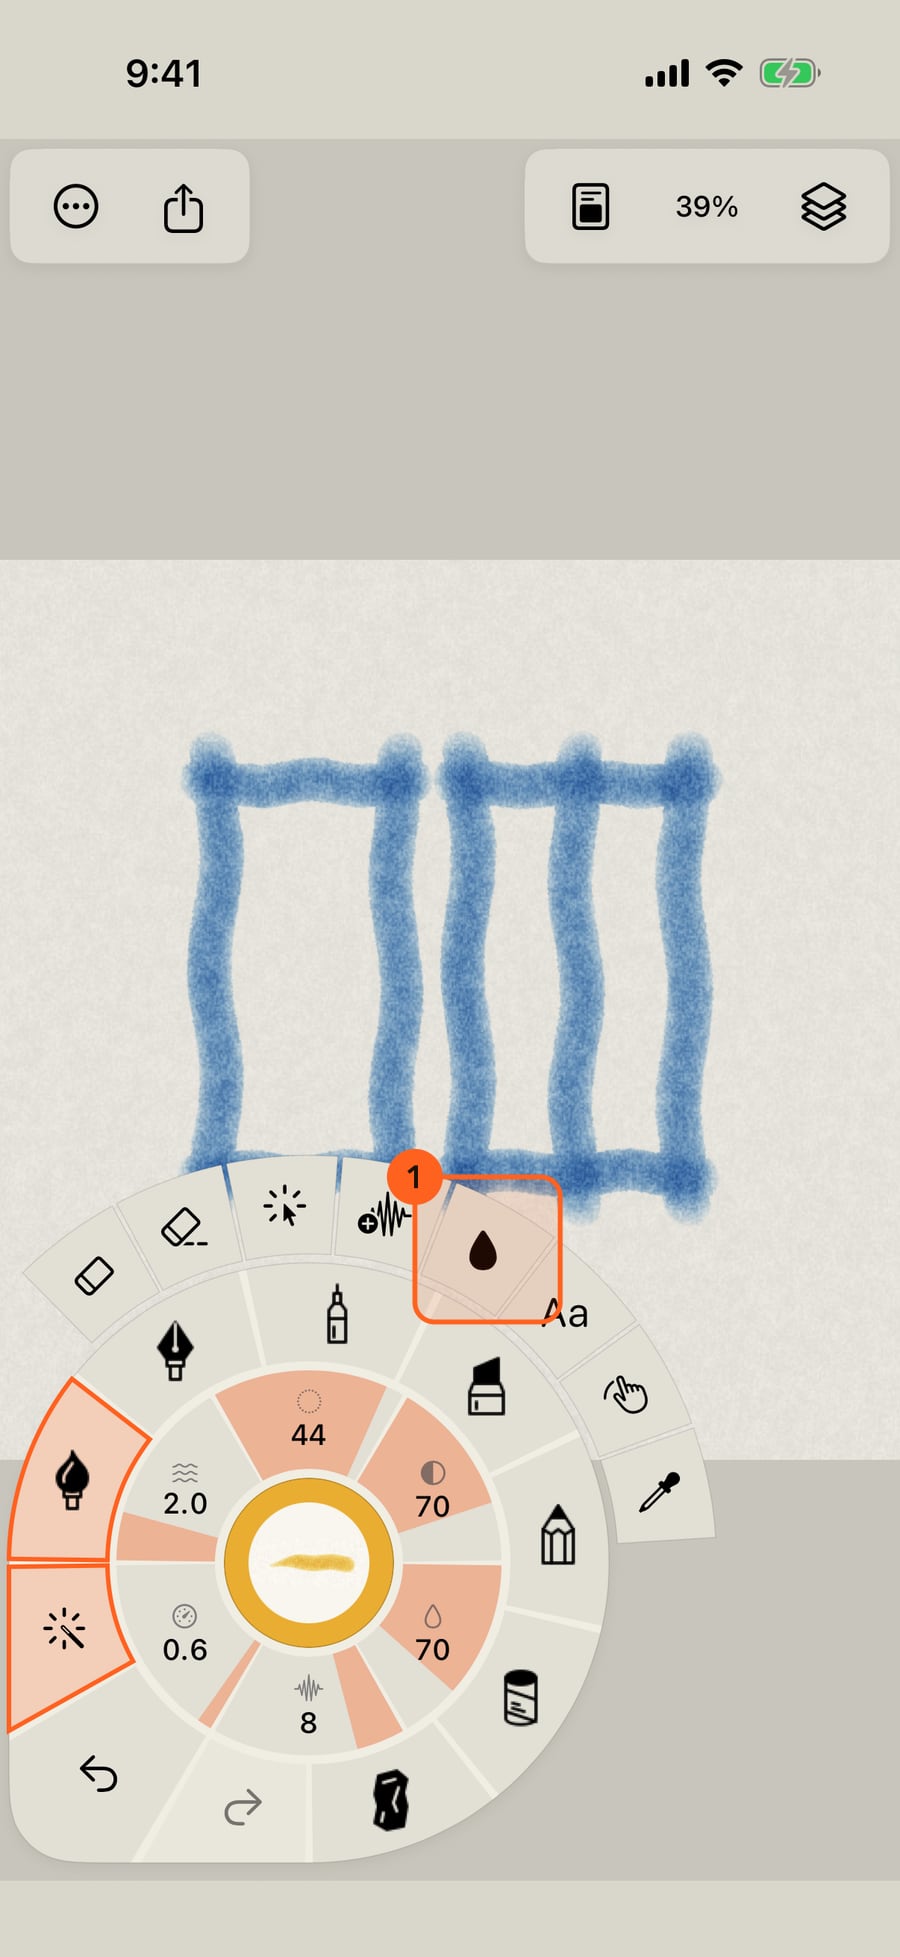
A fill paints with the brush and colour in hand. Unfold the wheel, pick Golden yellow, then tap Tools in the wheel's corner.
A fill paints with the brush and colour in hand. Pick Golden yellow, then click Tools in the wheel's corner.
Choose Fill an area, and tap inside the first box. The fill lands on top of the paint already there, as one more stroke that one Undo takes away.
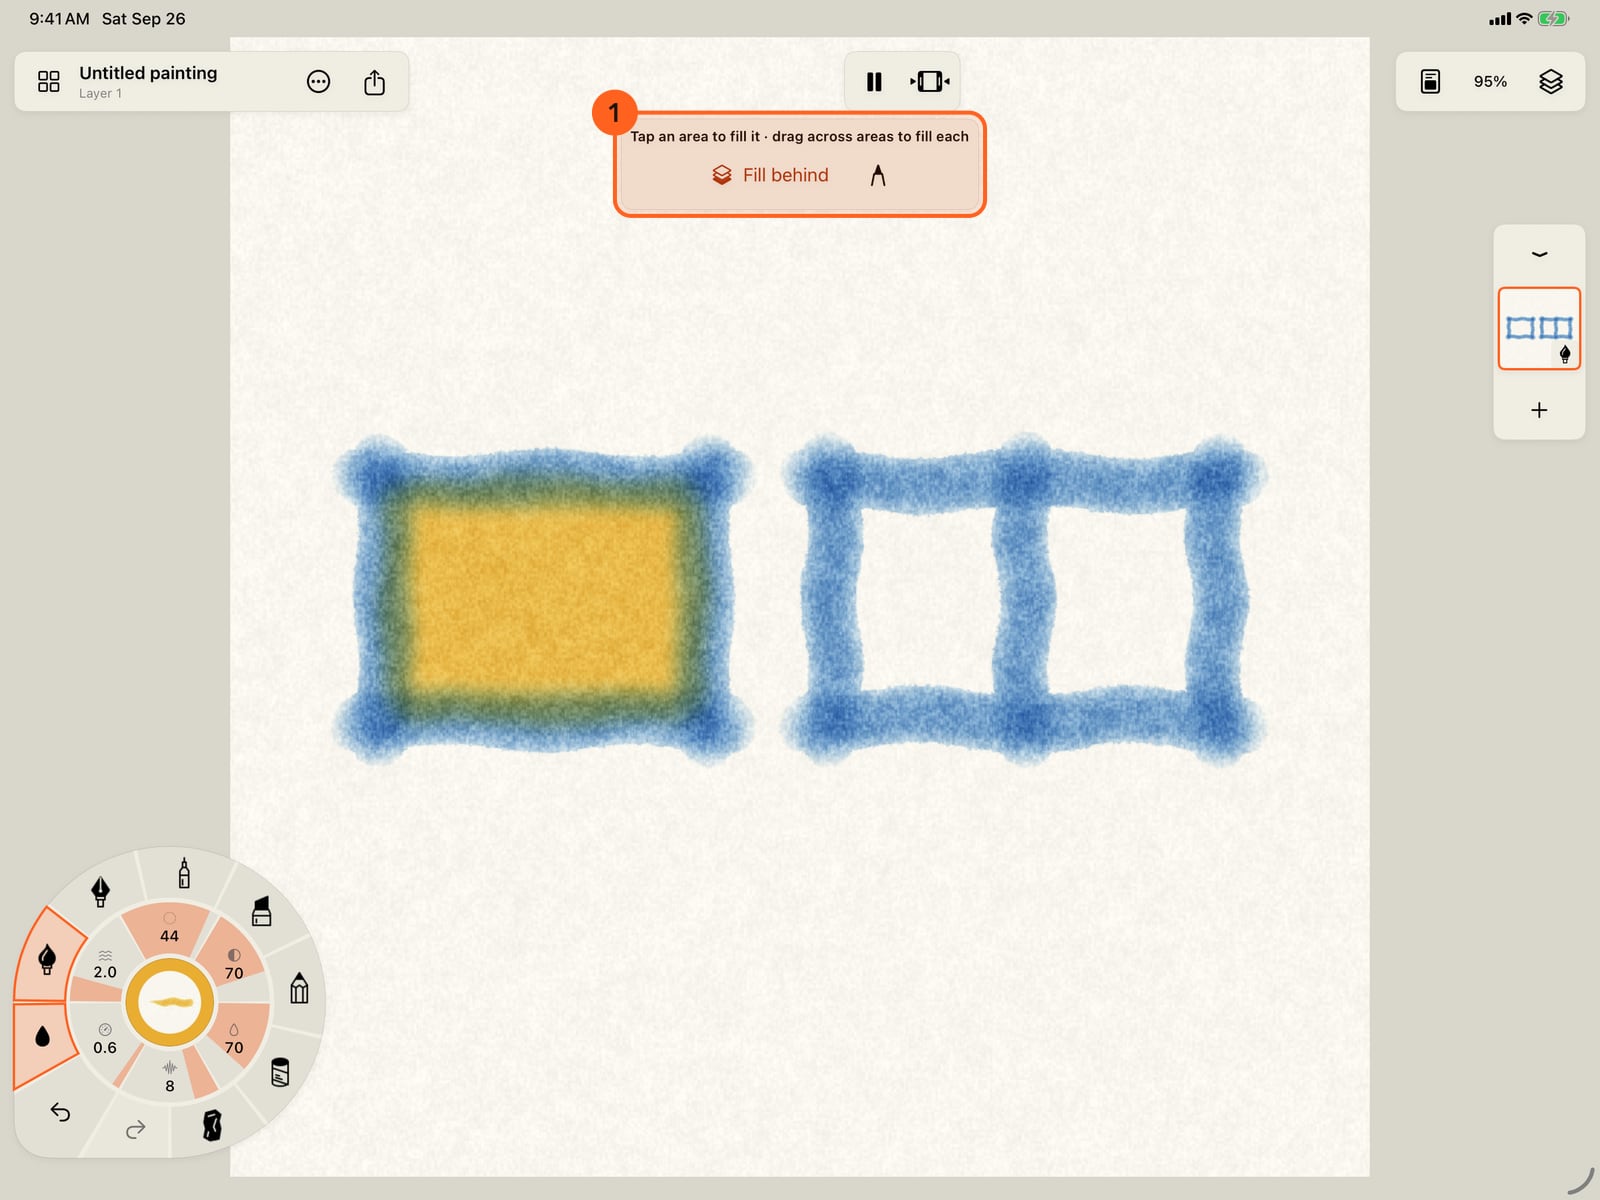
Choose Fill an area, and tap inside the first box. The fill lands on top of the paint already there, as one more stroke that one Undo takes away.
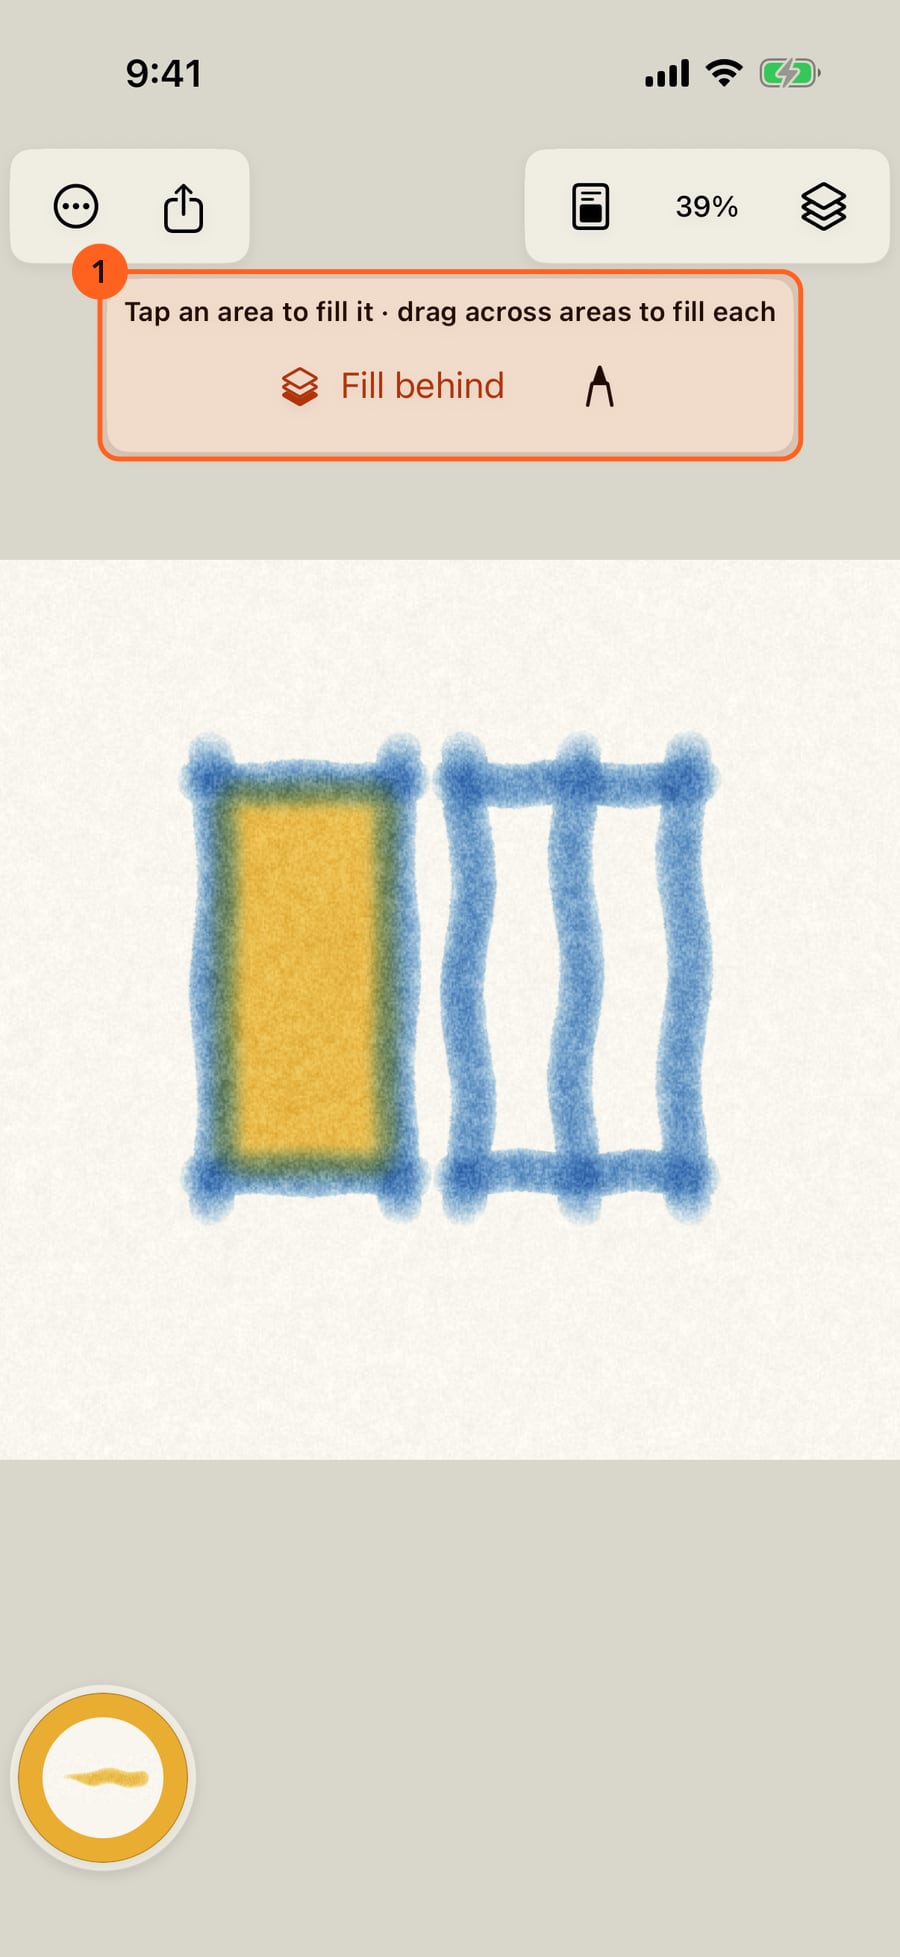
Choose Fill an area, and click inside the first box. The fill lands on top of the paint already there, as one more stroke that one Undo takes away.
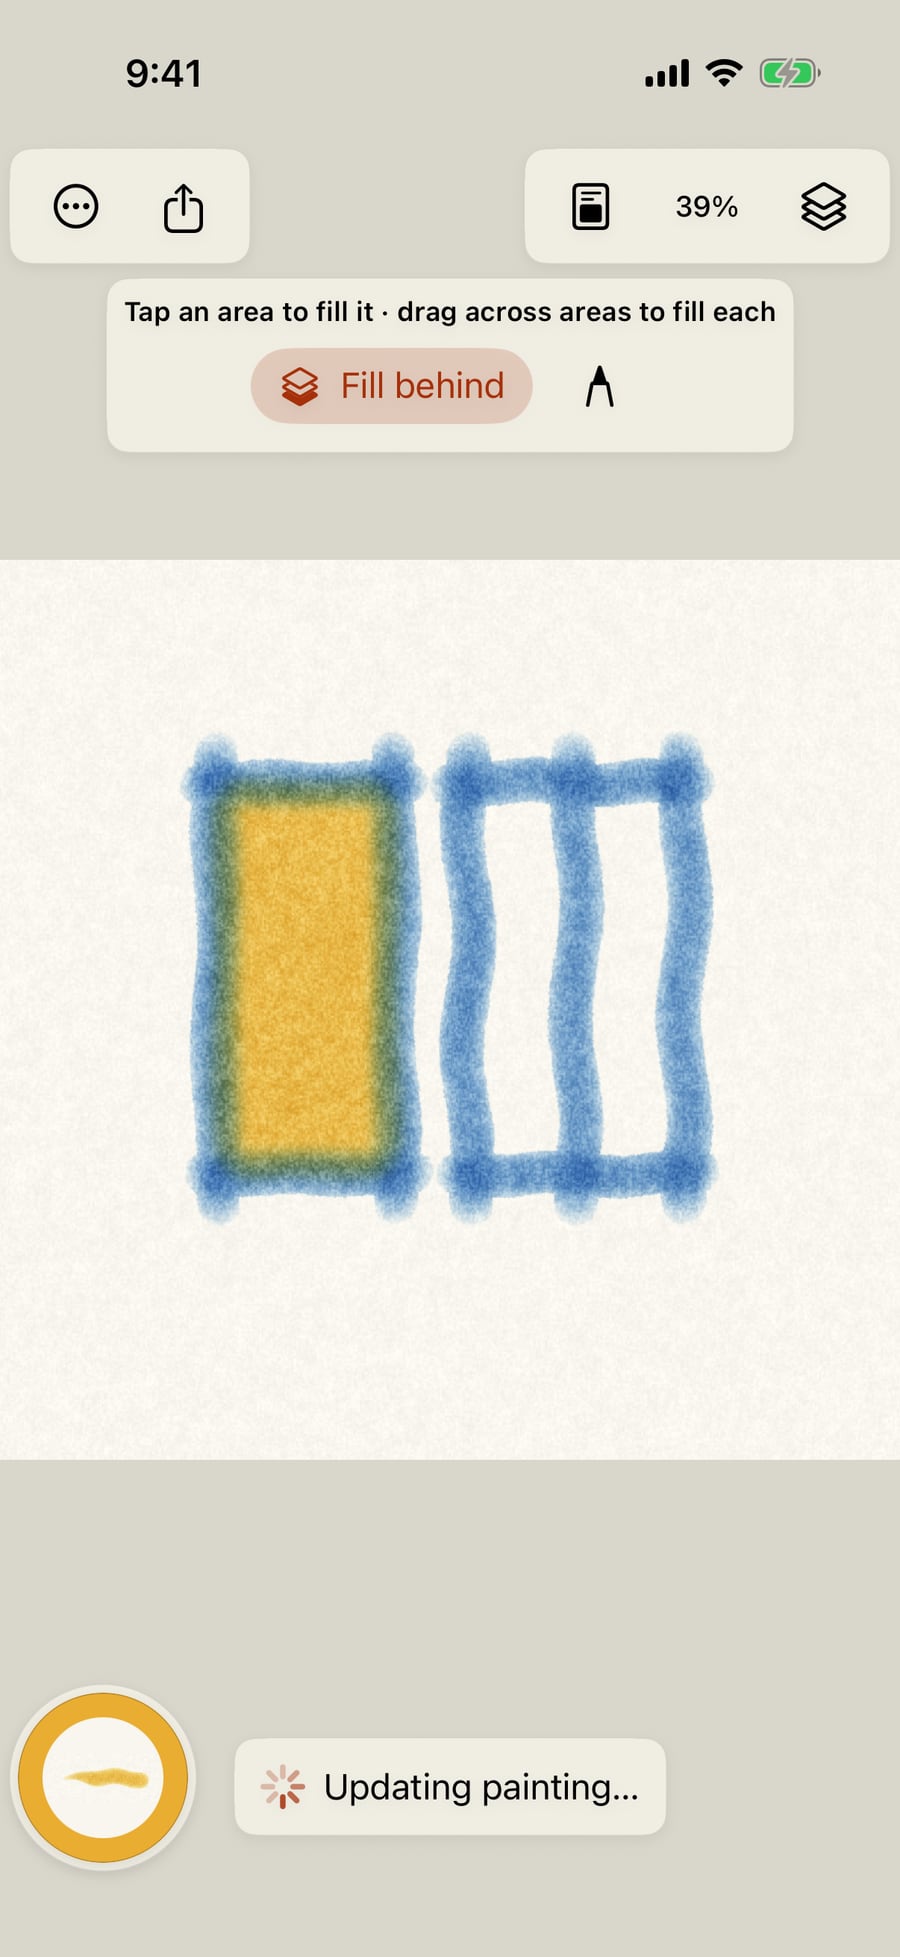
Turn on Fill behind to lay fills under the layer's paint instead, as if they had gone down first. Your lines stay on top.
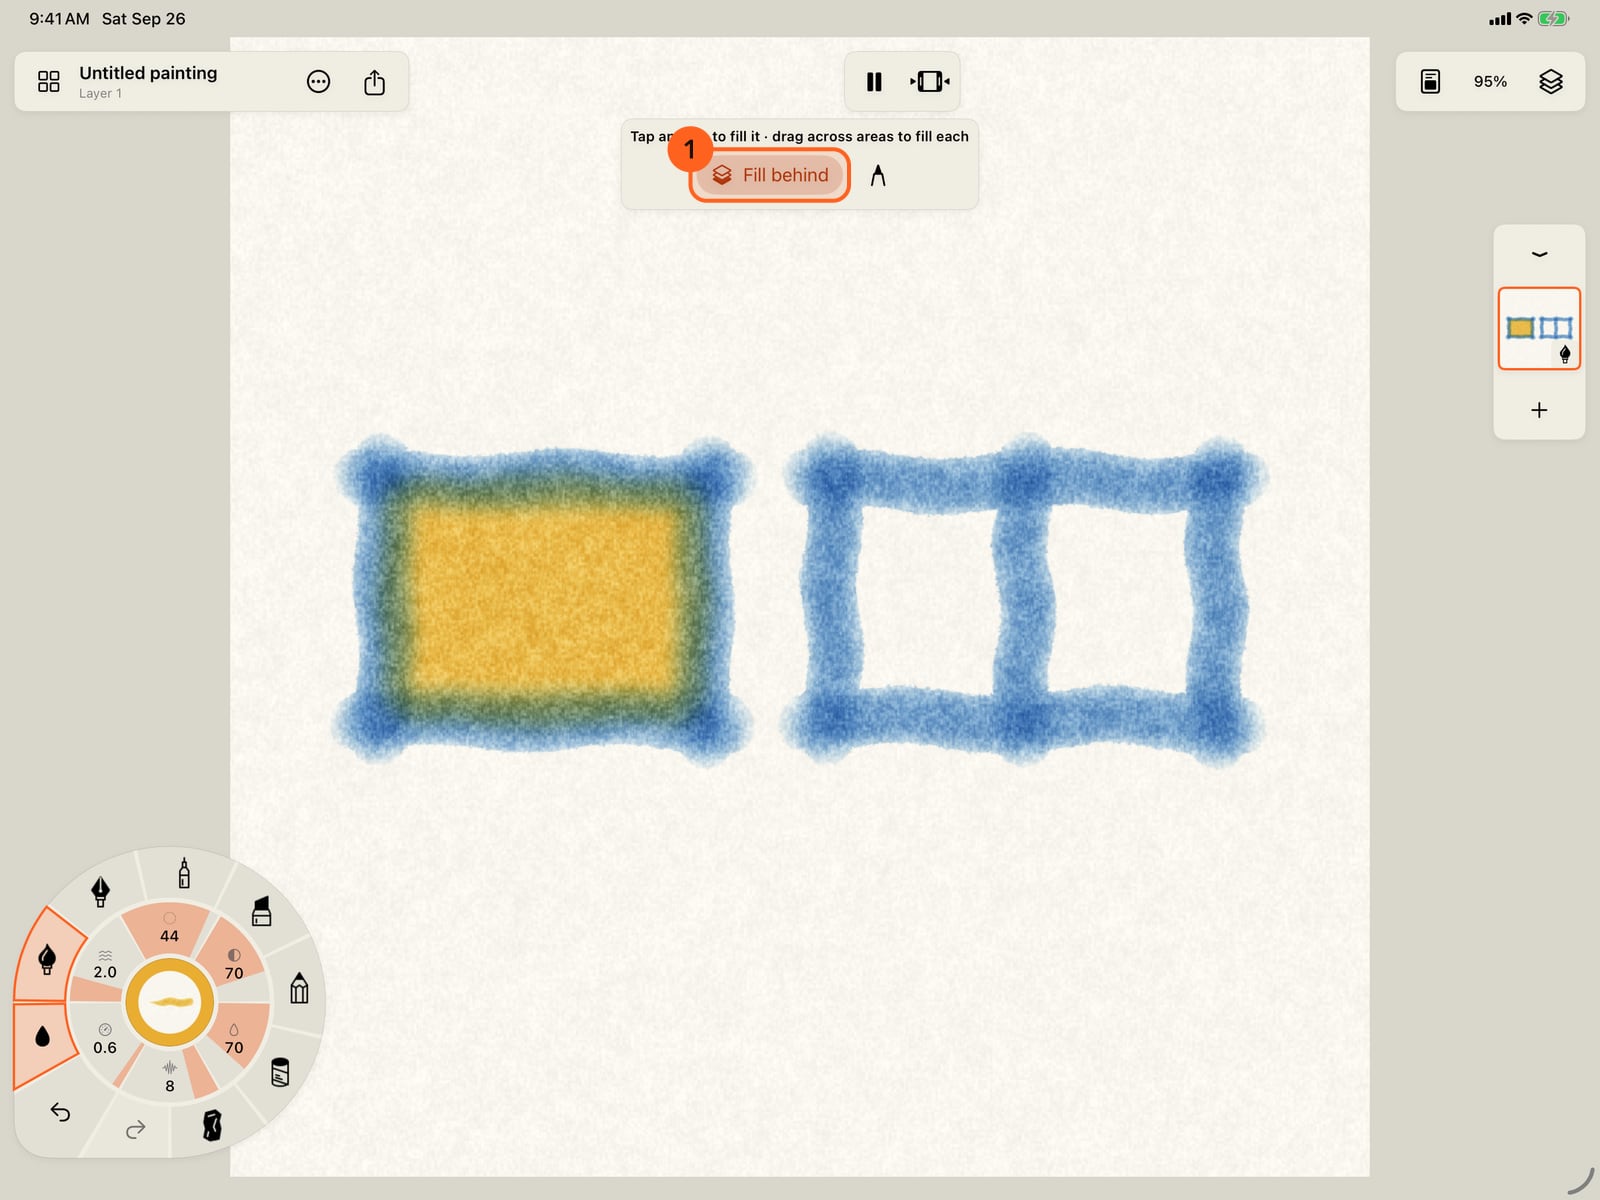
Turn on Fill behind to lay fills under the layer's paint instead, as if they had gone down first. Your lines stay on top.
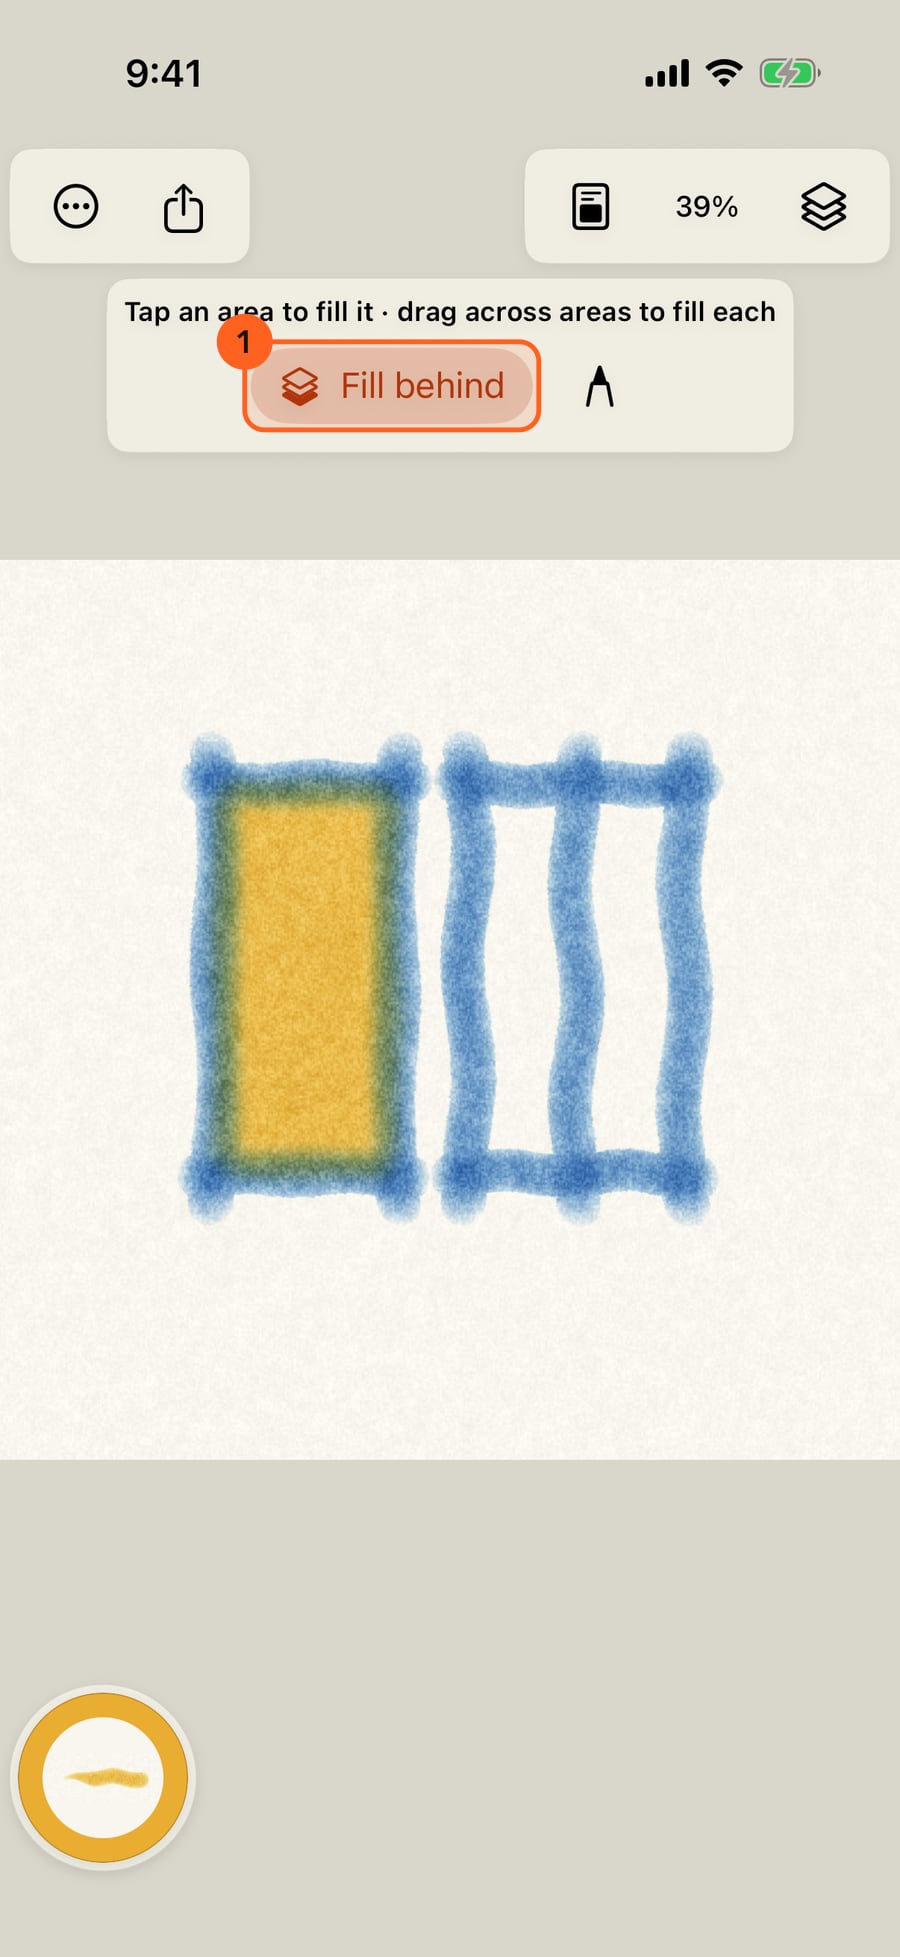
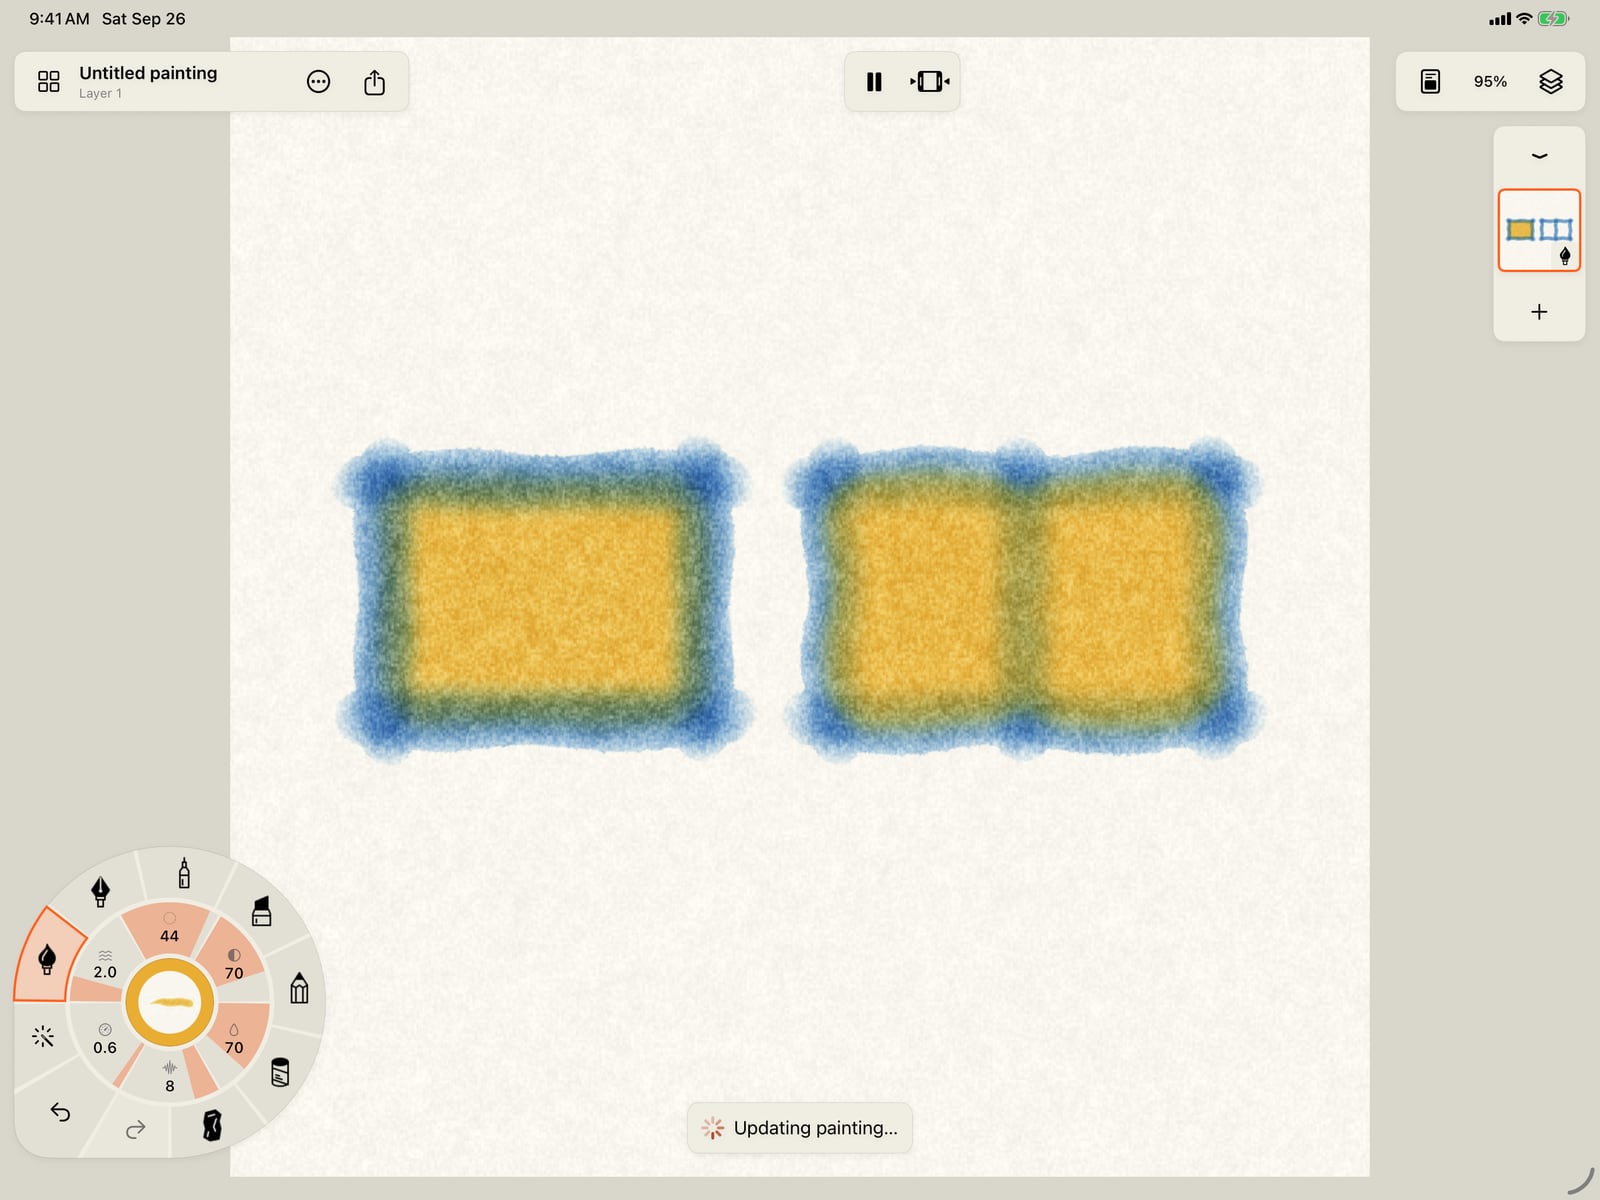
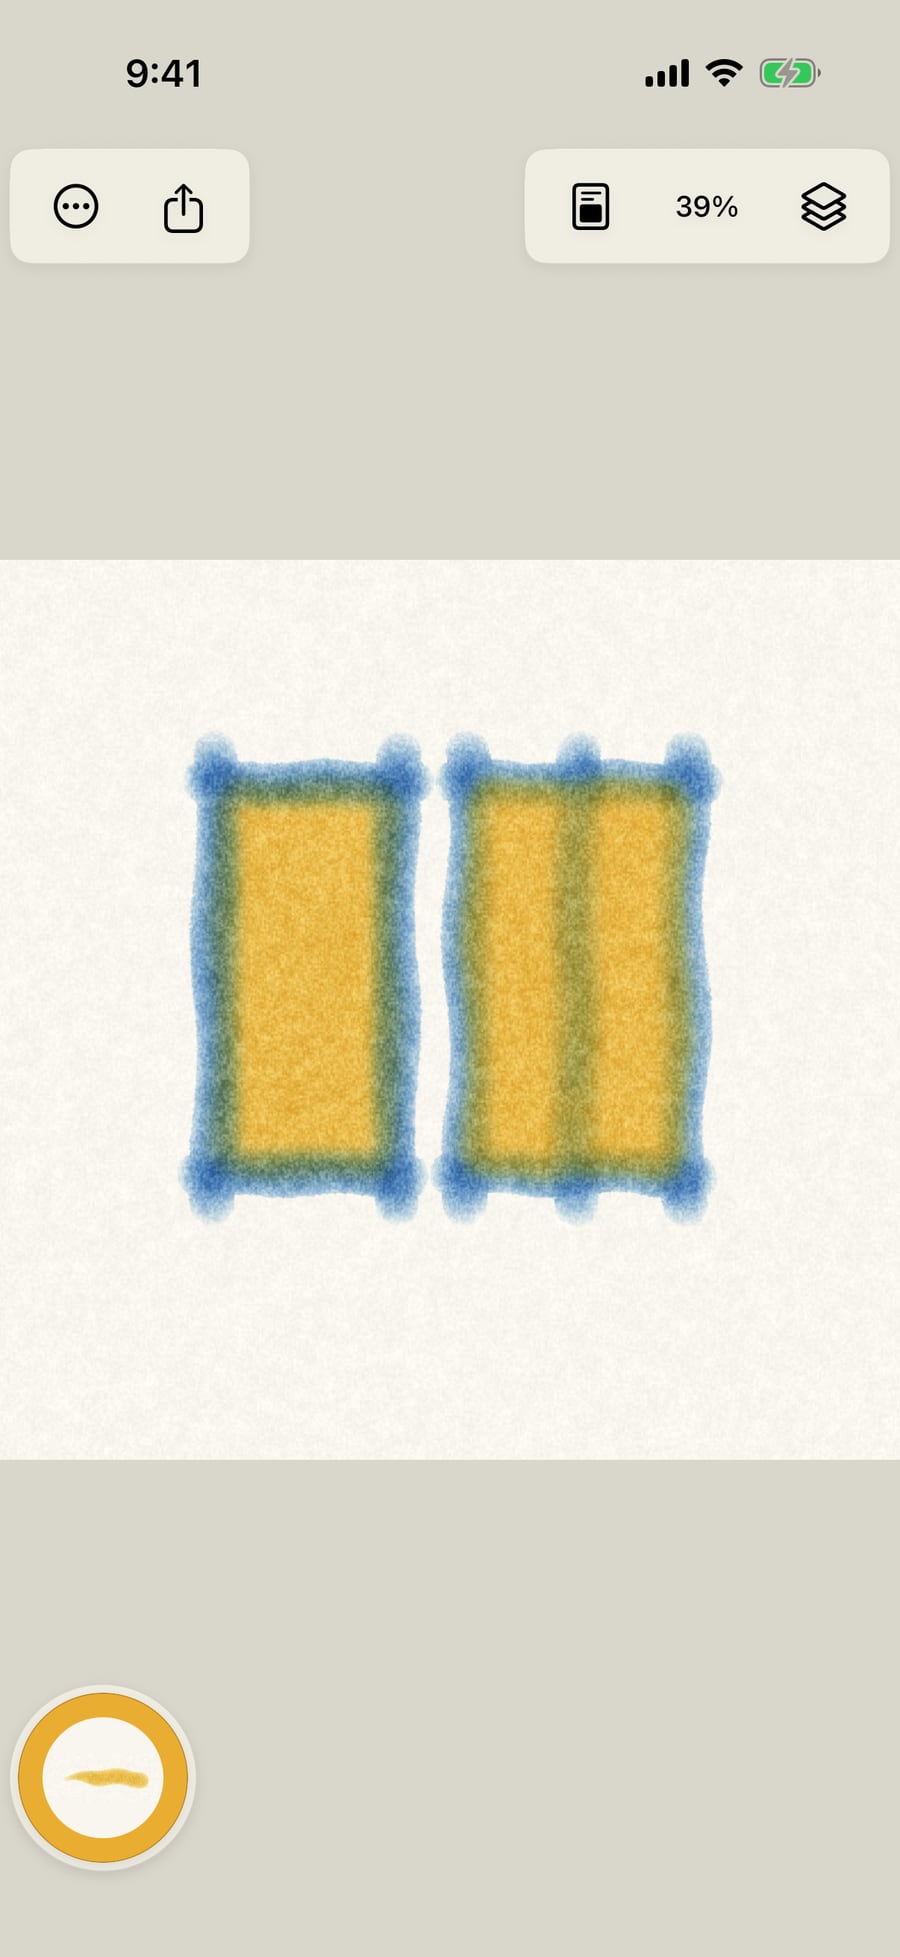
Now drag across both halves of the second box. Every area the drag crosses fills, in one step. Compare the two boxes. The lines run over the fill behind, and under the fill on top.
Now drag across both halves of the second box. Every area the drag crosses fills, in one step. Compare the two boxes. The lines run over the fill behind, and under the fill on top.
Tap the pencil on the fill bar to go back to painting.
Tap the pencil on the fill bar to go back to painting.
Click the pencil on the fill bar to go back to painting.
Fill an area
Tools → Fill an area fills with the brush and colour in hand, on the current layer. The fill is a stroke like any other: it takes the brush's paint, and one Undo removes it. Select stroke can recolour or delete it later.
While filling, the fill bar 1 sits at the top: Tap an area to fill it · drag across areas to fill each.
| Control | What it does |
|---|---|
| Tap | Fills the area under your finger or Pencil: the space your strokes enclose. |
| Drag | Fills every area the drag crosses, in one step. The drag's path shows as you go. |
| Fill behind | Lays fills under the layer's paint, timed just before its first stroke, so a wet layer replays as if the fill went down first. Off, fills go on top. |
| Return to drawing | The pencil: back to painting. Tools → Resume painting does the same. |
What counts as enclosed: strokes need to meet. Let lines run a little past each other at the corners; a gap lets the fill leak into the paper around.
Colouring pages: on a painting with a colouring page, a tap fills the page's region under it, and a drag fills each region it crosses.
Fill a selection: Tools → Select stroke, select the strokes that make a shape, then tap Fill inside selected strokes on the selection bar. The fill goes directly under the lowest selected stroke. See Select and change strokes.
Tip: A layer holds one medium, and so does its fill. On an Ink layer, take up an Ink brush before you fill.
On the Mac, click inside an area to fill it, or drag across several.
Something not behaving as expected?
Visit support or write to [email protected].