

Guides / Selecting and drawing aids
Stabilization and Snap to shapes
Steady a slow, shaky line, and let rough lines and loops land as clean straight lines, circles and ellipses.
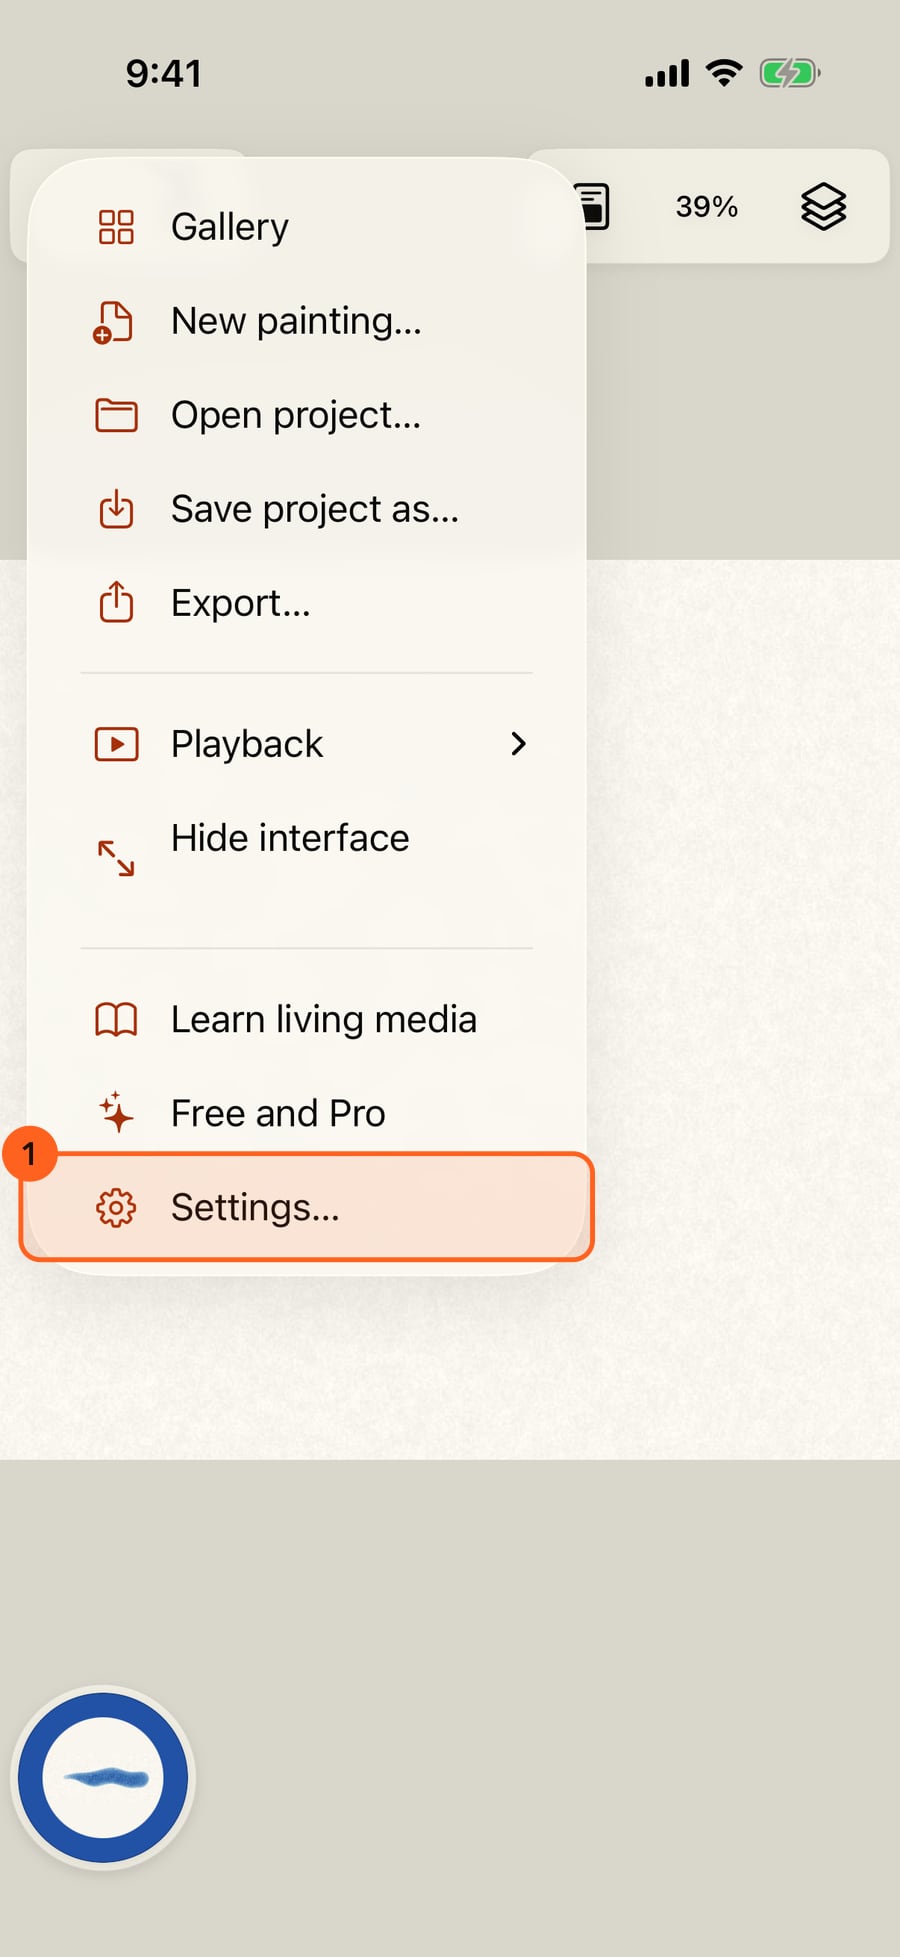
Both settings live in Settings. Tap Actions in the top bar.
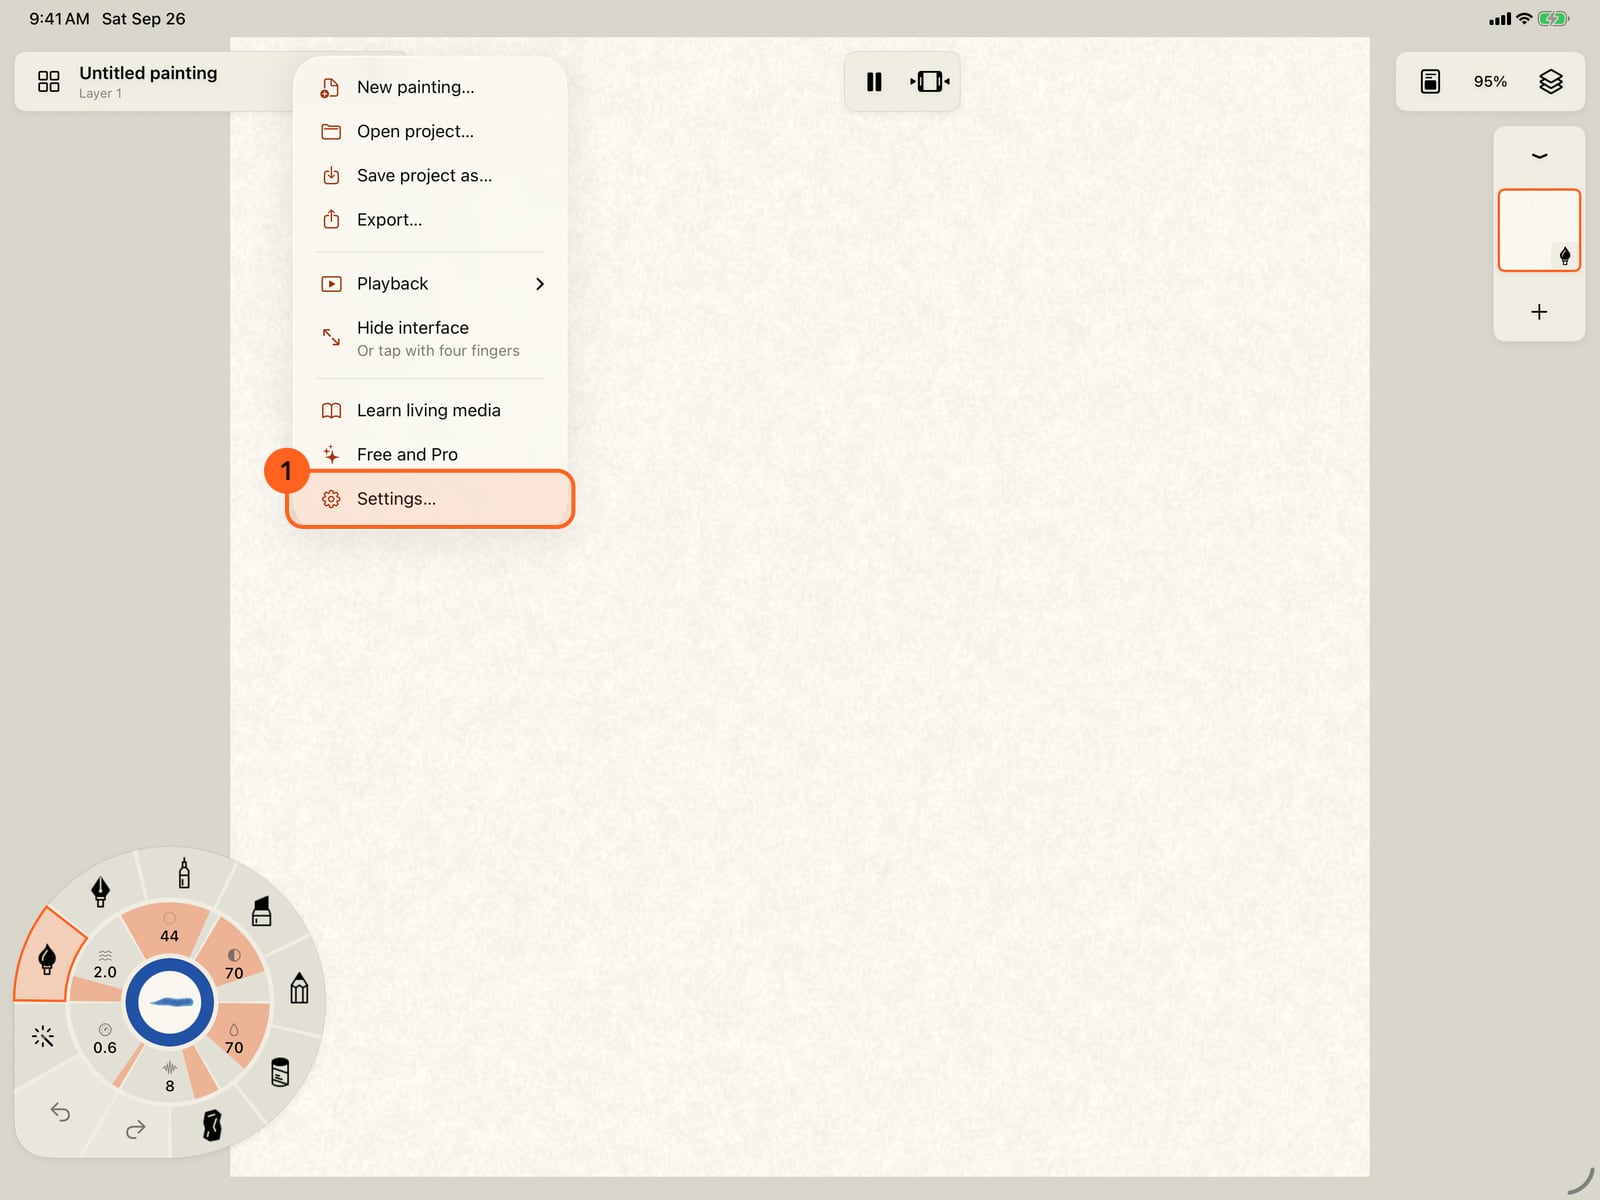
Both settings live in Settings. Tap Actions in the top bar.
Both settings live in Settings. Click Actions in the top bar.
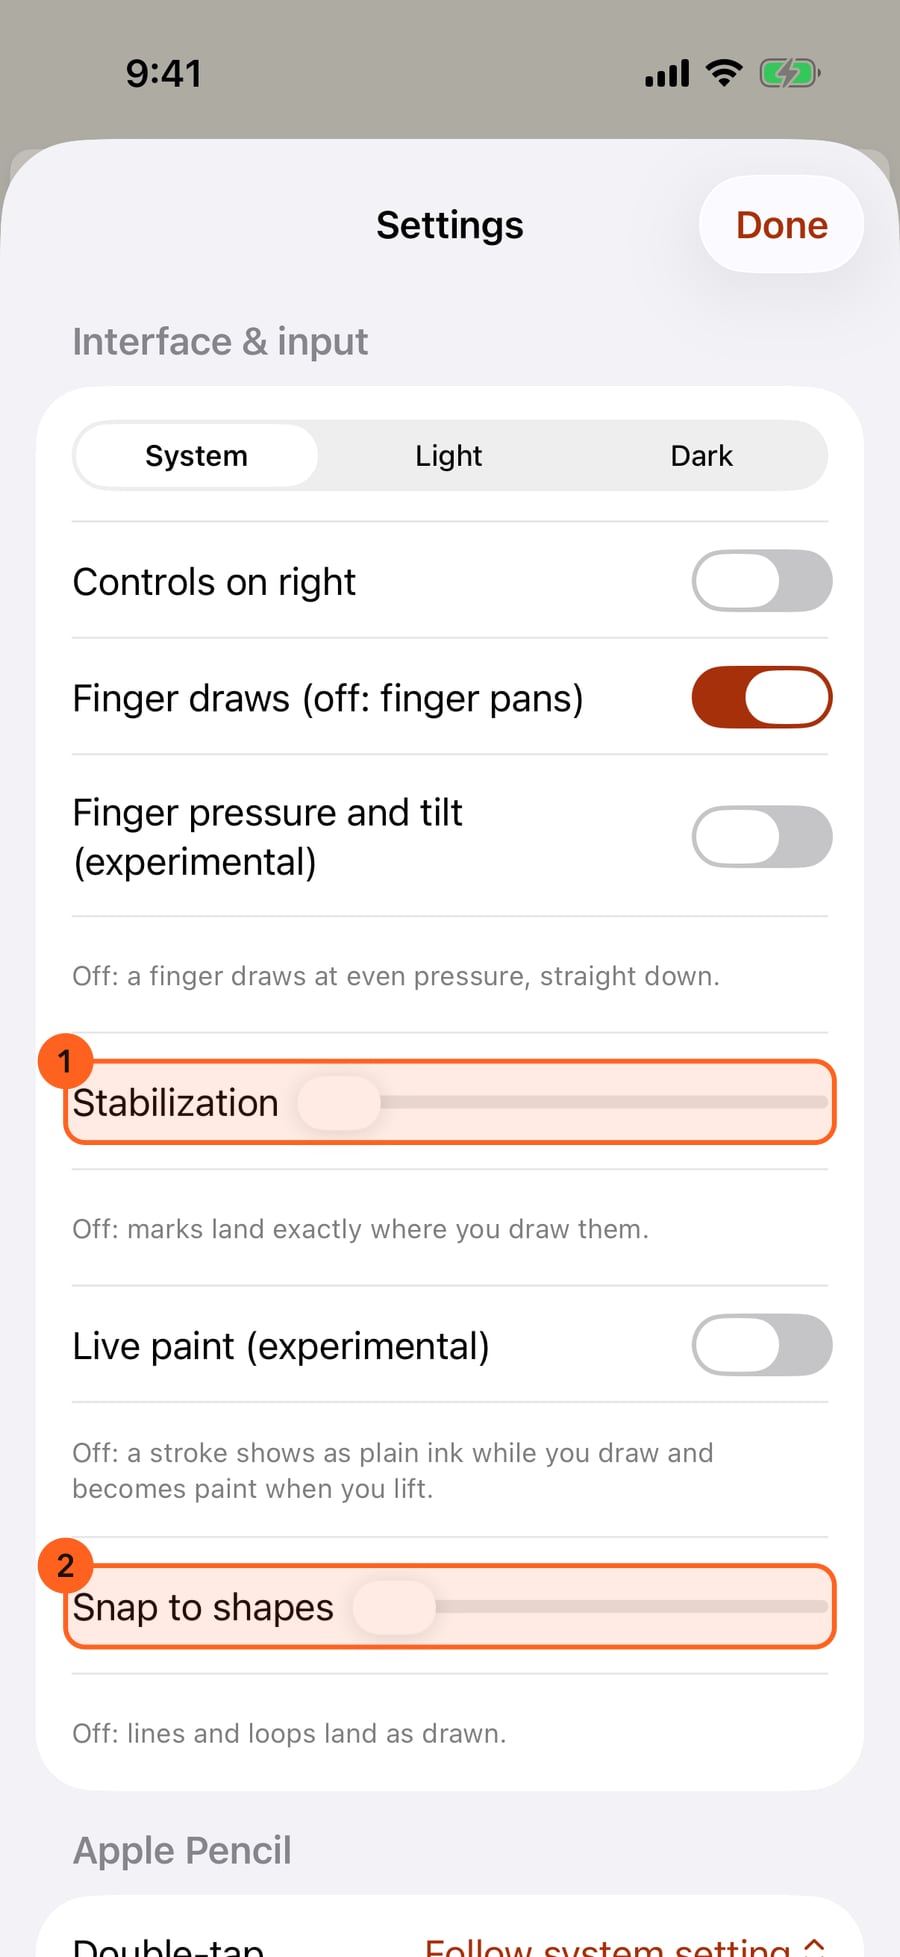
Choose Settings. Under Interface and input are Stabilization and Snap to shapes. Both start off, at the far left.
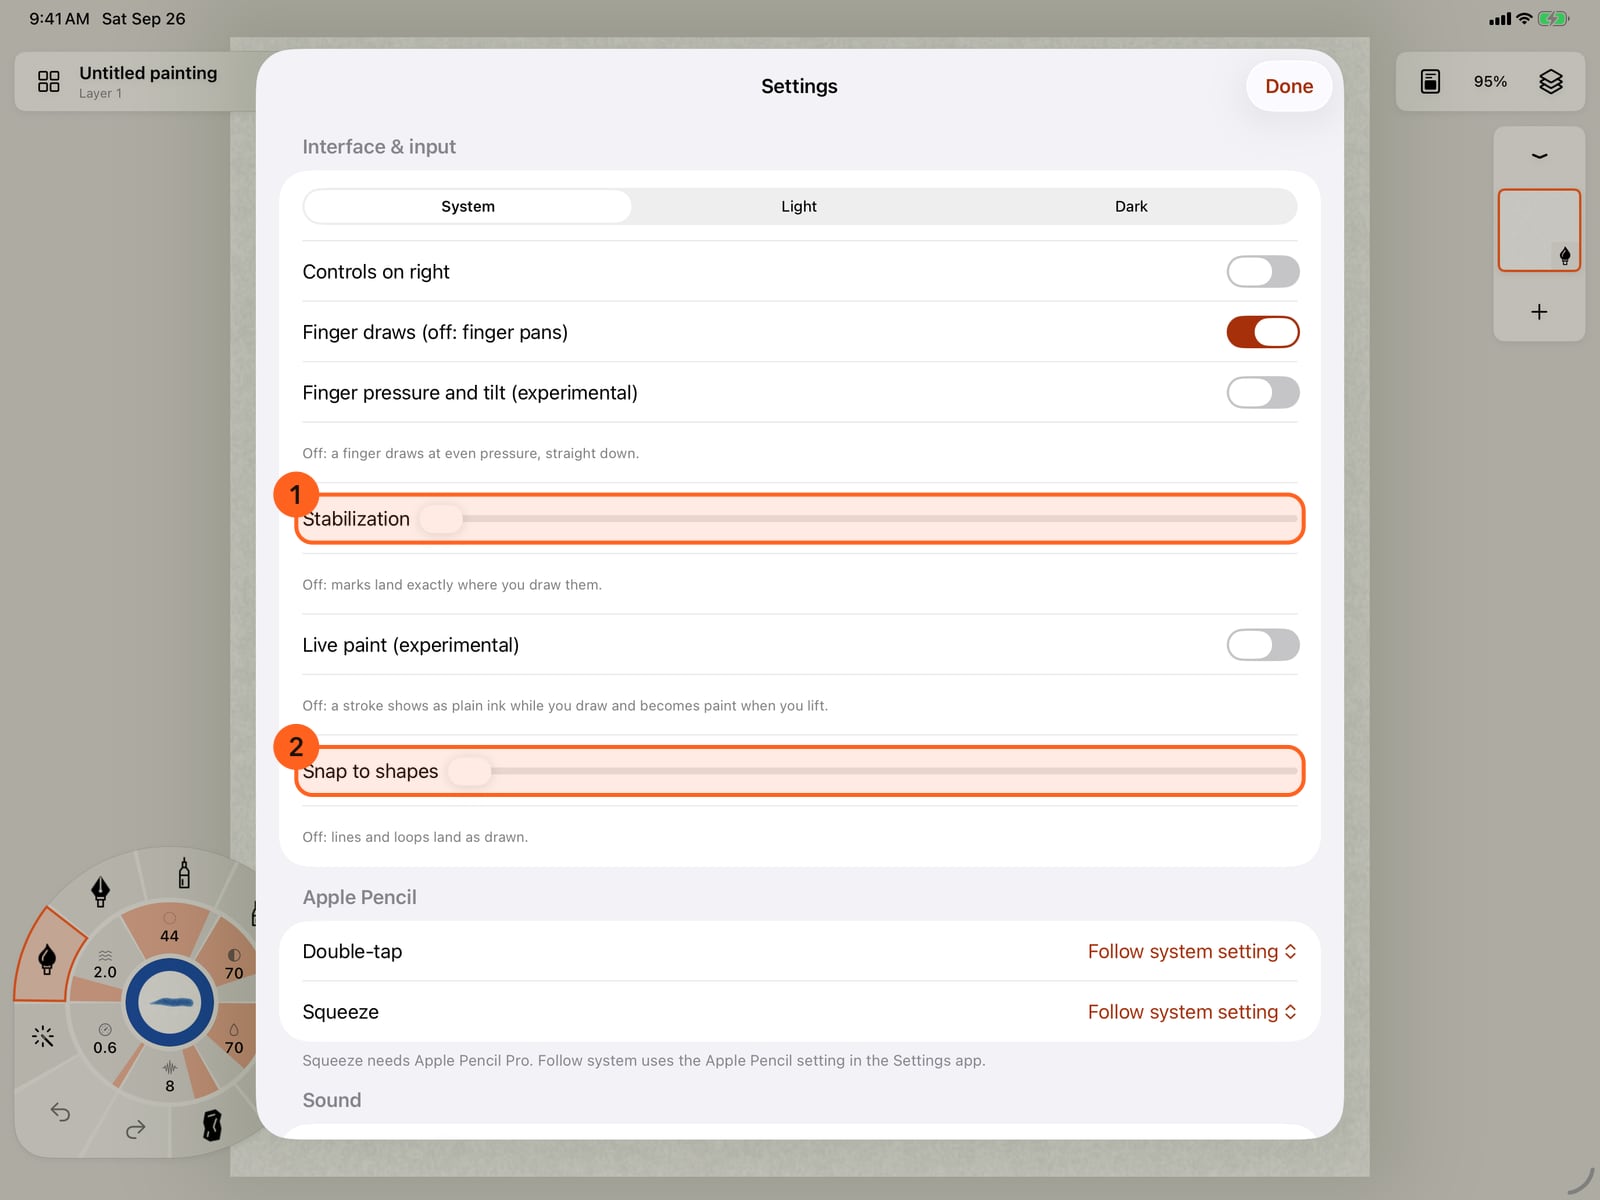
Choose Settings. Under Interface and input are Stabilization and Snap to shapes. Both start off, at the far left.
Slide Stabilization to the right. The mark then follows a little behind your stroke and catches up when you lift, which steadies a slow line.
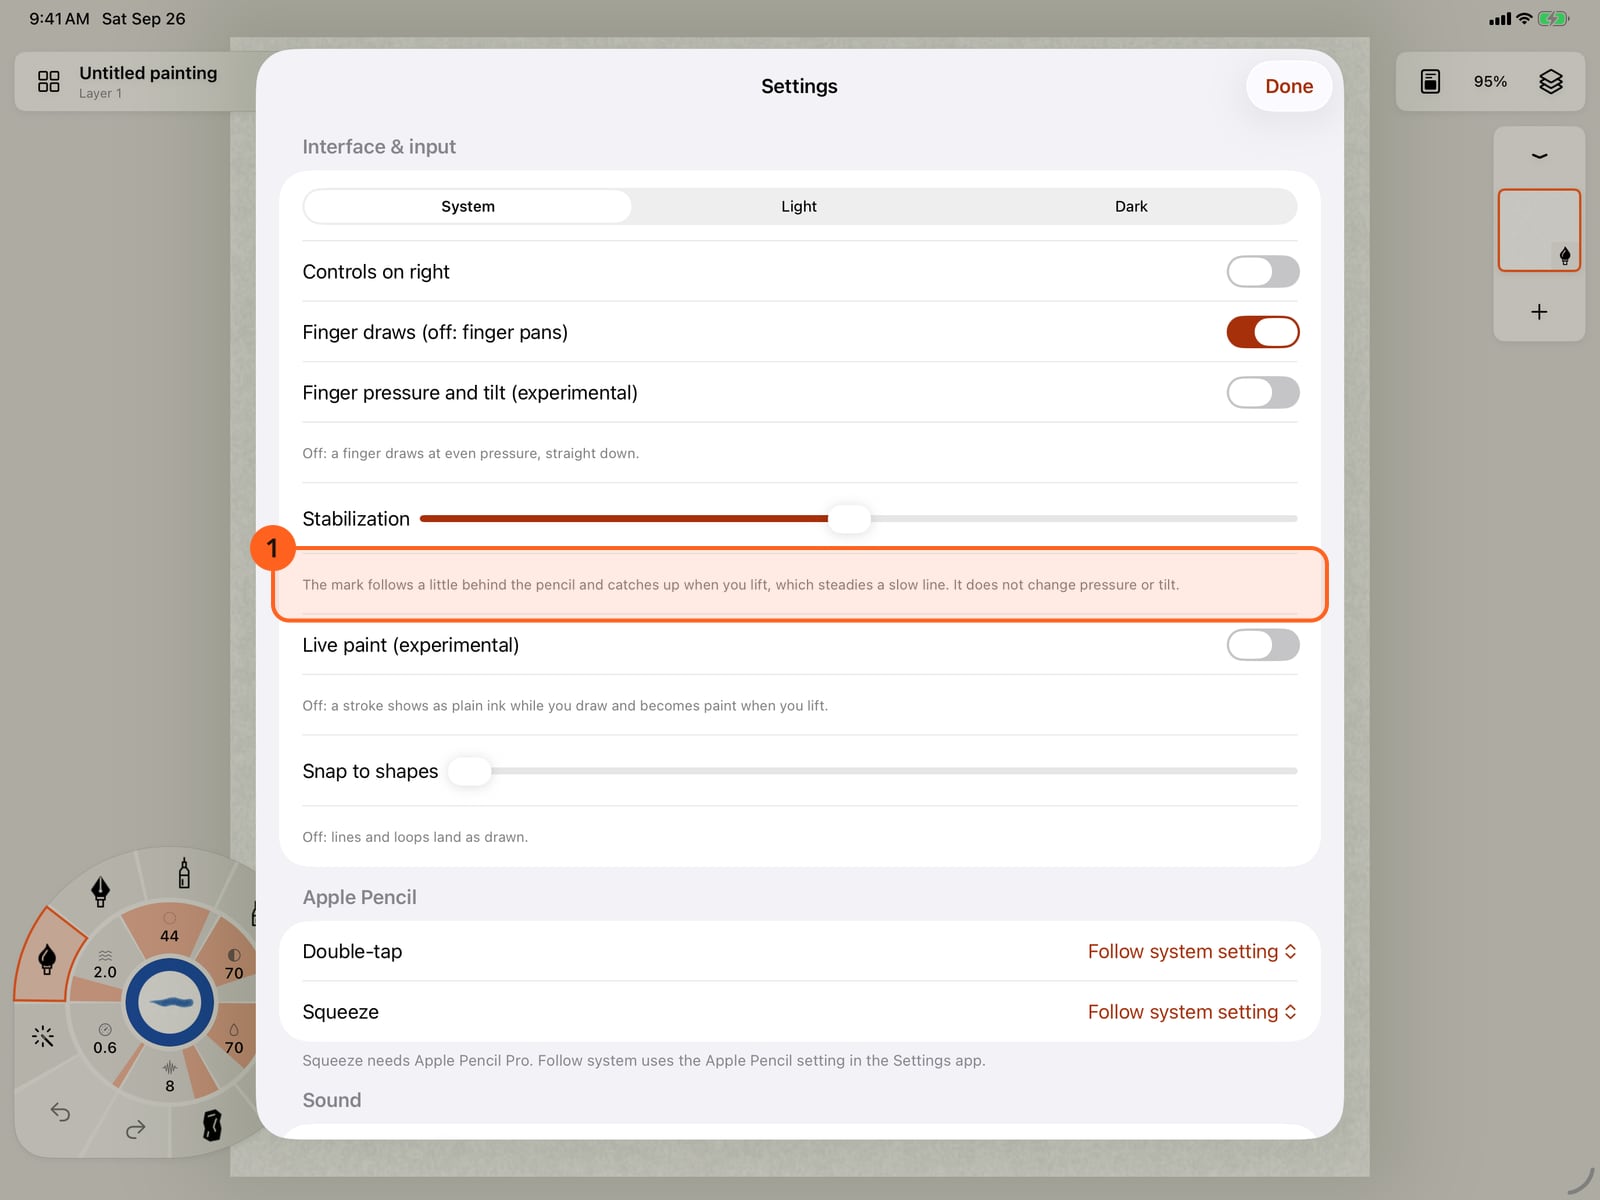
Slide Stabilization to the right. The mark then follows a little behind your stroke and catches up when you lift, which steadies a slow line.
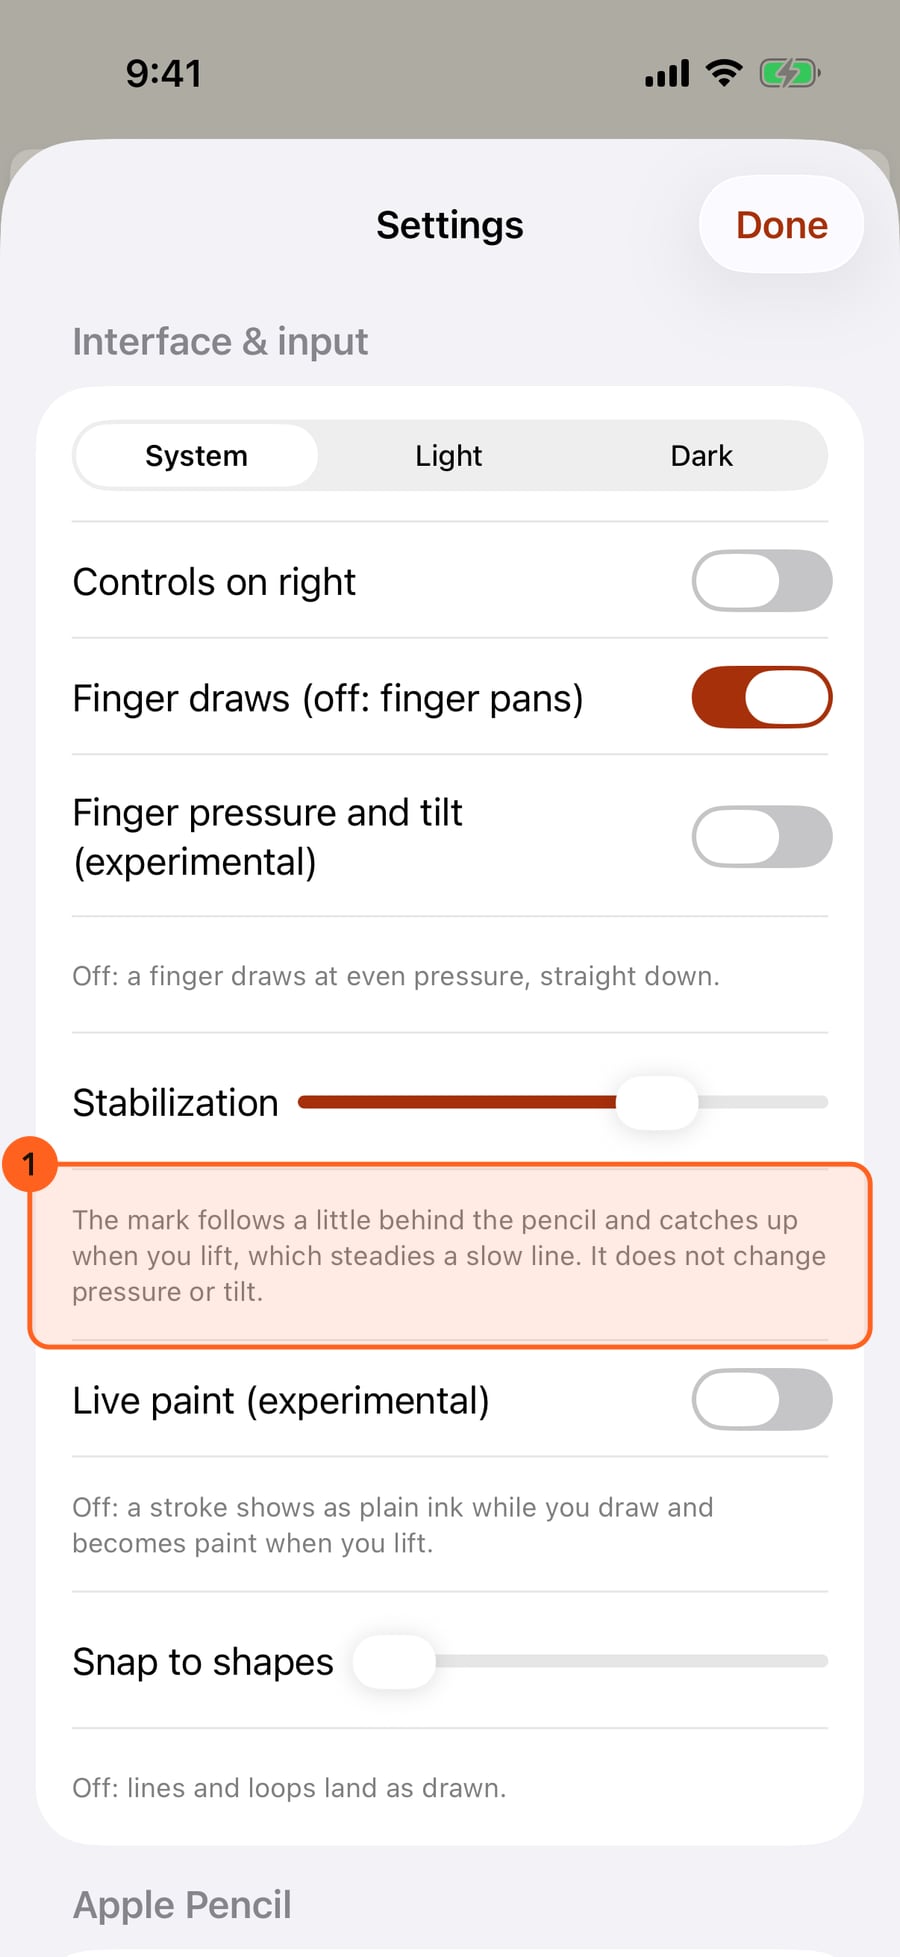
Slide Snap to shapes to the right. A nearly straight line then lands straight, and a loop that closes lands as a clean circle or ellipse. Further right snaps rougher shapes.
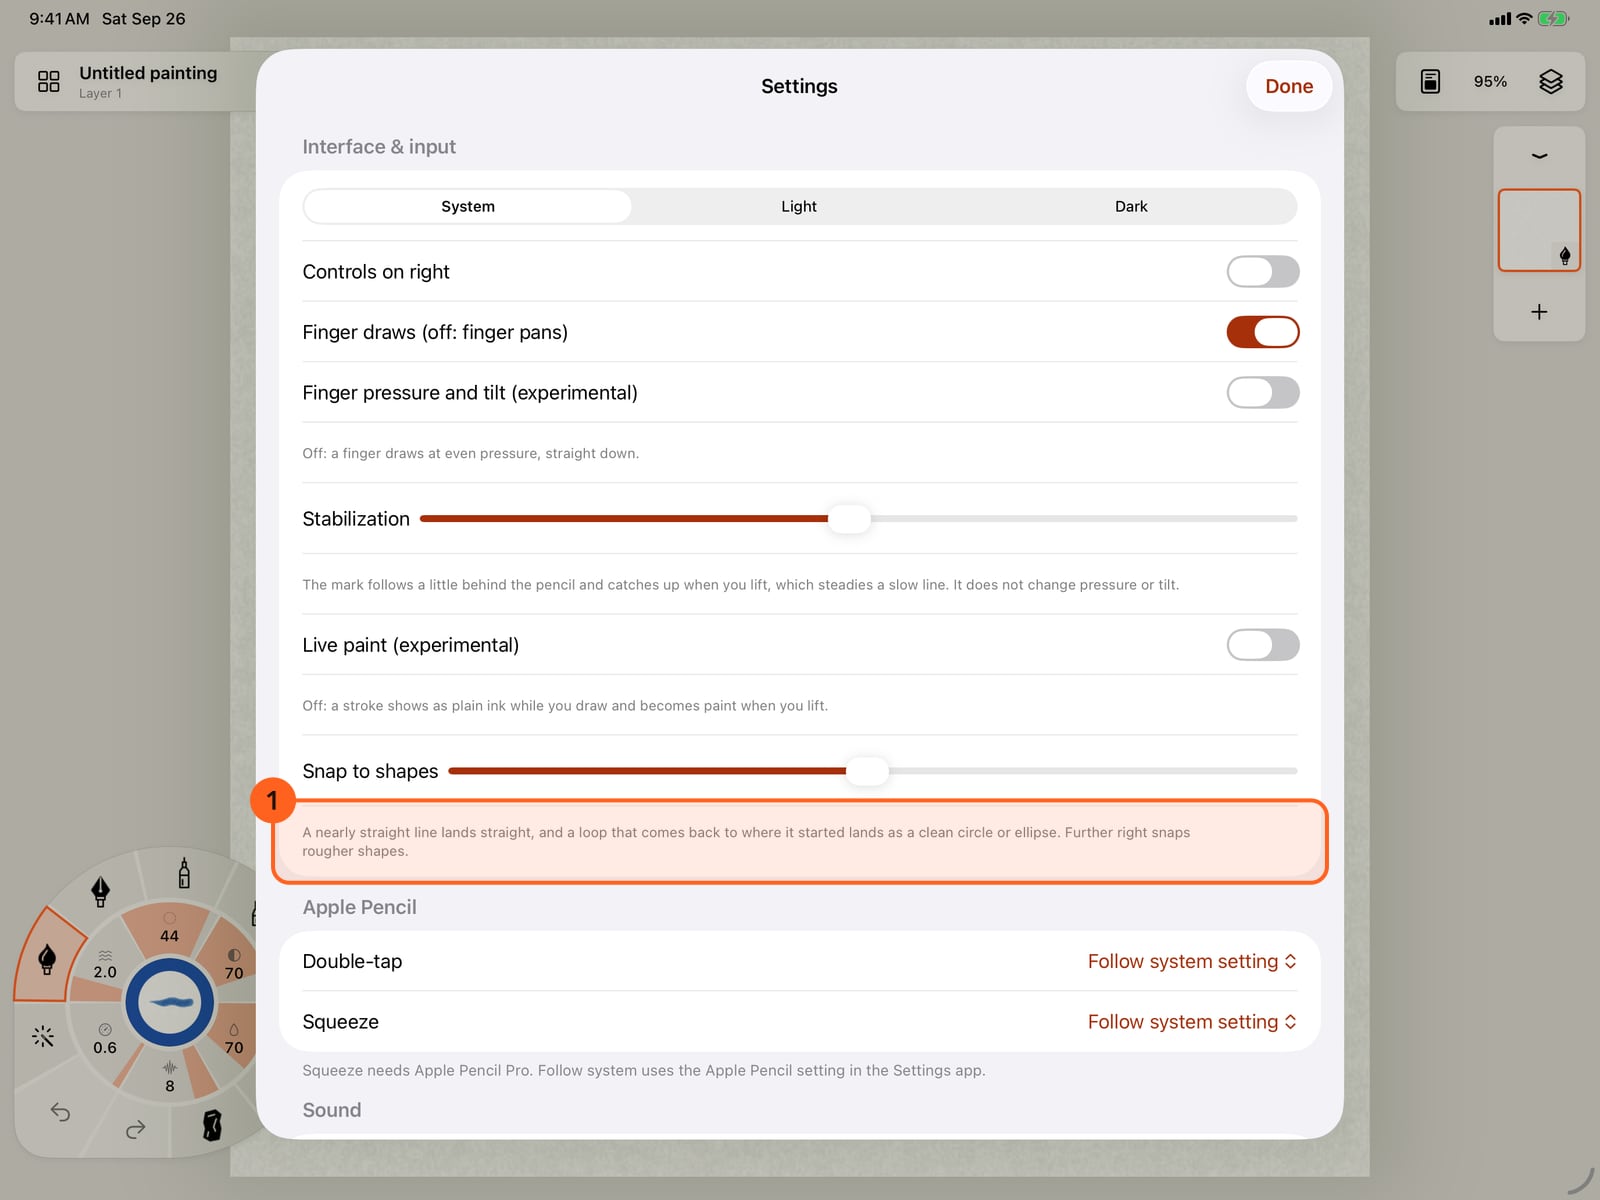
Slide Snap to shapes to the right. A nearly straight line then lands straight, and a loop that closes lands as a clean circle or ellipse. Further right snaps rougher shapes.
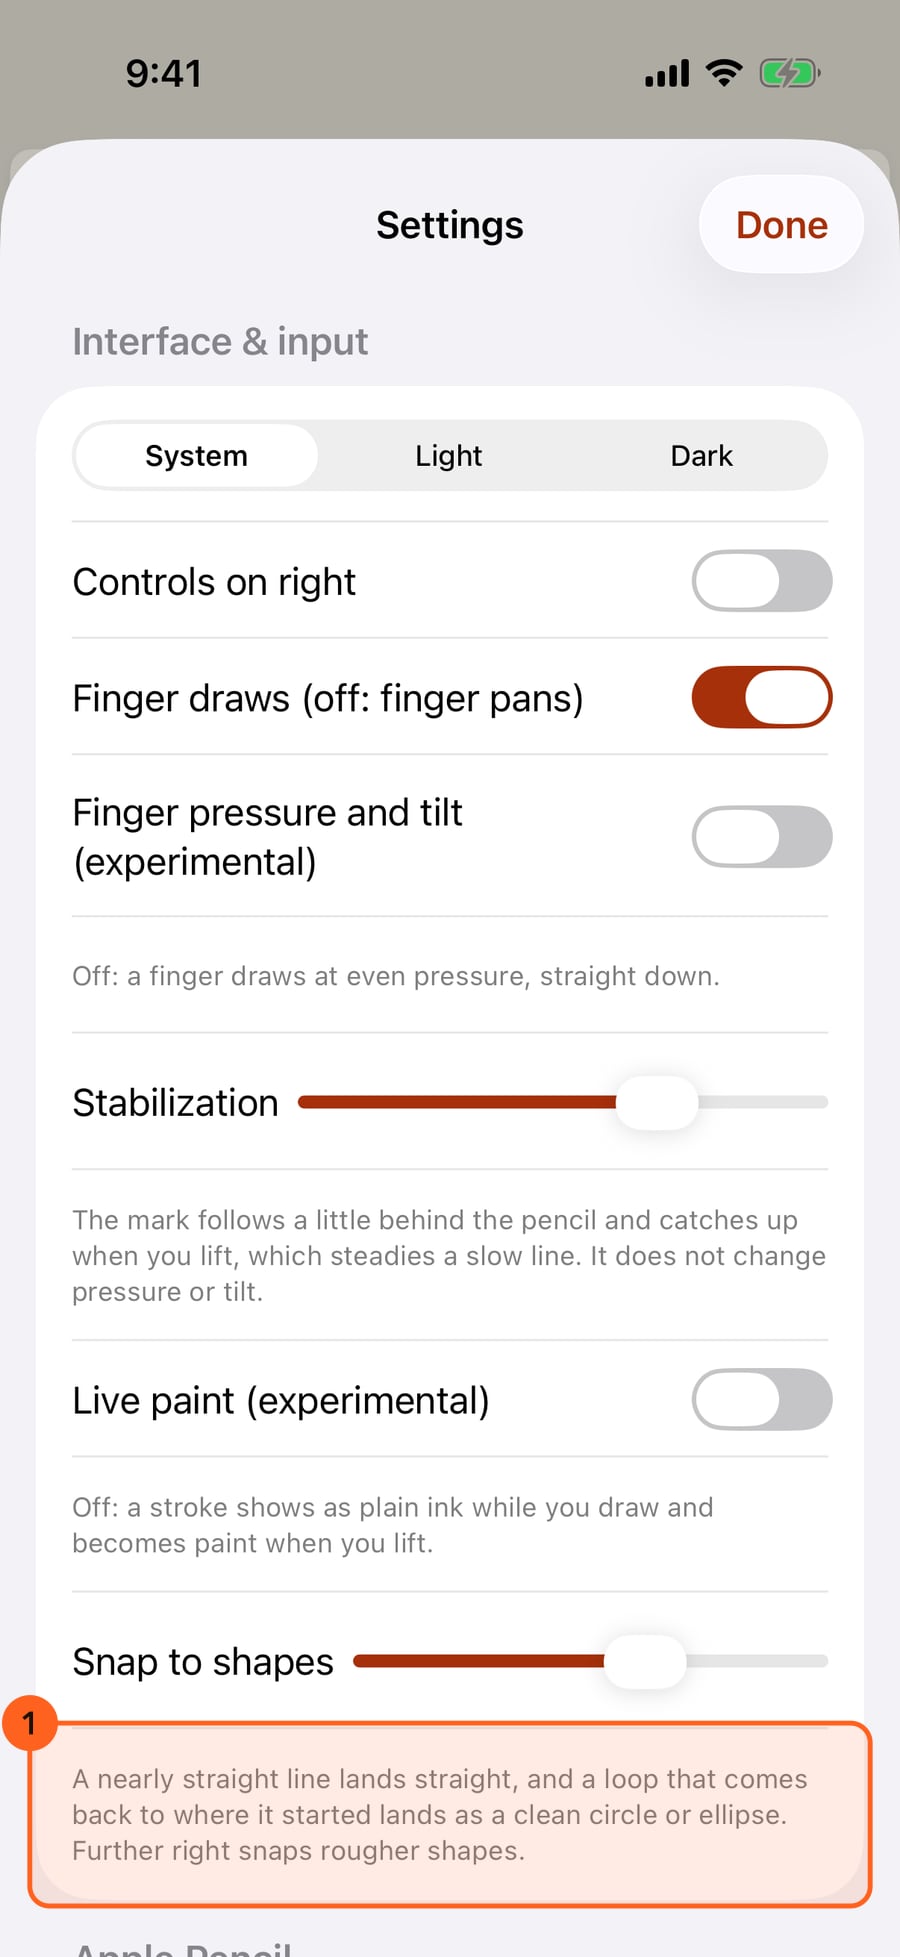
Tap Done. Both apply to every brush from your next stroke.
Tap Done. Both apply to every brush from your next stroke.
Click Done. Both apply to every brush from your next stroke.
Stabilization
Actions → Settings… → Interface & input → Stabilization 1.
| Position | What happens |
|---|---|
| Far left (off) | Off: marks land exactly where you draw them. |
| Further right | The mark trails behind the pencil and catches up when you lift. The further right, the further it trails and the smoother the line. |
Stabilization smooths the path only. It doesn't change pressure or tilt, so a stroke still swells and thins as you press. Use a little for lettering and long, slow lines; turn it off for quick sketching, where the lag gets in the way.
Snap to shapes
Actions → Settings… → Interface & input → Snap to shapes 2.
| Position | What happens |
|---|---|
| Far left (off) | Off: lines and loops land as drawn. |
| Further right | A nearly straight line lands straight, and a loop that comes back to where it started lands as a clean circle or ellipse. Further right snaps rougher shapes. |
The shape is decided when you lift. A stroke that snaps skips stabilization, since it's already as smooth as it gets; a stroke that doesn't snap is steadied as drawn.
Both together
- They're one setting for the whole app, not per brush, and they apply from your next stroke.
- They work with every medium and with symmetry. A stroke laid along a guide takes the guide's shape instead.
- Text isn't steadied or snapped: the font decides the letters' shape.
On the Mac, these help most with a mouse or trackpad, where a steady line is hardest.
Something not behaving as expected?
Visit support or write to [email protected].